Renovation

Visionboarding

Home Sweet Home.

Home Sweet Home.

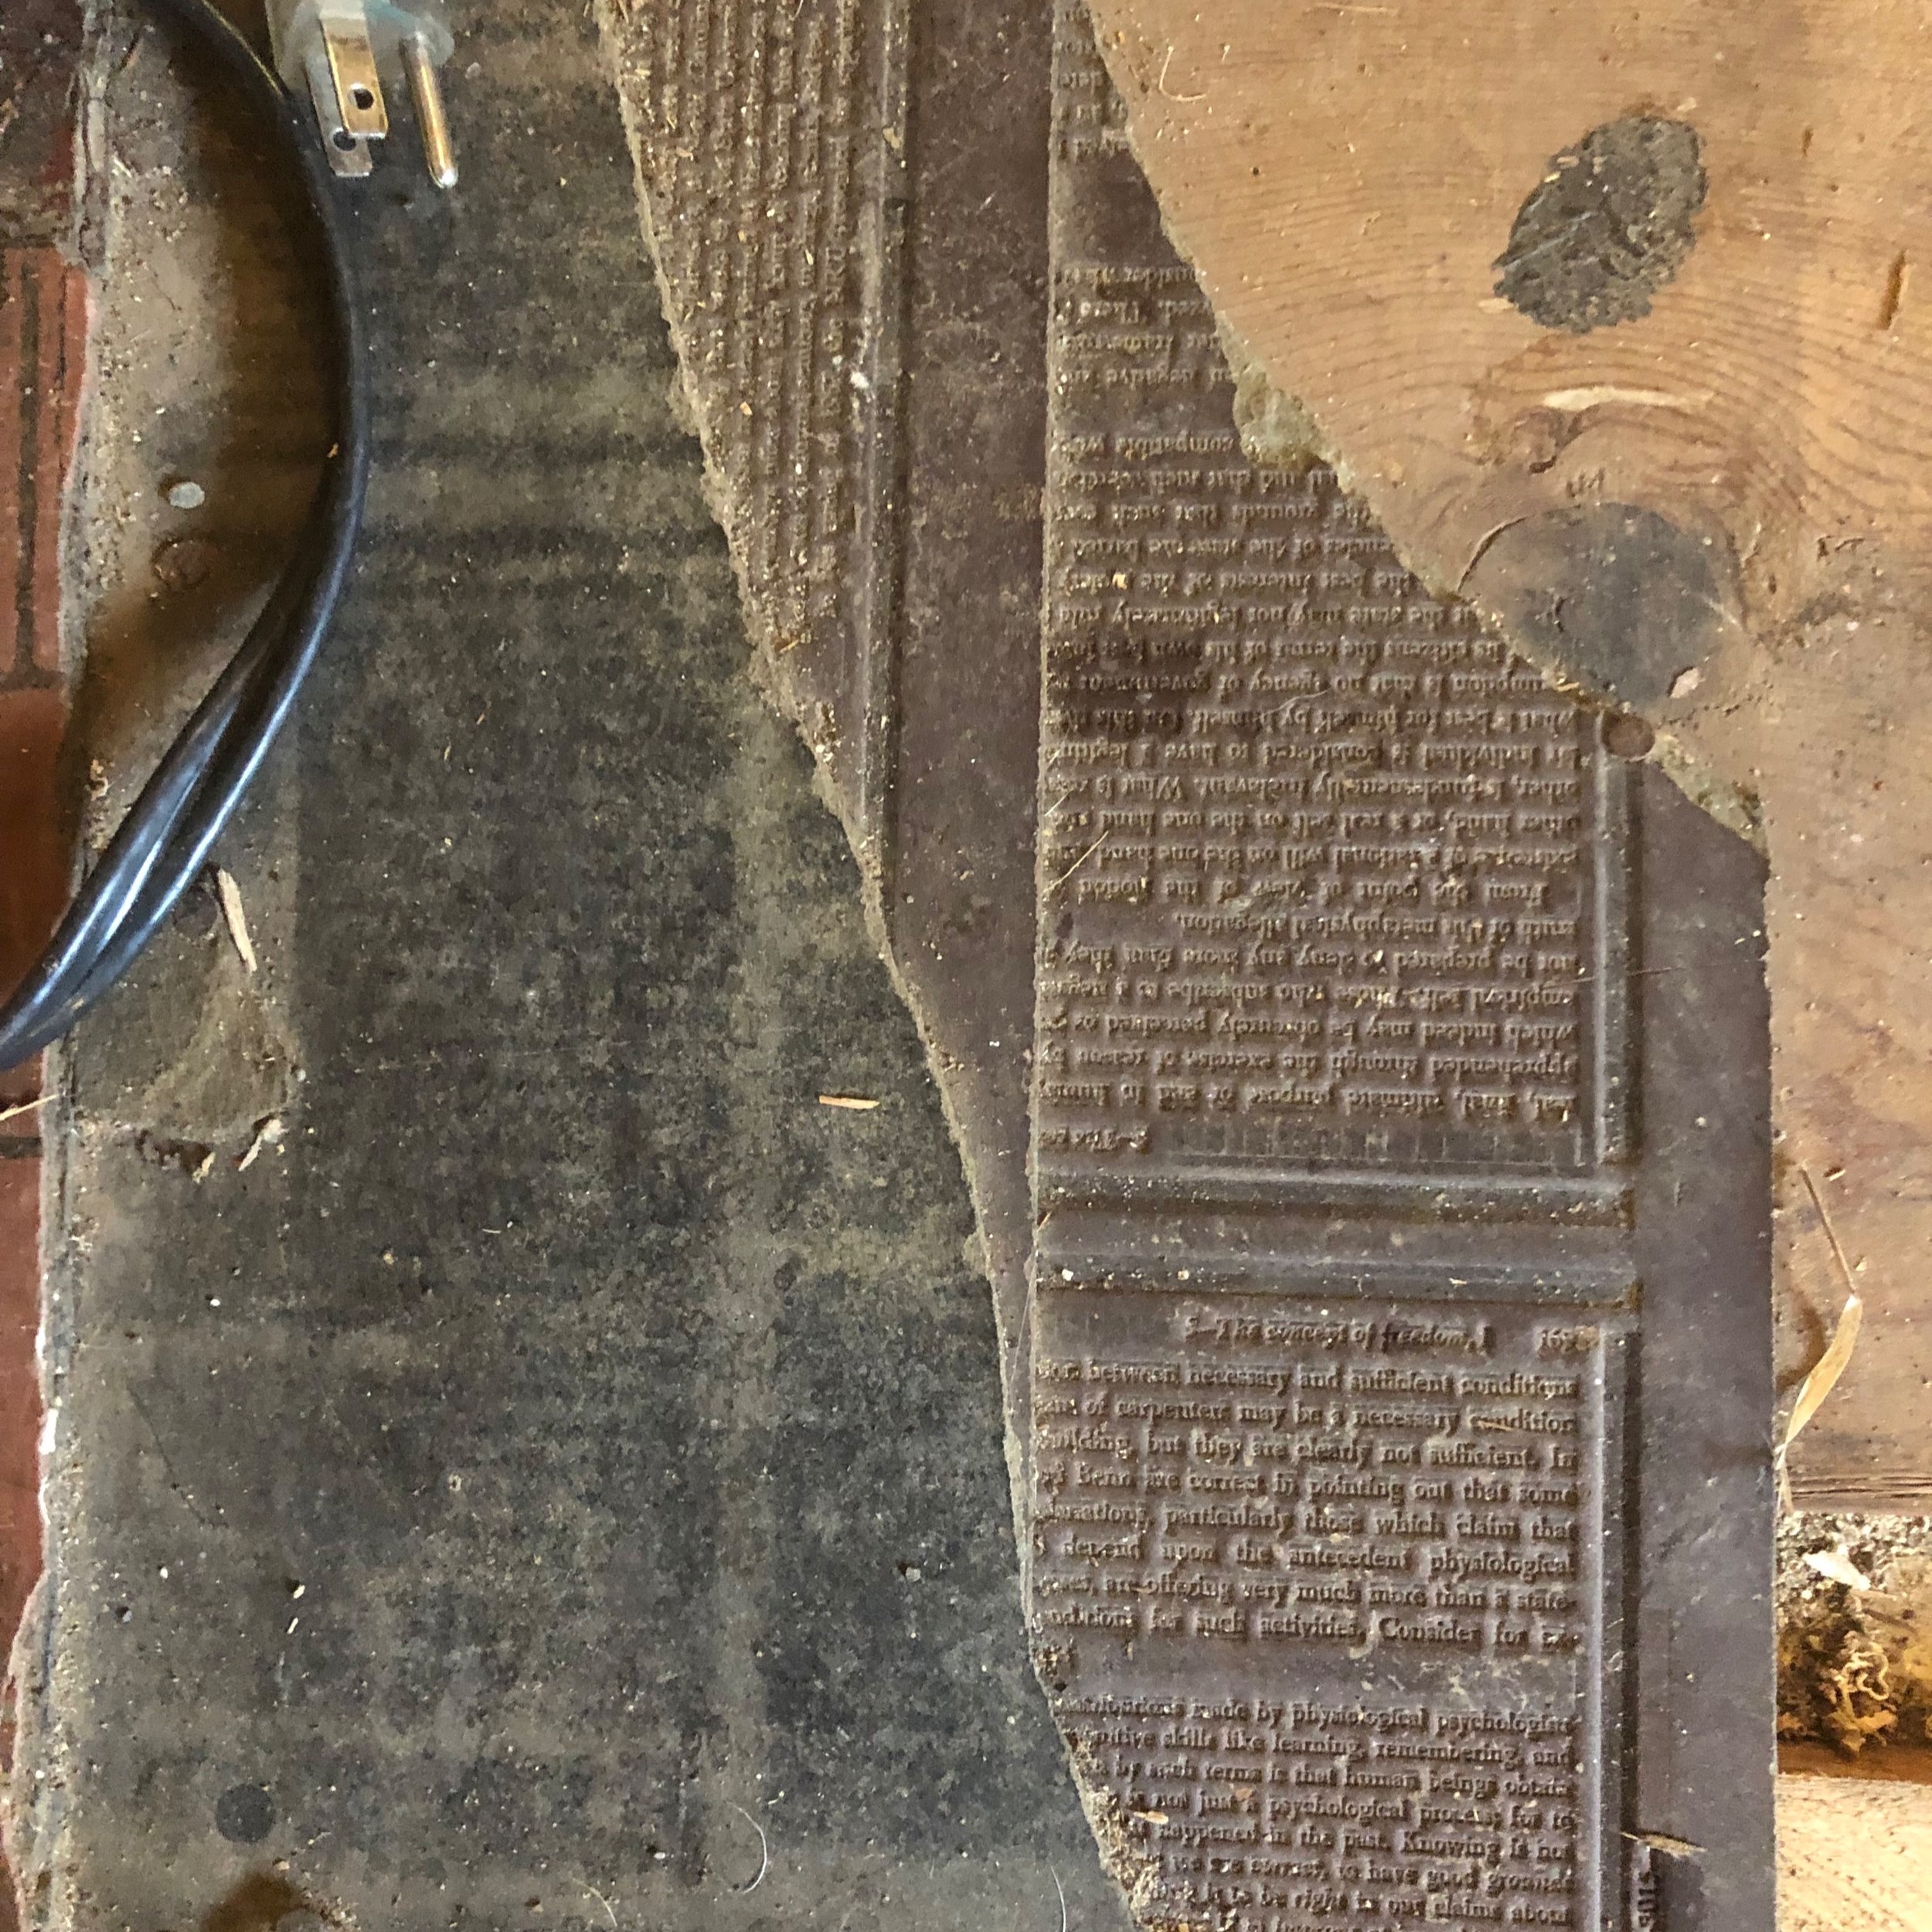
Oh hey, guys! It’s been a minute and so much has happened. Now that the concrete floor is poured and the original plumbing is updated, it’s time for my very favorite step in this process: MATERIALS! Everyone has their favorite part of a renovation - some like interior design and choosing paint colors, others like watching it all go up, but me? Sourcing antique materials to restore the back room of Sparrow House is quite possibly my favorite thing in the whole wide world. It is also probably the most expensive part of the process…go figure.

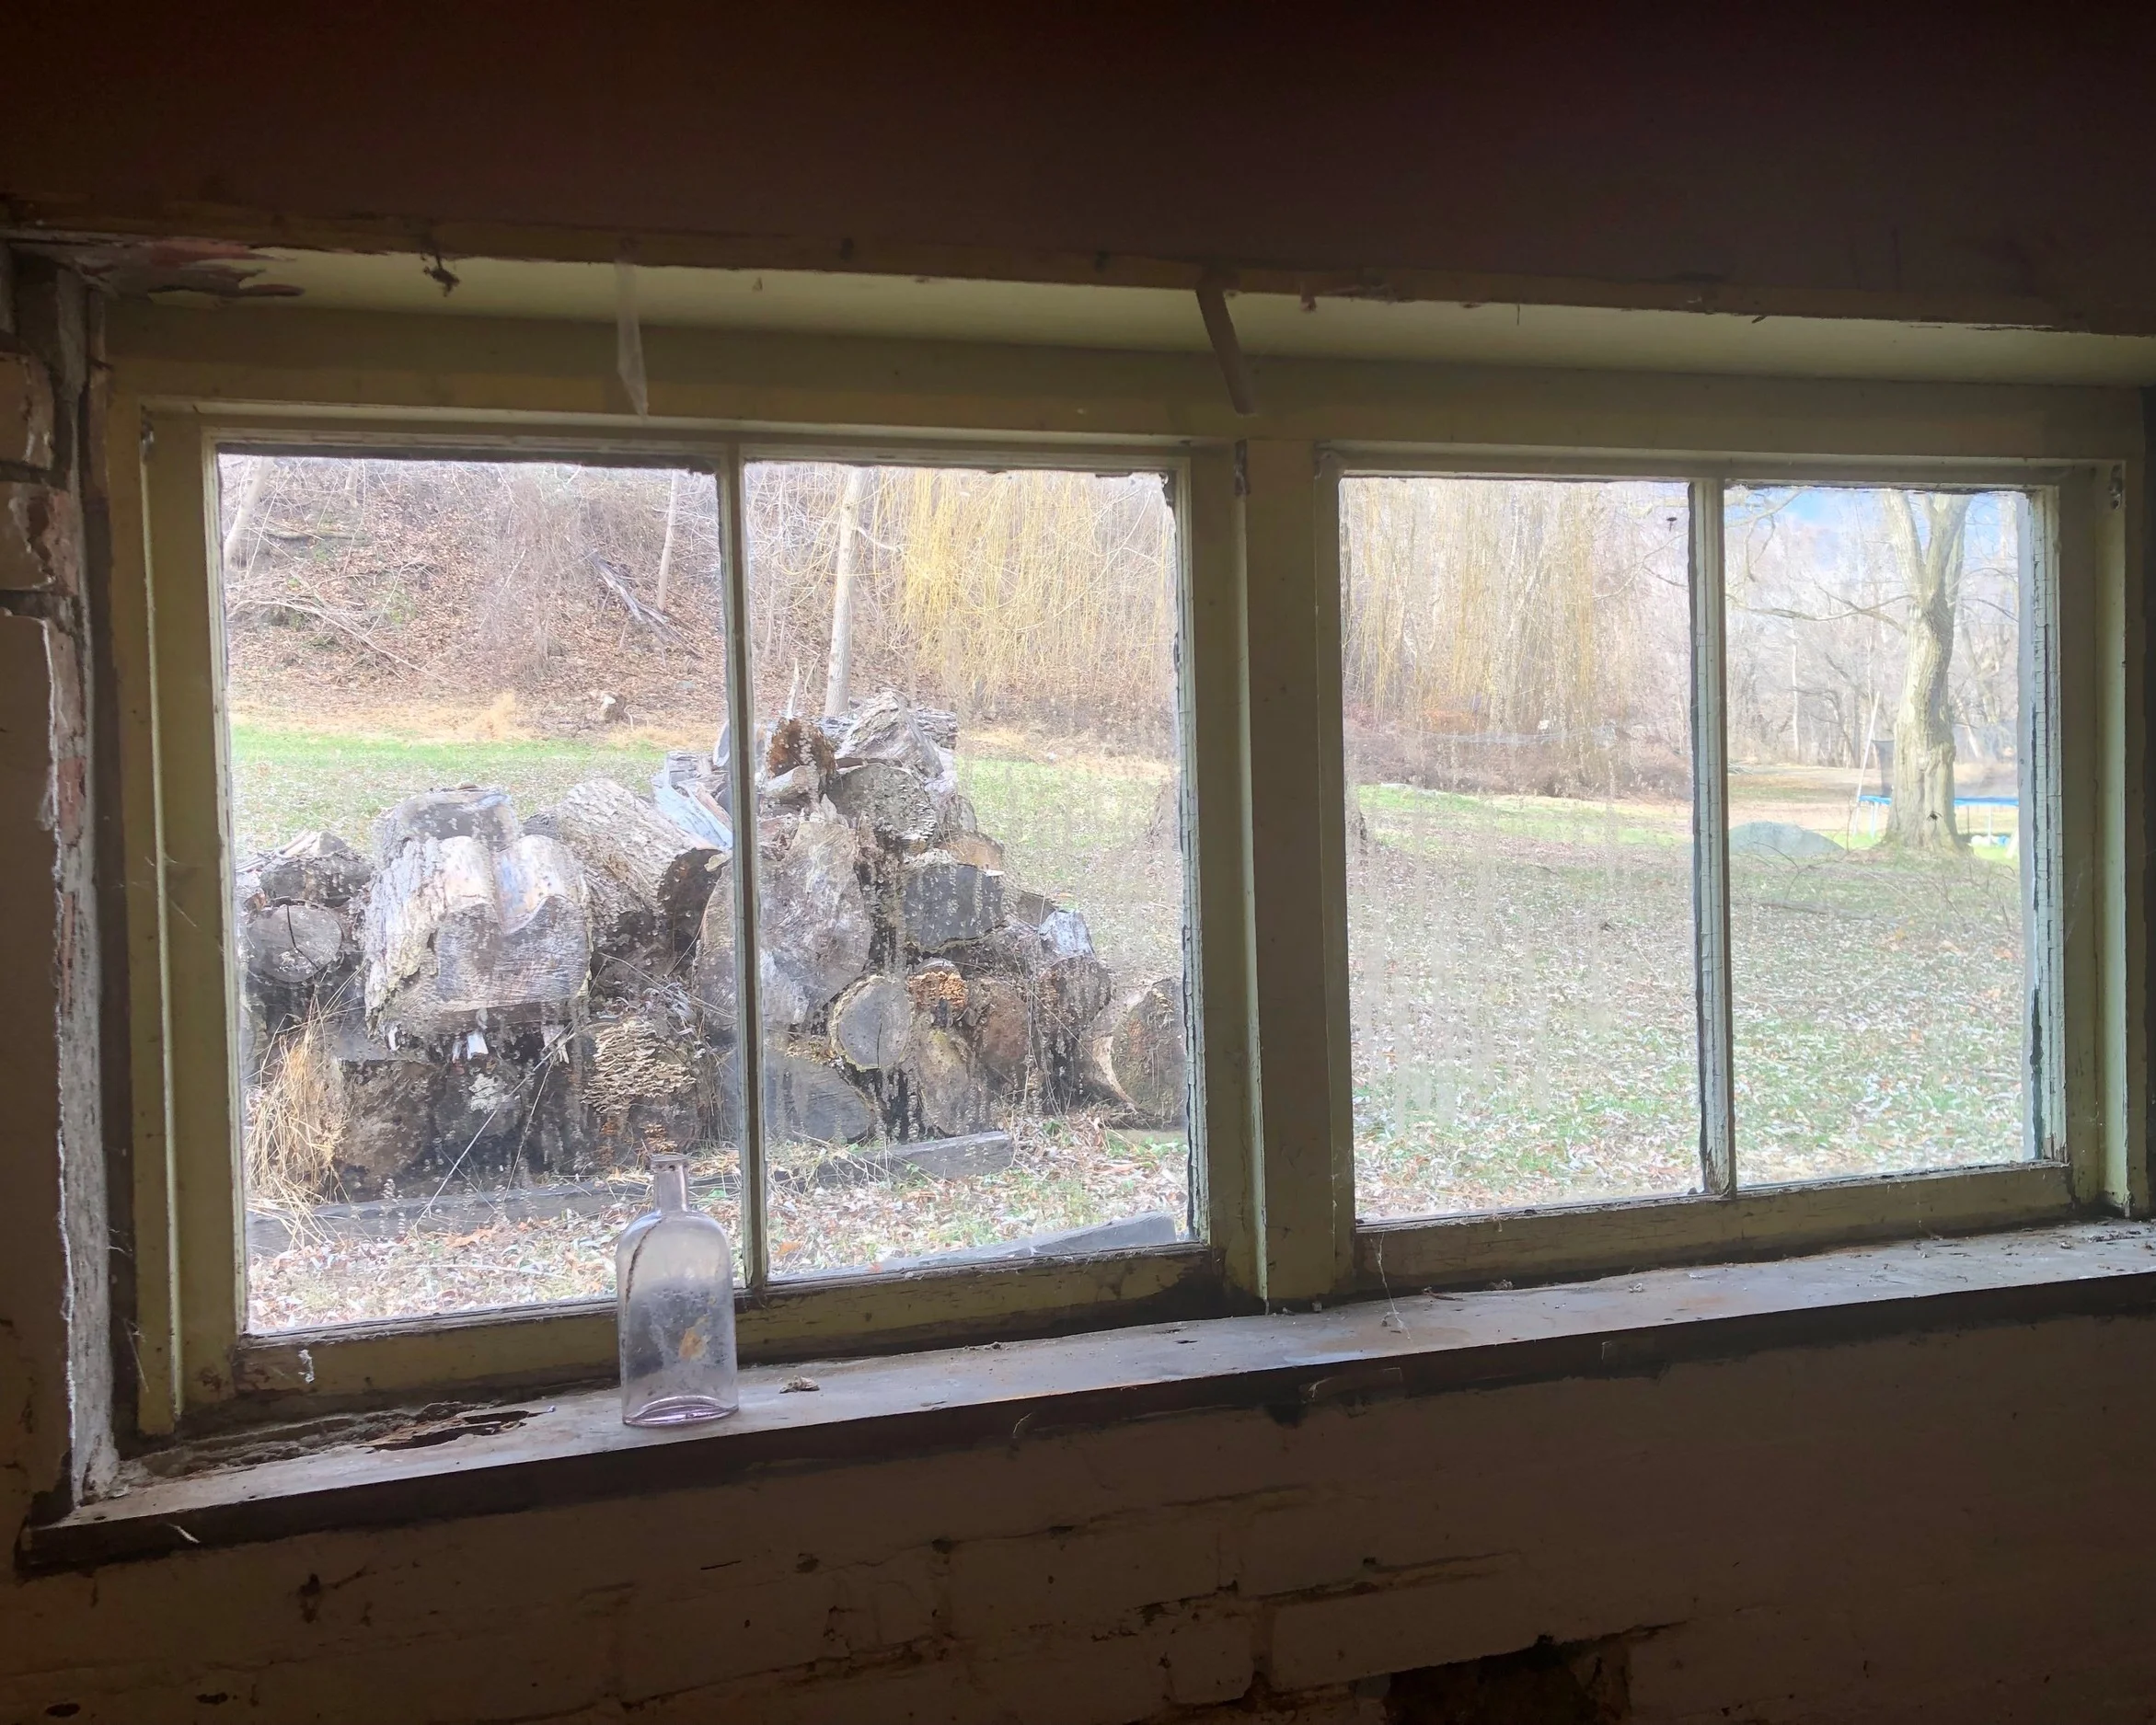
While I somehow managed to choose the bathroom design almost instantly, deciding on the look for the studio took me a bit of time, and truthfully, had to evolve once the floor was poured and I could better visualize how small the space actually was. (It’s only 261 square feet!) Because numbers and plans don’t translate too well in my brain, I needed to get into the actual space and feel the amount of steps it took to get from the door to the Murphy bed, to the windows, to the kitchenette.

When I first started thinking of the space, I really got into the idea of building a modern day witch’s hovel straight out of a Grimm’s Fairy Tale. (I know.) Think lots of dark wood, built-in shelving and dried herbs and flowers hanging from every rafter. Kinda like this potting shed.

So I want to live in a potting shed. So what?

So I want to live in a potting shed. So what?

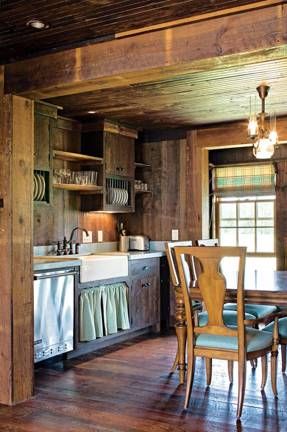
My other source of inspiration was Nicholas Cage and Andrea Riseborough’s home in MANDY. (Please see Exhibit A: the cover image to this post). But after spending exactly 2.2 minutes in the space post-concrete pour, I knew in my gut living in a potting shed or the set of a throw-back horror film wasn’t going to work for everyone. I need to capitalize on the light I do get in that side of the room and brighten things up a bit. So I broadened my horizons and started looking at examples of warm spaces with wood and white. If you’ve visited Sparrow House before, you know I’m drawn to a primitive, Shaker look - it’s sorta witch-adjacent which suits me and the house’s 1850s style quite nicely.

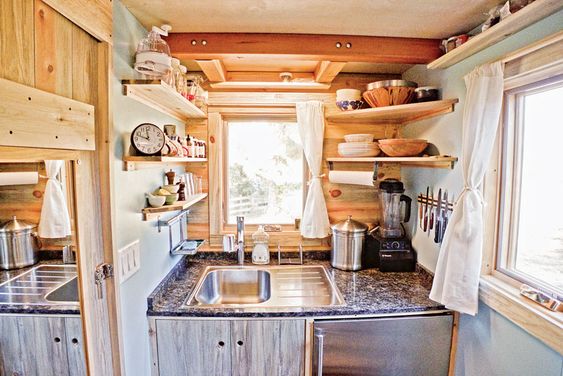
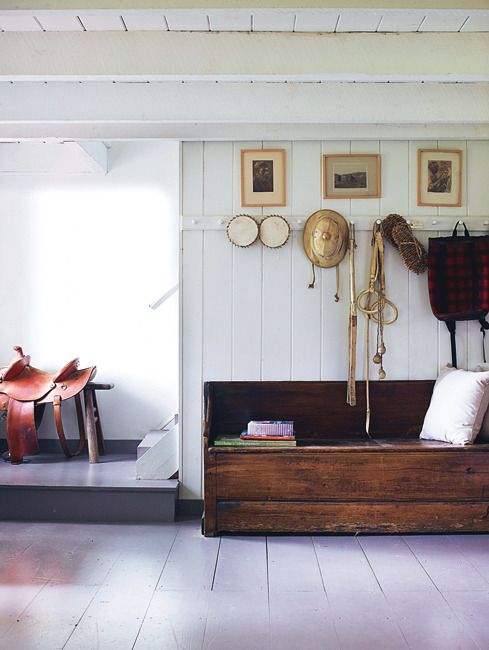
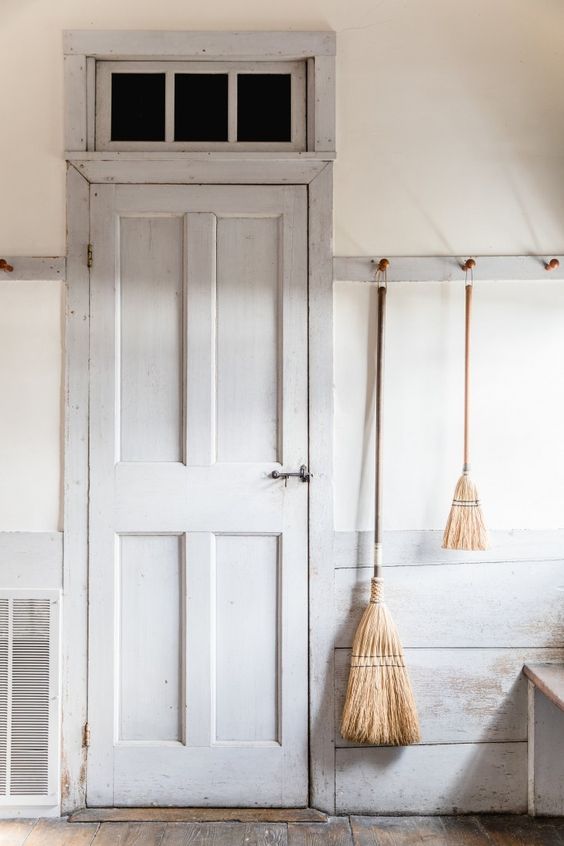
I’ve been working with Jon Beer Contracting for quite some time planning this project (let’s get real, it’s been almost a year since we started talking…) and I’ve been slowly compiling a Visionboard for each component of the project. Here’s quick look at my overall (and ever-evolving) vision of the Studio with Kitchenette, Mudroom and Bathroom for your viewing pleasure!

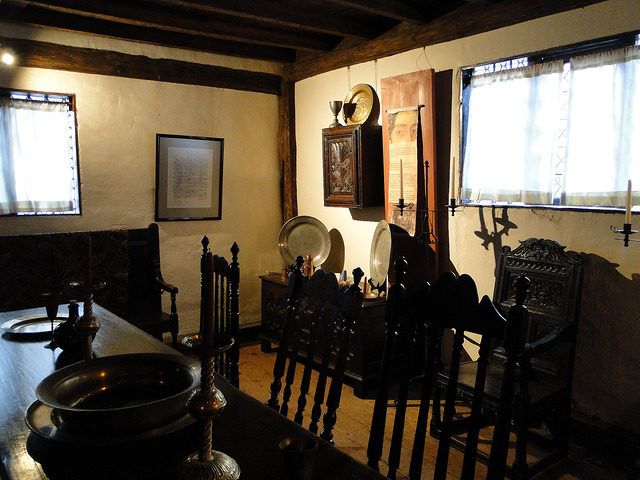
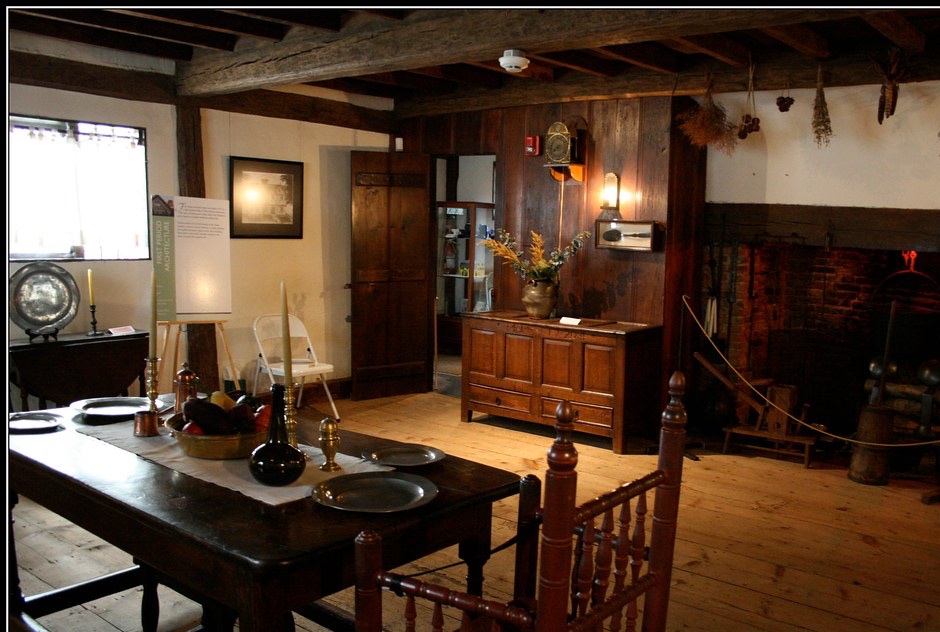
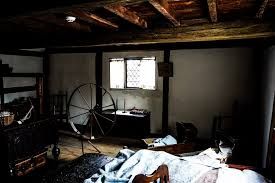
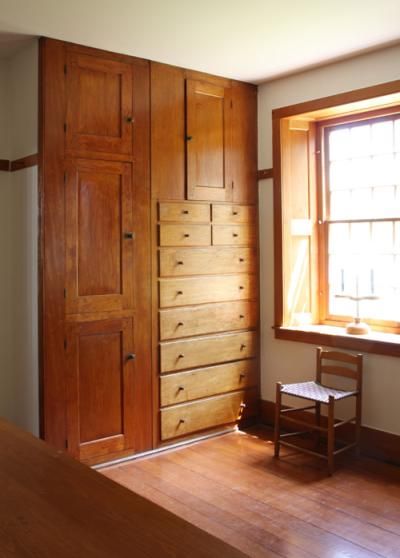
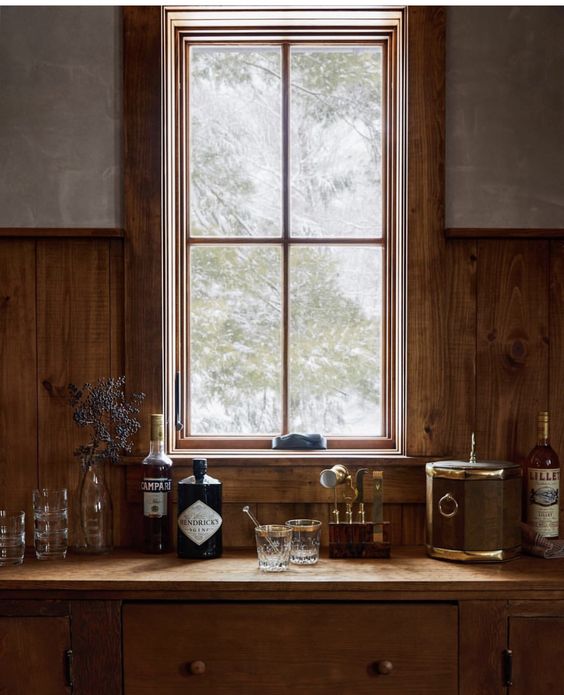
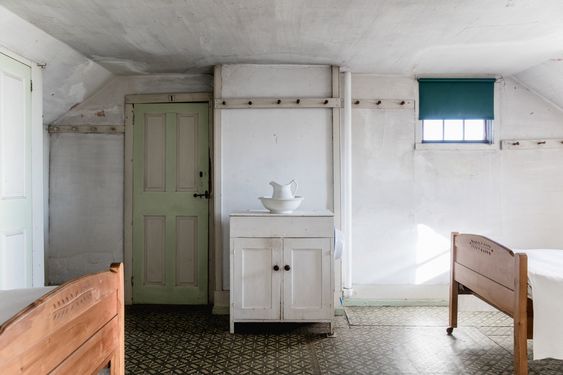
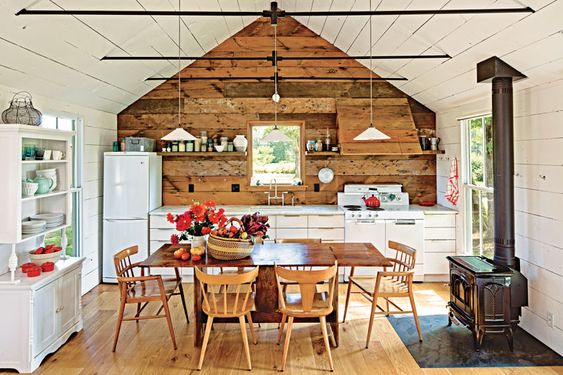
I feel as though the studio will land somewhere between the two extremes illustrated in that progression of images.

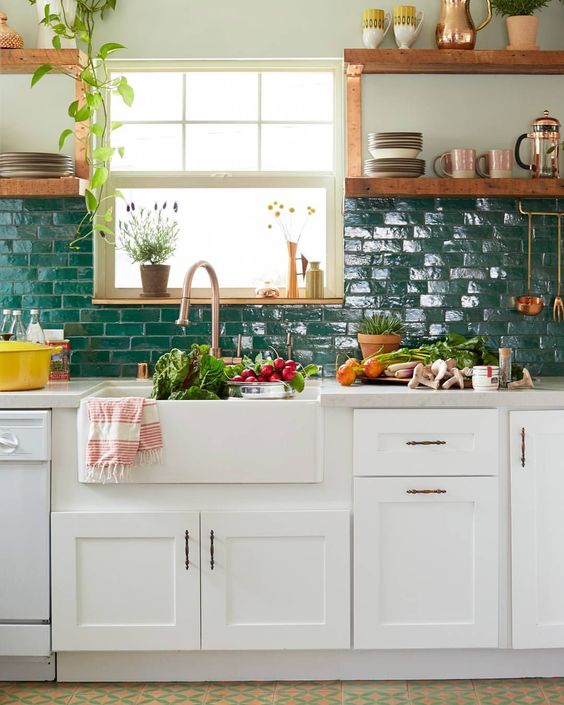
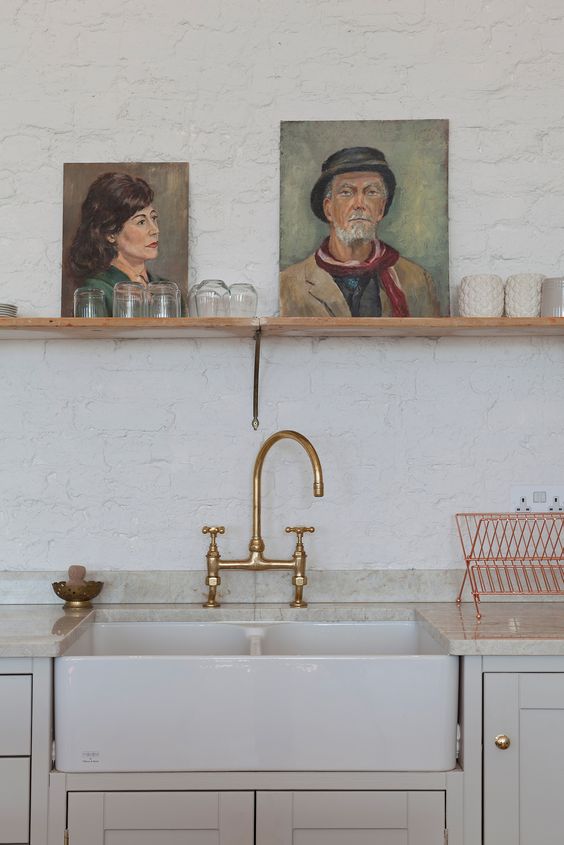
Remarkably, the kitchenette area is actually larger than most New York City apartments! I’d always envisioned as a simple, cabin kitchen - a giant sink for washing paintbrushes, a range top for cooking light meals, a mini-fridge below and lots of open shelving.

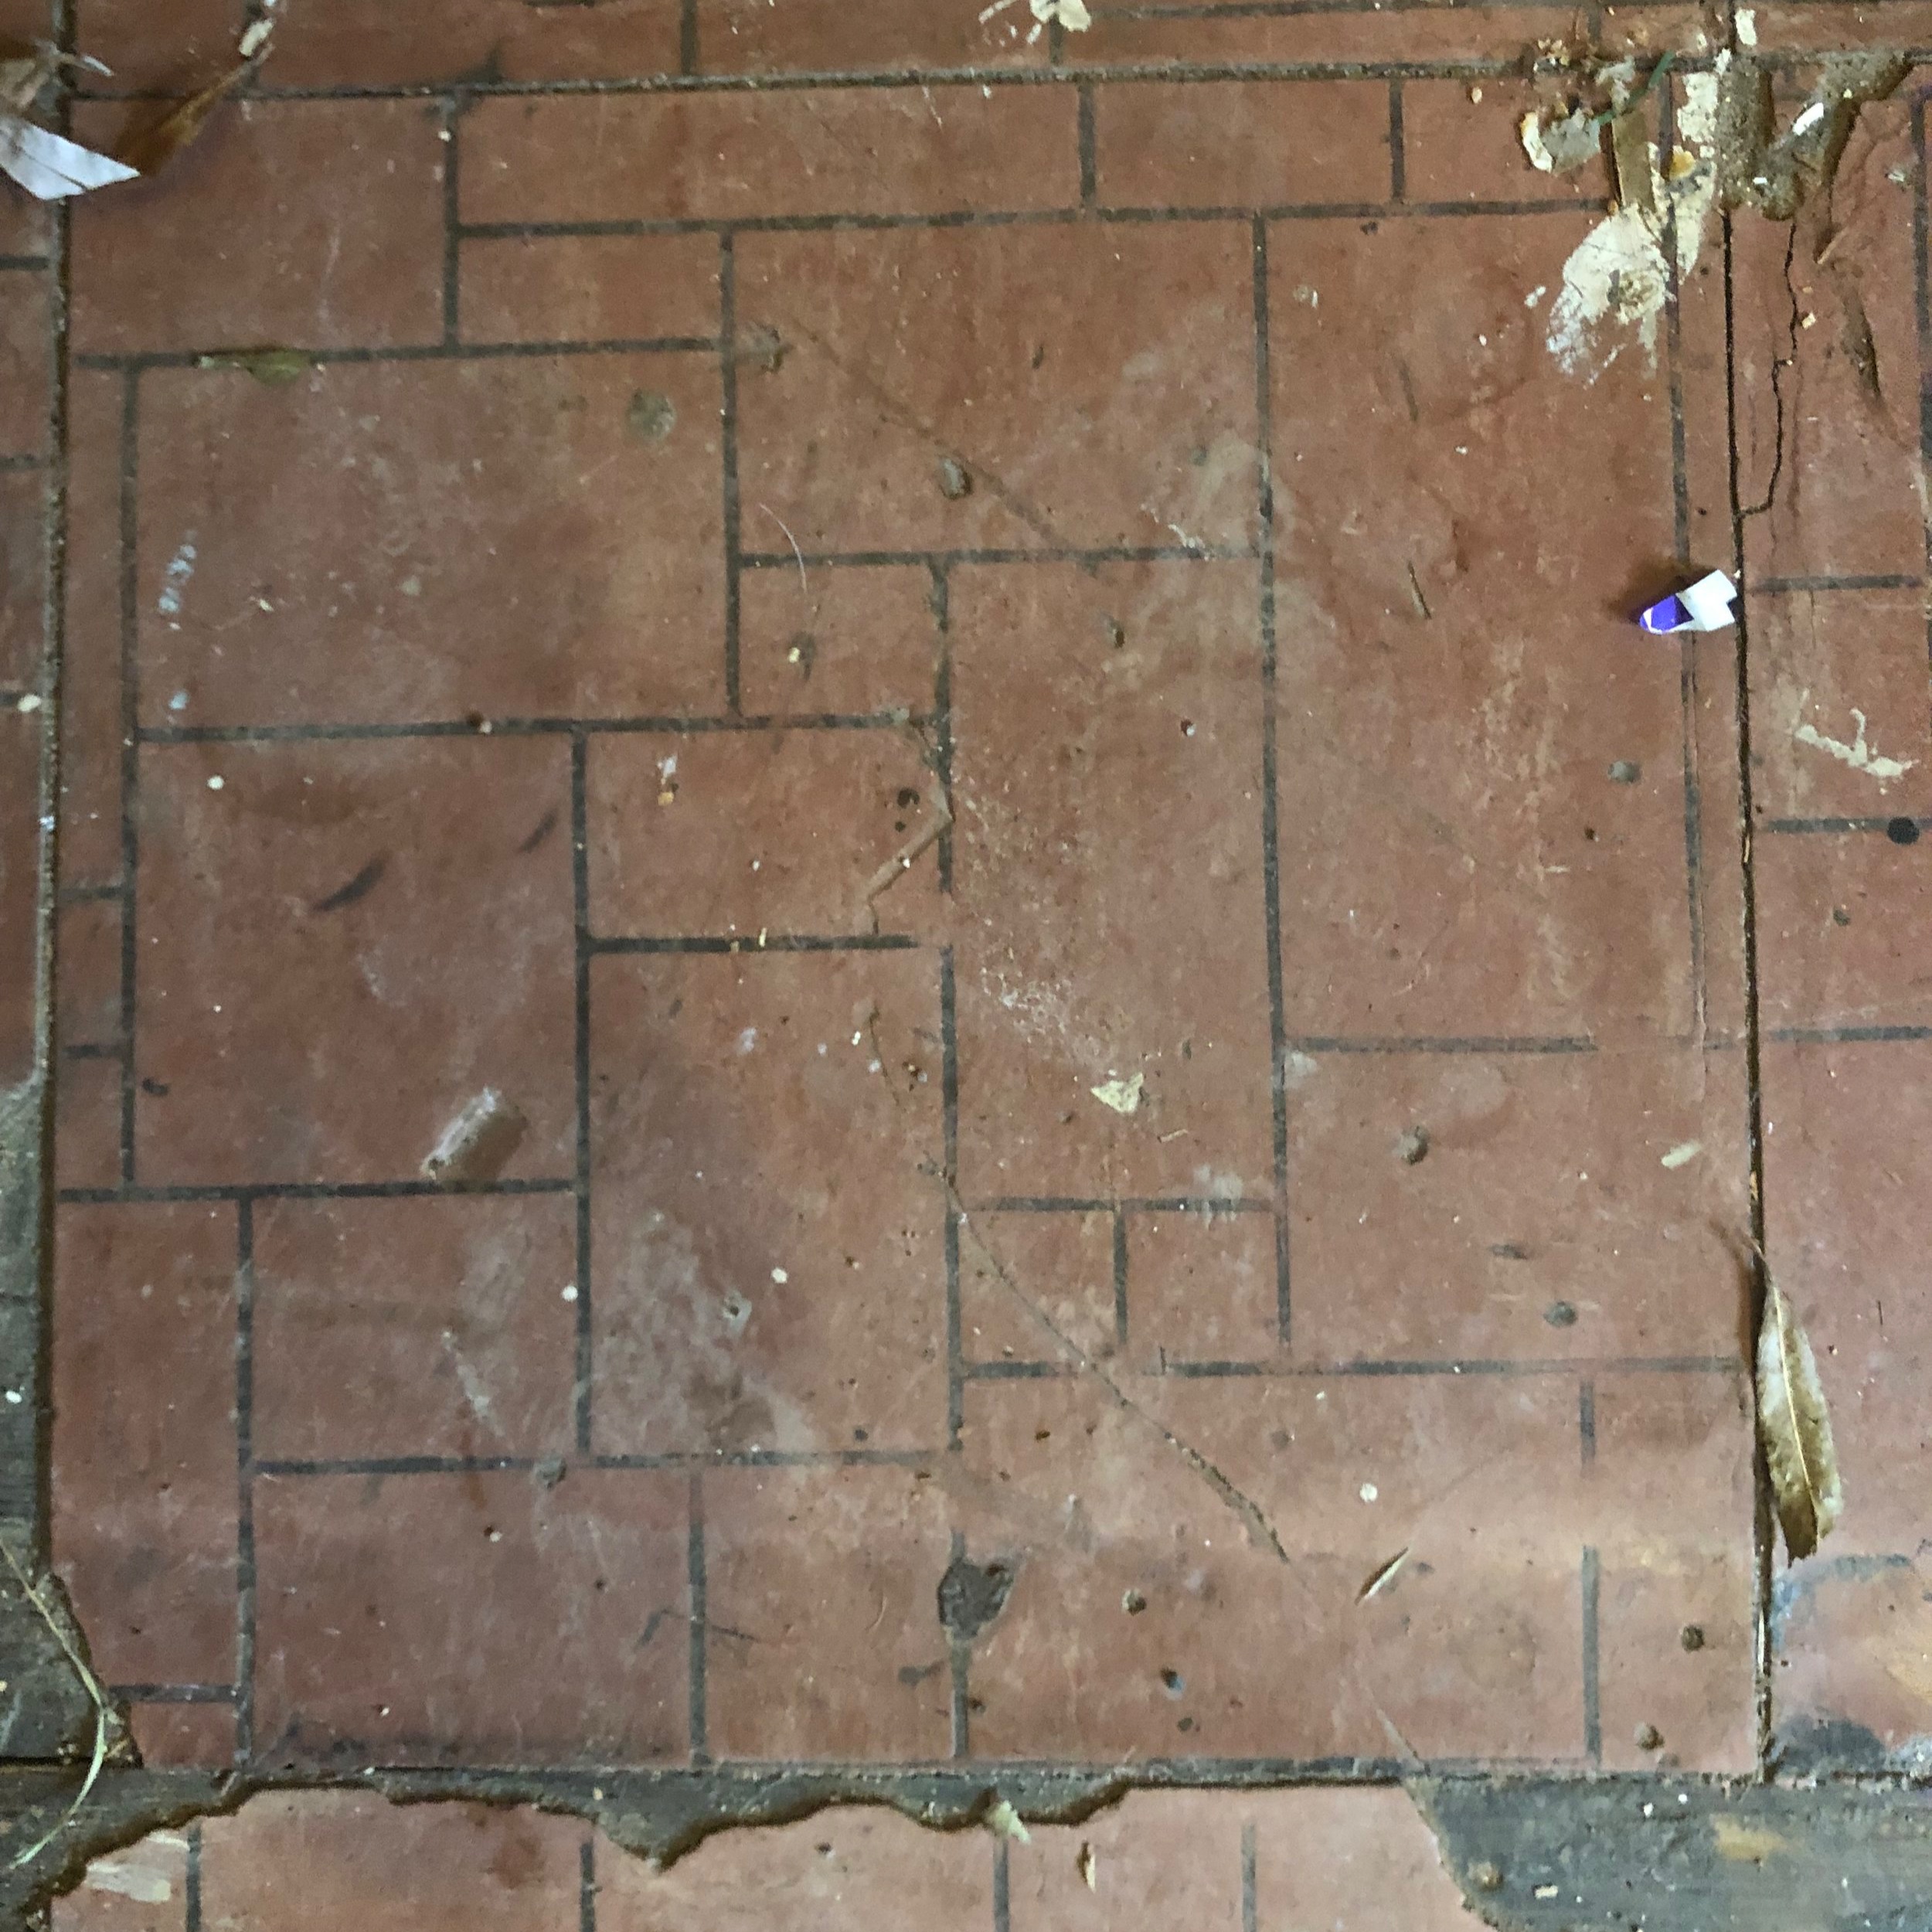
Framing challenges-aside (we’ll address that in a future post), the mudroom is also fairly simple. I’m continuing the Shaker-style into this functional, mudroom hallway, and only really need to decide if I’m continuing continuing the oak floor, doing tile for easy clean-up or a combination of the two!

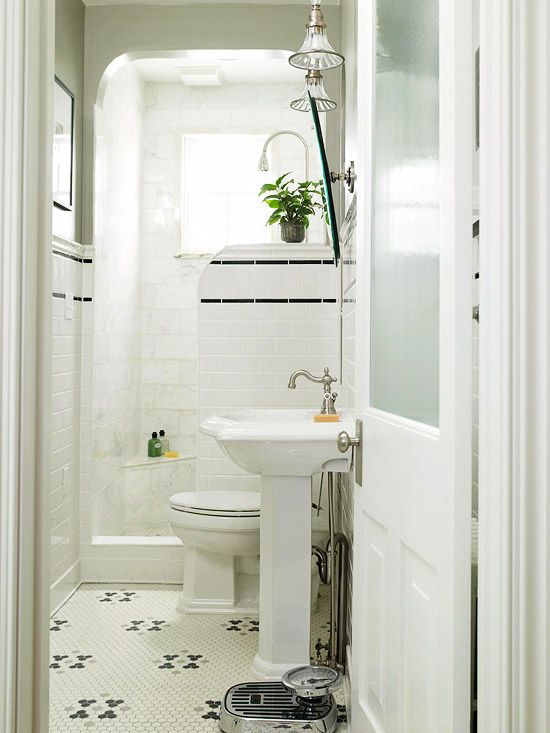
And lastly, the bathroom! Y’all have seen this image many times before. I’m personalizing it a little, maybe adding some shiplap or a built-in storage unit, but for the most part this vision has held up from the moment I laid eyes on it.

Back to you all very soon with another update on materials - thing’s are finally shifting into gear up here at Captain Clark’s!

RENOVATION 2019: THE GAMEPLAN

An early doodle of The Back Room renovation plan…Plan template courtesy of Brian Yudin.

An early doodle of The Back Room renovation plan…Plan template courtesy of Brian Yudin.

For many, the first month of the New Year is both a time of reflection and renewed intention for the year ahead.

Here’s a reflection for you:

Renovating a 160-year-old house is hard.

Even for an unflinchingly optimistic, glass half-full, everything is possible!!!! kinda gal. Progress is always slower than you imagined, things rarely go to plan, and for every problem you solve, four more pop up.

Renovations may be a forever wack-a-mole here at the Sparrow House compound, but we FIRST need to acknowledge just how far we’ve come in 9 short months! Nevermind that we painted, cleaned, decorated and furnished a 2300 square foot, 8-bedroom house. We also updated the electrical on all three floors, fixed the staircase & 1st floor, removed a couple of wood stoves the weight of two dying suns, built a new fire pit, replaced the washer and dryer, updated the heating system for the 21st century, added a security system and wifi activated locks, transformed a scary-looking room into a gorgeous library, completed steps 1 and 2 in solving the dreaded “basement problem”, PLUS, I even replaced that kitchen faucet that one time. We accomplished a lot and, more importantly, we did it together.

But the time has come now, boys and girls! The Renovation of The Back Room must commence! Our most audacious and challenging project to date, I’ve been fantasizing about this project since Day 1. It has always been my goal to complete The Back Room renovation by May 1st of this year, and I am tackling the project the only way I know how: take the leap and figure it out as we go.

What we at Sparrow House have always called “The Back Room” was actually the original, 1850s kitchen. Back then, kitchens were designed as an indoor/outdoor space separated from the house by a firewall and connected to a coal or wood shed for the stove. According to the previous owners, the room continued to serve as the kitchen for over 120 years, well in the 1970s and 80s. To this day, you can see remnants of the kitchen’s history here and there with quirky lil updates from just about every decade.

Originally, this room was the workspace for the Irish family who cooked and kept the home running for the Clark family at the turn of the century. (According to census records, they lived in the home with the Clarks and their children.) In the 1920s, the Clark Family added electricity to their home (they published an ad about it in the local paper to prove it!) and subsequent owners later added pipes for a gas stove, a kitchen sink and a bathroom above on the 2nd floor. Later on, someone else added pipes for a washer/dryer and electrical wires for some rudimentary lighting back there. Best of all, you can still see where the kitchen phone once hung on the wall; all the local, 7-digit phone numbers scrawled in multi-colored ink across the shiplap walls.

I’ve investigated every nook and cranny of this room, and here is what I know for sure:

  • The east and west walls are both made out of brick; probably to act as a firewall.

  • While the house has a small, stone basement beneath the living room, both The Back Room and present-day kitchen were built over separate crawl spaces.

  • The crawl space beneath The Back Room floor is shallow, probably 6” or so. It seems that the original raised floor has been undisturbed over the years which is pretty miraculous. Above the original floor joists and beams, is a decoupage sandwich from the past 150 years-worth of materials including a small section of poorly poured concrete at one end. All of this definitely has to go.

  • The East, North and South walls all still have the original, 1850s shiplap of varying widths which I want to preserve at all costs.

  • The exposed joist and beam ceiling has electrical wires threaded through them which is unfortunate. Even worse, there is only a single layer of sub-floor separating The Back Room ceiling from the 2nd floor so sound carries like crazy.

As you can probably tell, I am head over heels in love with this space, and it’s important to me that we preserve as much of the room’s history as possible. Adding a second bathroom is pretty much a no-brainer- it’s incredible that this 8-bedroom house has existed with a single bathroom for this long. I’ve also decided to convert the rest of The Back Room into a studio space for future artists-in-residence.

Of course, any renovation is a ton of work, but Sparrow House’s curious 1850s construction and subsequent updates have presented a number of challenges, further complicated by the fact that winter has been our busiest season yet! (Who knew?)  So I’ve broken the project down three phases to complete between all our wonderful guests check in and out.

PHASE ONE (January-February): DEMO - PLUMBING - FLOOR

  • Pull permits & clear room

  • Demo the existing floor & concrete steps

  • Preserve original wood floor if still good

  • Re-route wonky water and gas pipes

  • Rough in the bathroom and kitchenette plumbing

  • Bring in the gravel & pour the concrete slab

  • Source (2) antique, tombstone door & other fun materials

PHASE TWO (March): DOORS - WALLS - INSTALLATION

  • Move the exterior door on the south-facing wall

  • Re-frame north-facing wall and replace exterior door & frame

  • Insulate south, north and western walls

  • Frame bathroom and studio walls

PHASE THREE: (APRIL): COMPLETE BATHROOM

  • Sheetrock walls & ceiling

  • Add shower plate, toilet, sink

  • Tile bathroom & mudroom/hall

  • Reuse the original wood floor for studio

  • Add shiplap in the mudroom/hall

That’s all folks! Tune in the next three months to hear all about our misadventures, discoveries & see how this project shapes up!