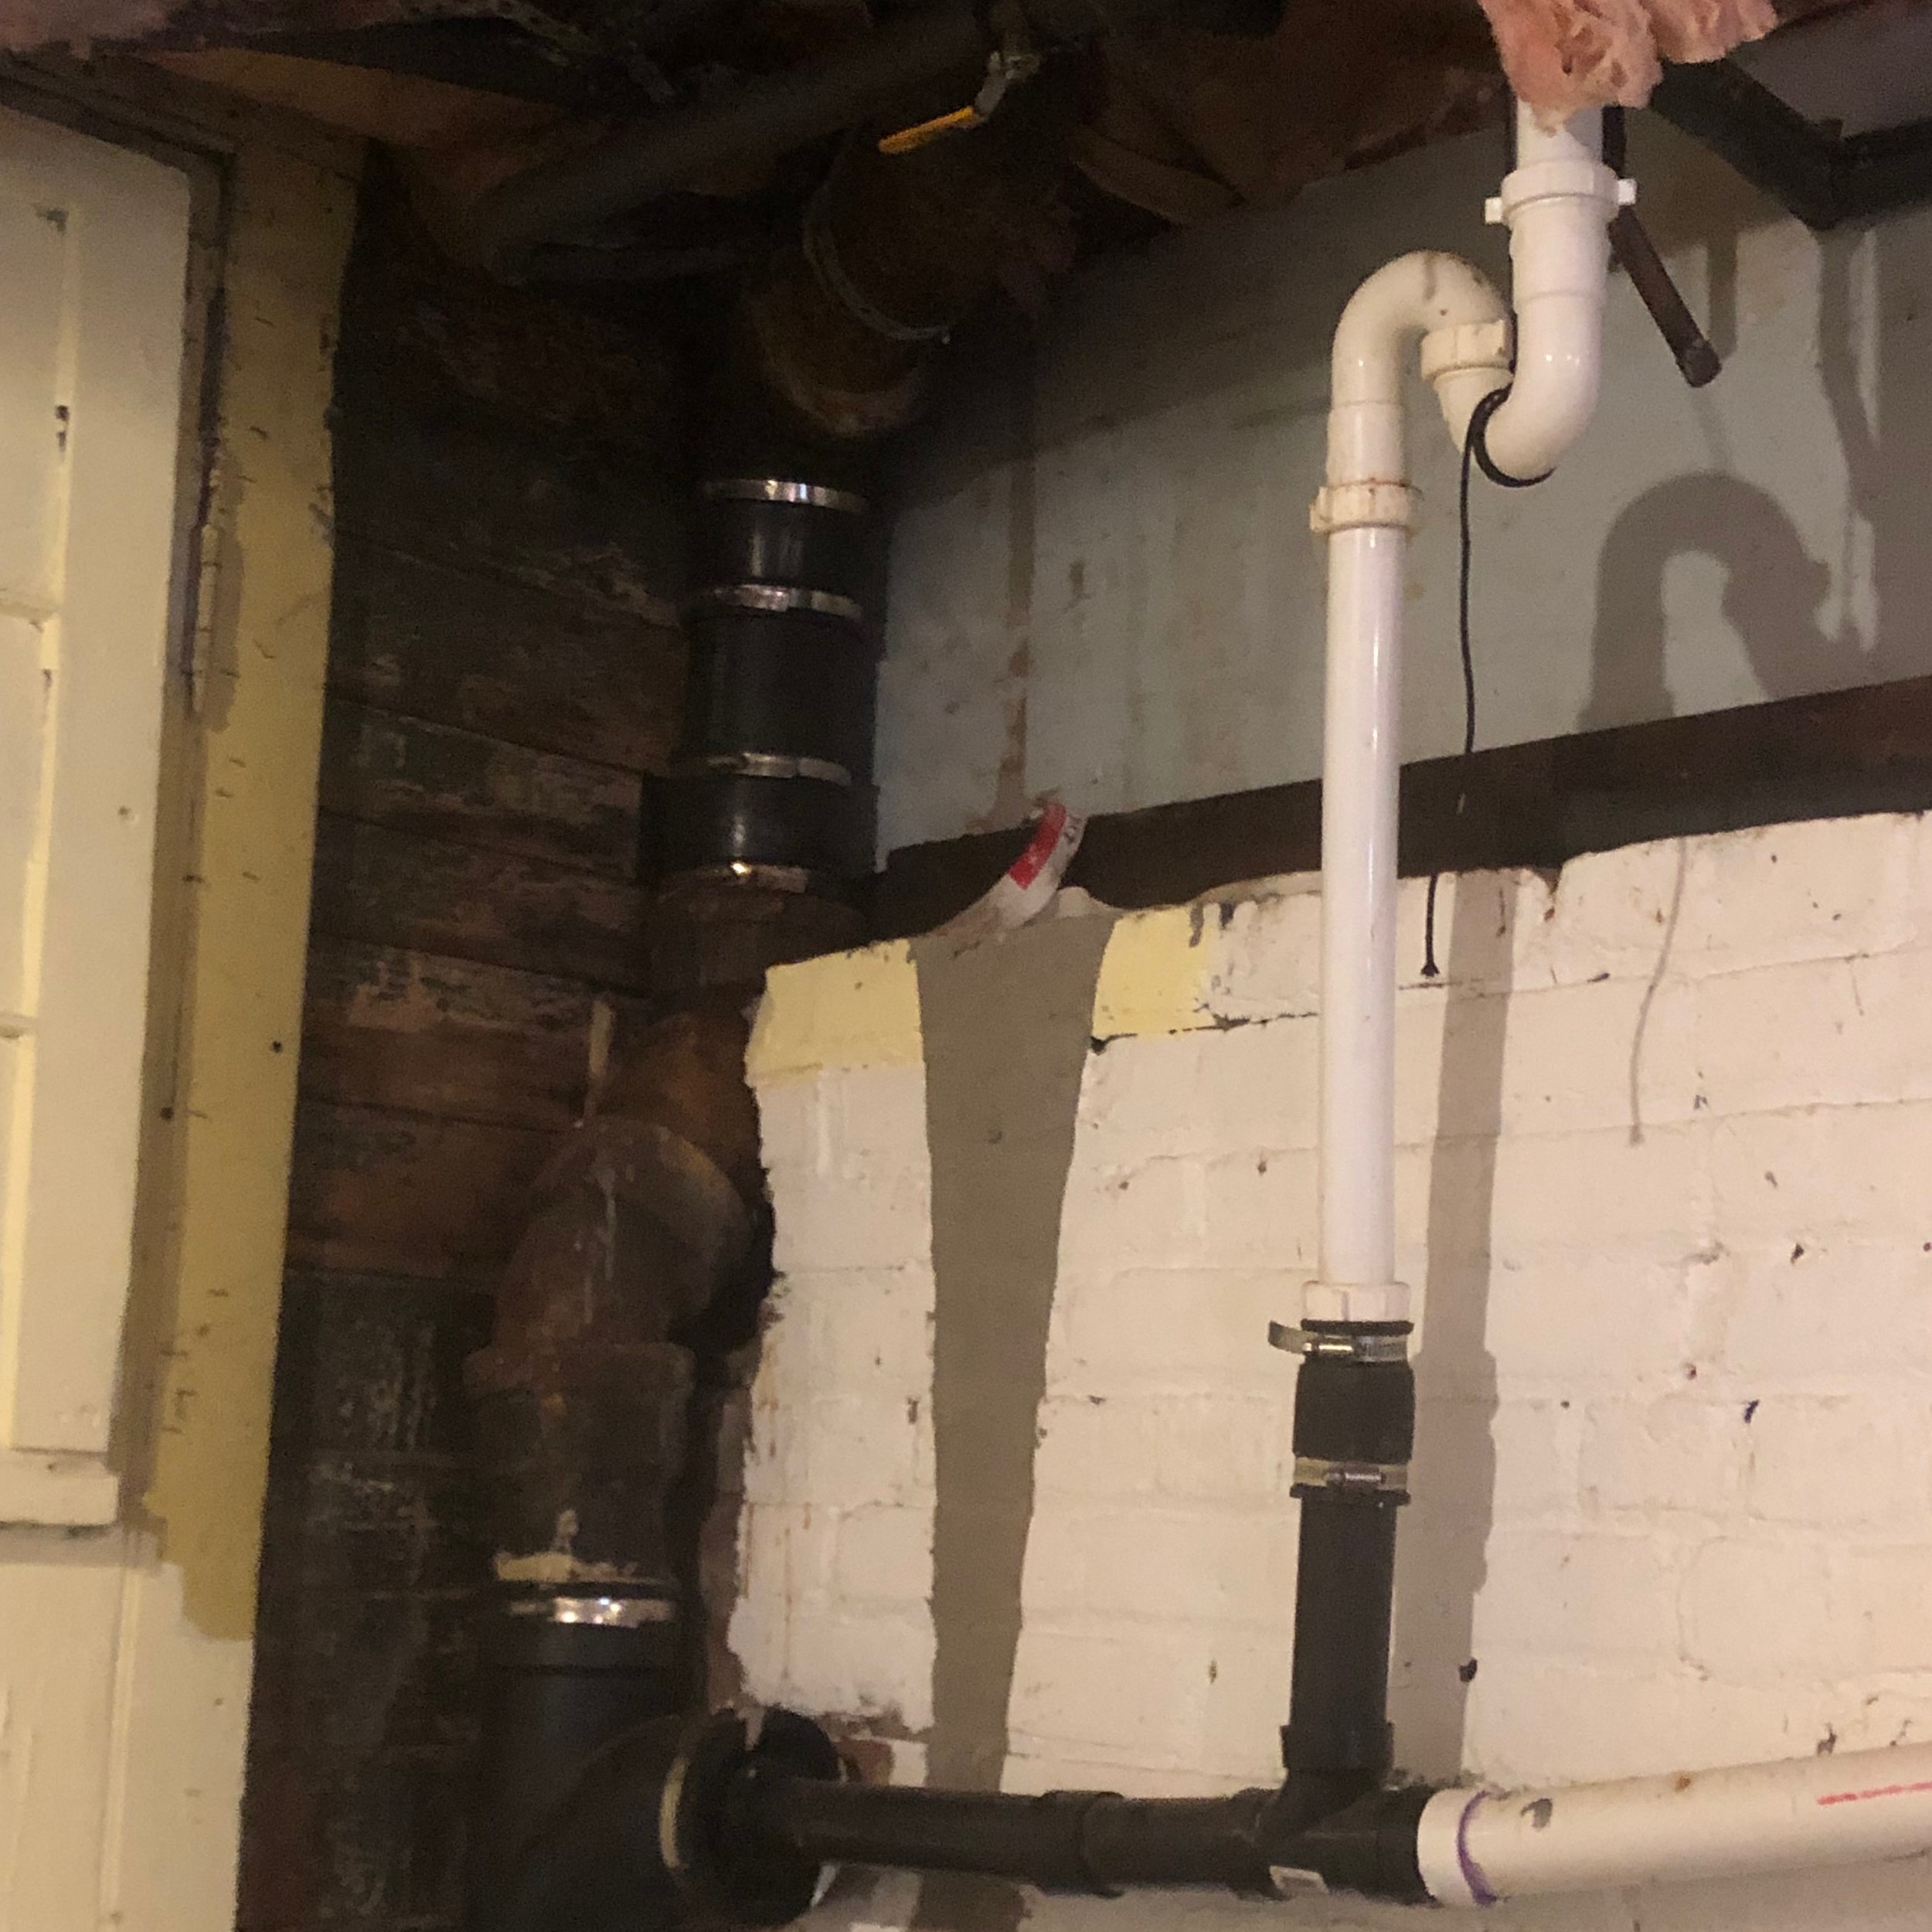
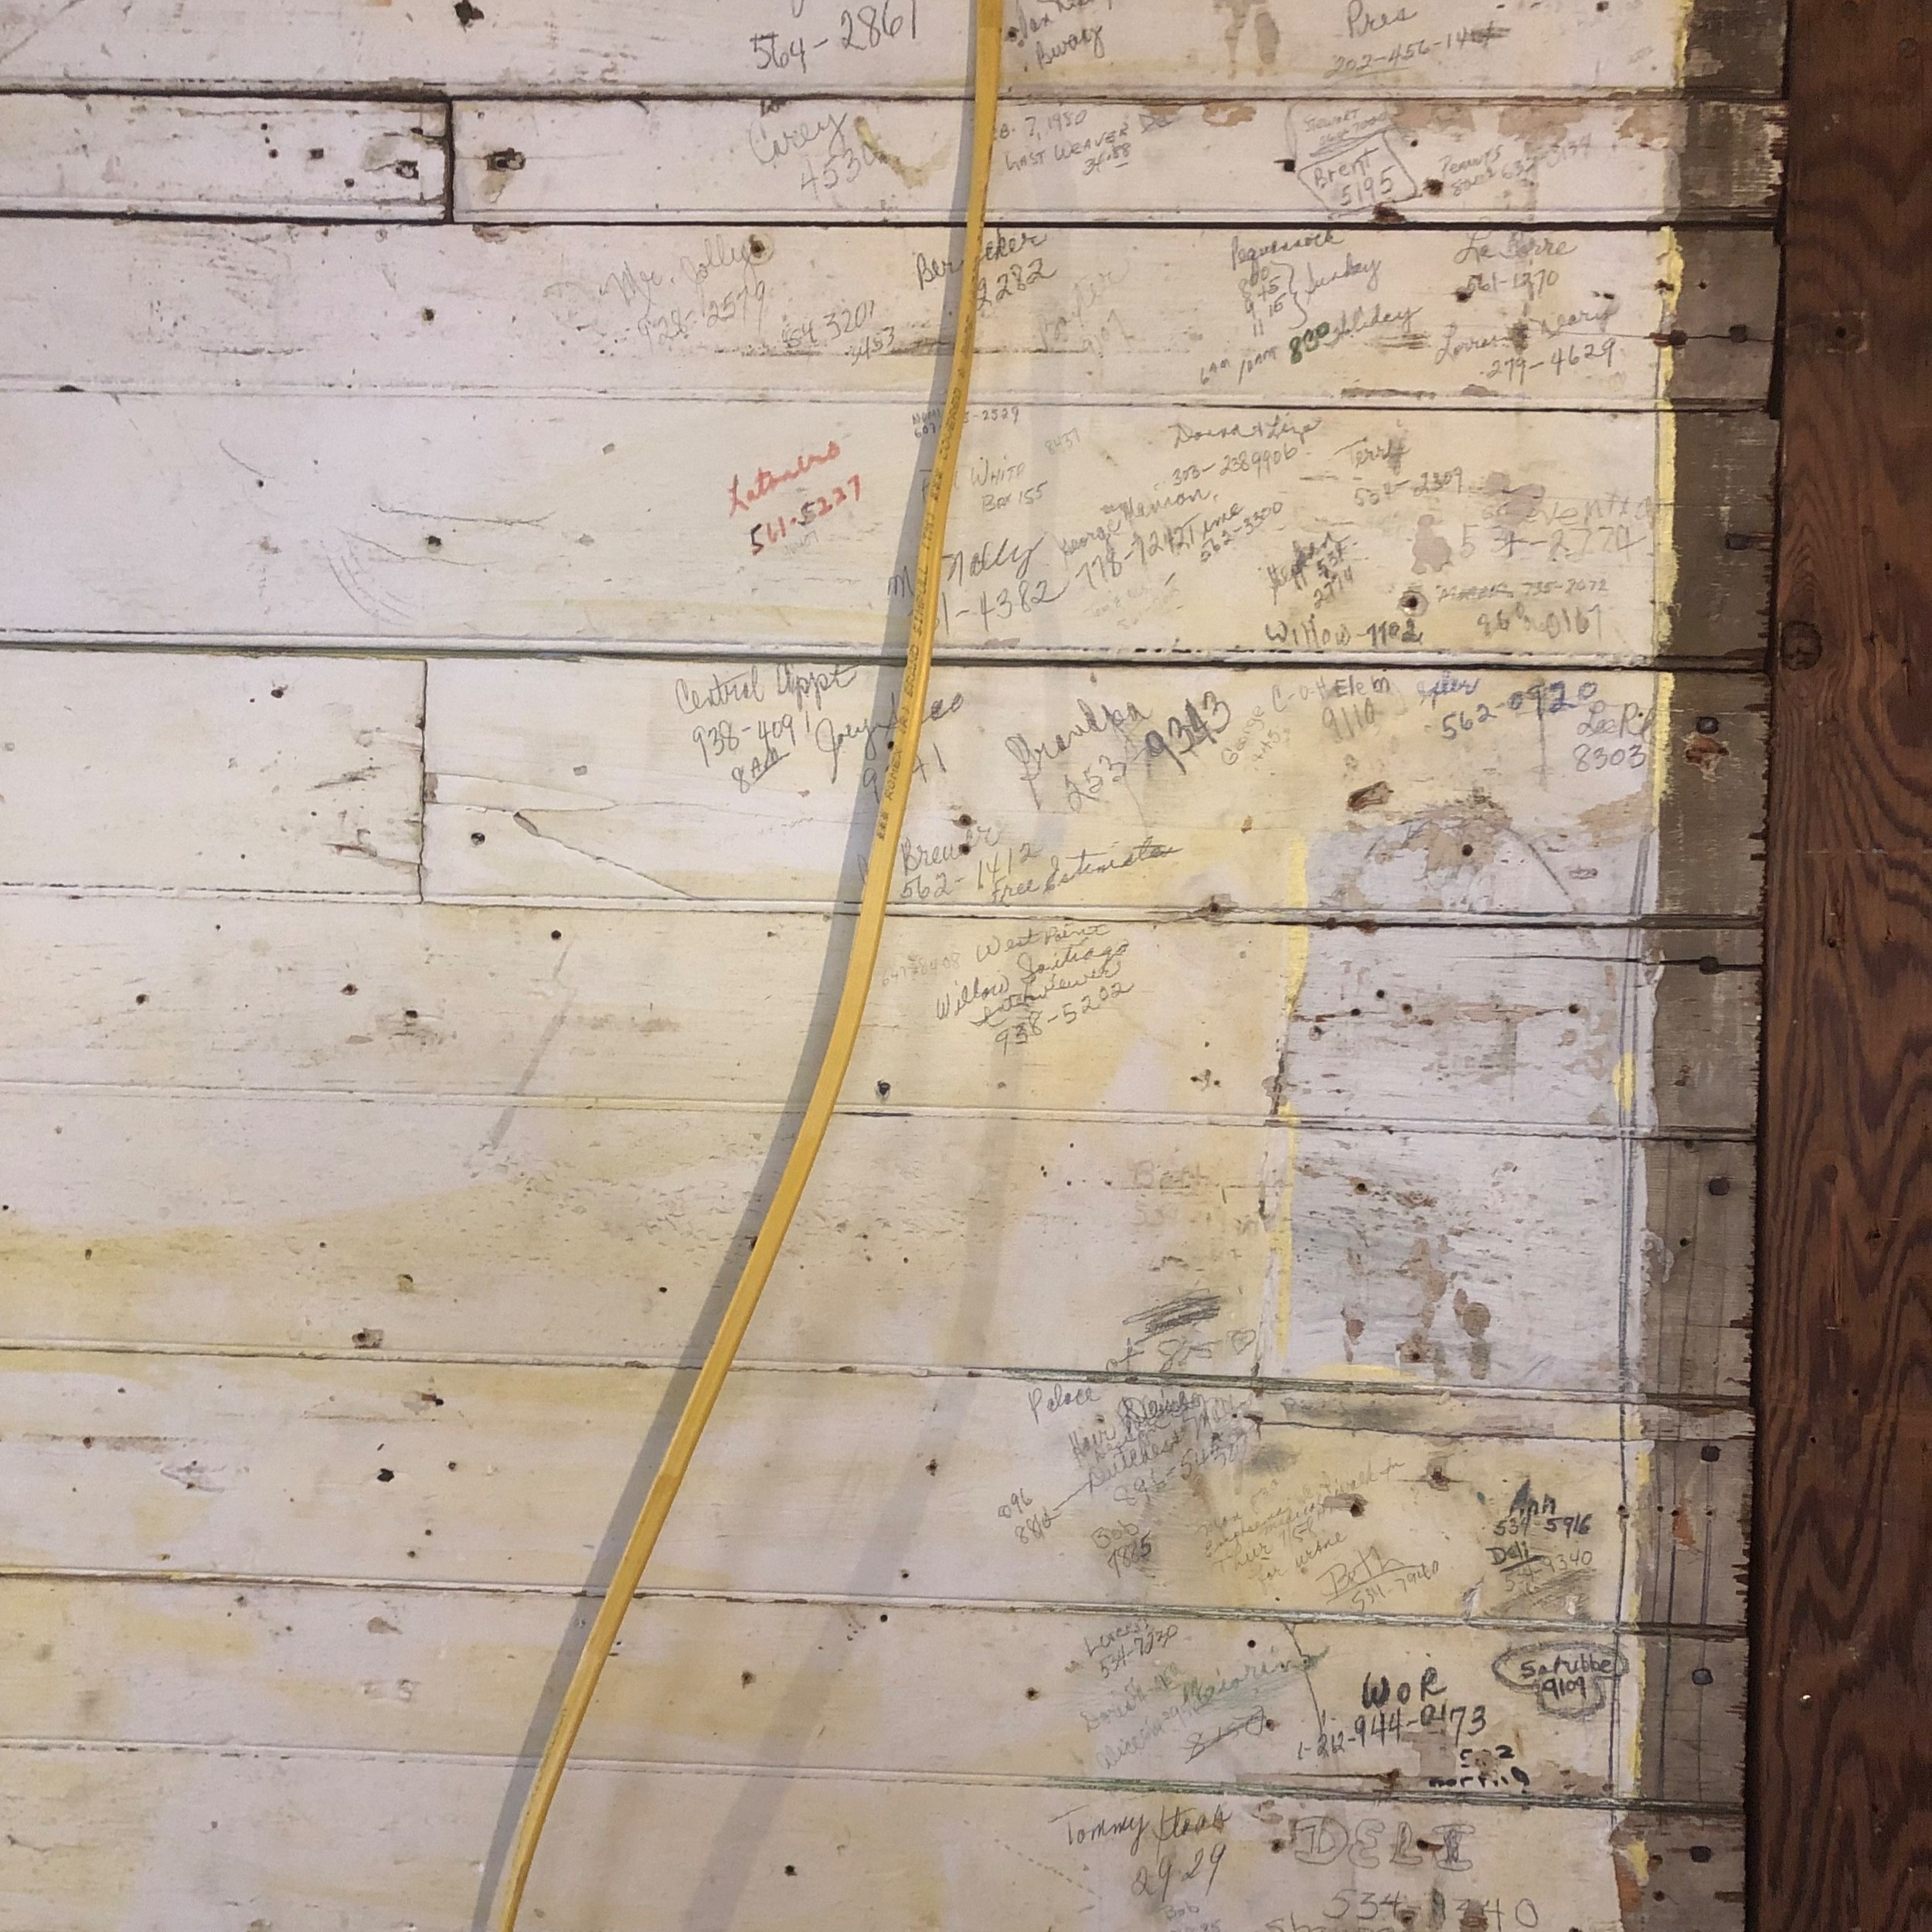
Of all the things on our to-do list, demo seemed like the most fun. You get to smash things? Yes please, let’s do it! I also assumed we could bang it out in a weekend…which was real cute in retrospect. Armed with particle masks, a pry bar, a hammer and a shovel, we got to work in early January. Two months later, we are nearly done.
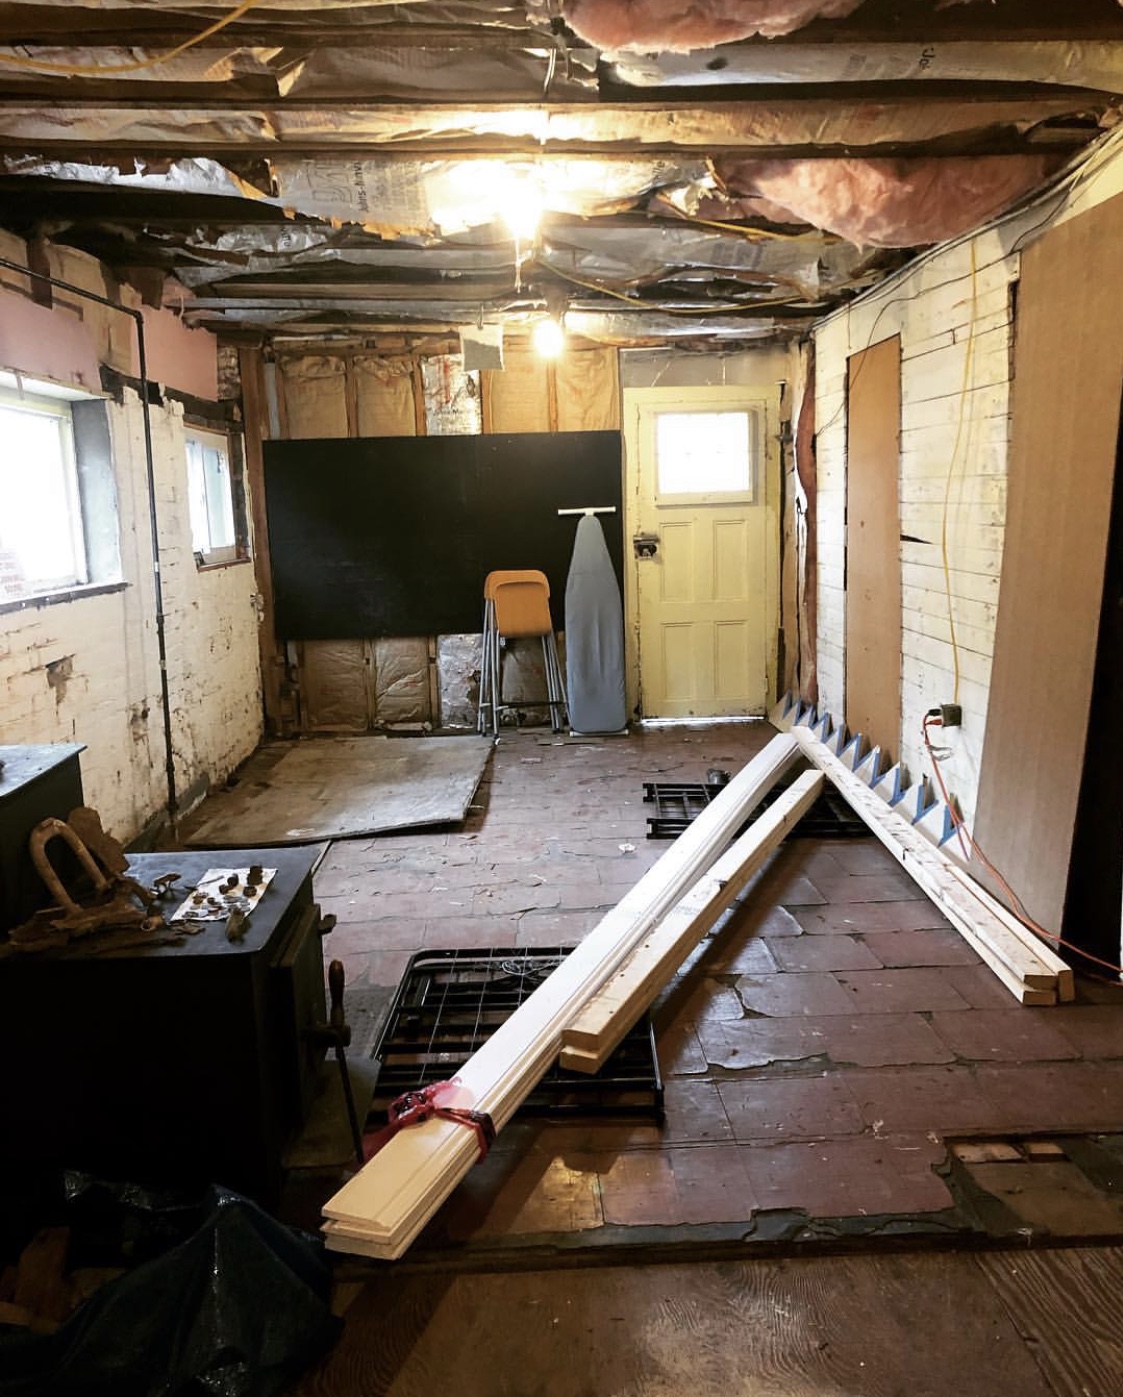
It didn’t take too long to clear The Back Room, and find some creative storing solutions for the stack of 16’ moulding I need to finish off the Library and 3rd floor. I didn’t want to cut the moulding since the rooms are incredibly long on the 3rd floor, and I don’t have a miter box to get the job done right at the moment. Since not a single room was large enough to store them, we ended up stashing them on top of the brick wall in The Back Room. Done!
A little creative problem solving for ya…
Finding someone strong enough to move the behemoth of a wood stove, however, was a bigger problem, though many in Cornwall tried and failed. (Side note: If you ever need to get rid of anything in a hurry, listing it as some sort of sword-in-the-stone-type challenge in “free” Craigs List works like a charm. I have NEVER received so many emails from men in all my life.)
Once we’d cleared the room, it was time to pull up the floor. In reality, pulling up all the layers of the kitchen floor took about 4 weekends in total, as we discovered its not so much one floor, but a whole bunch of floors sandwiched one on top of the other:
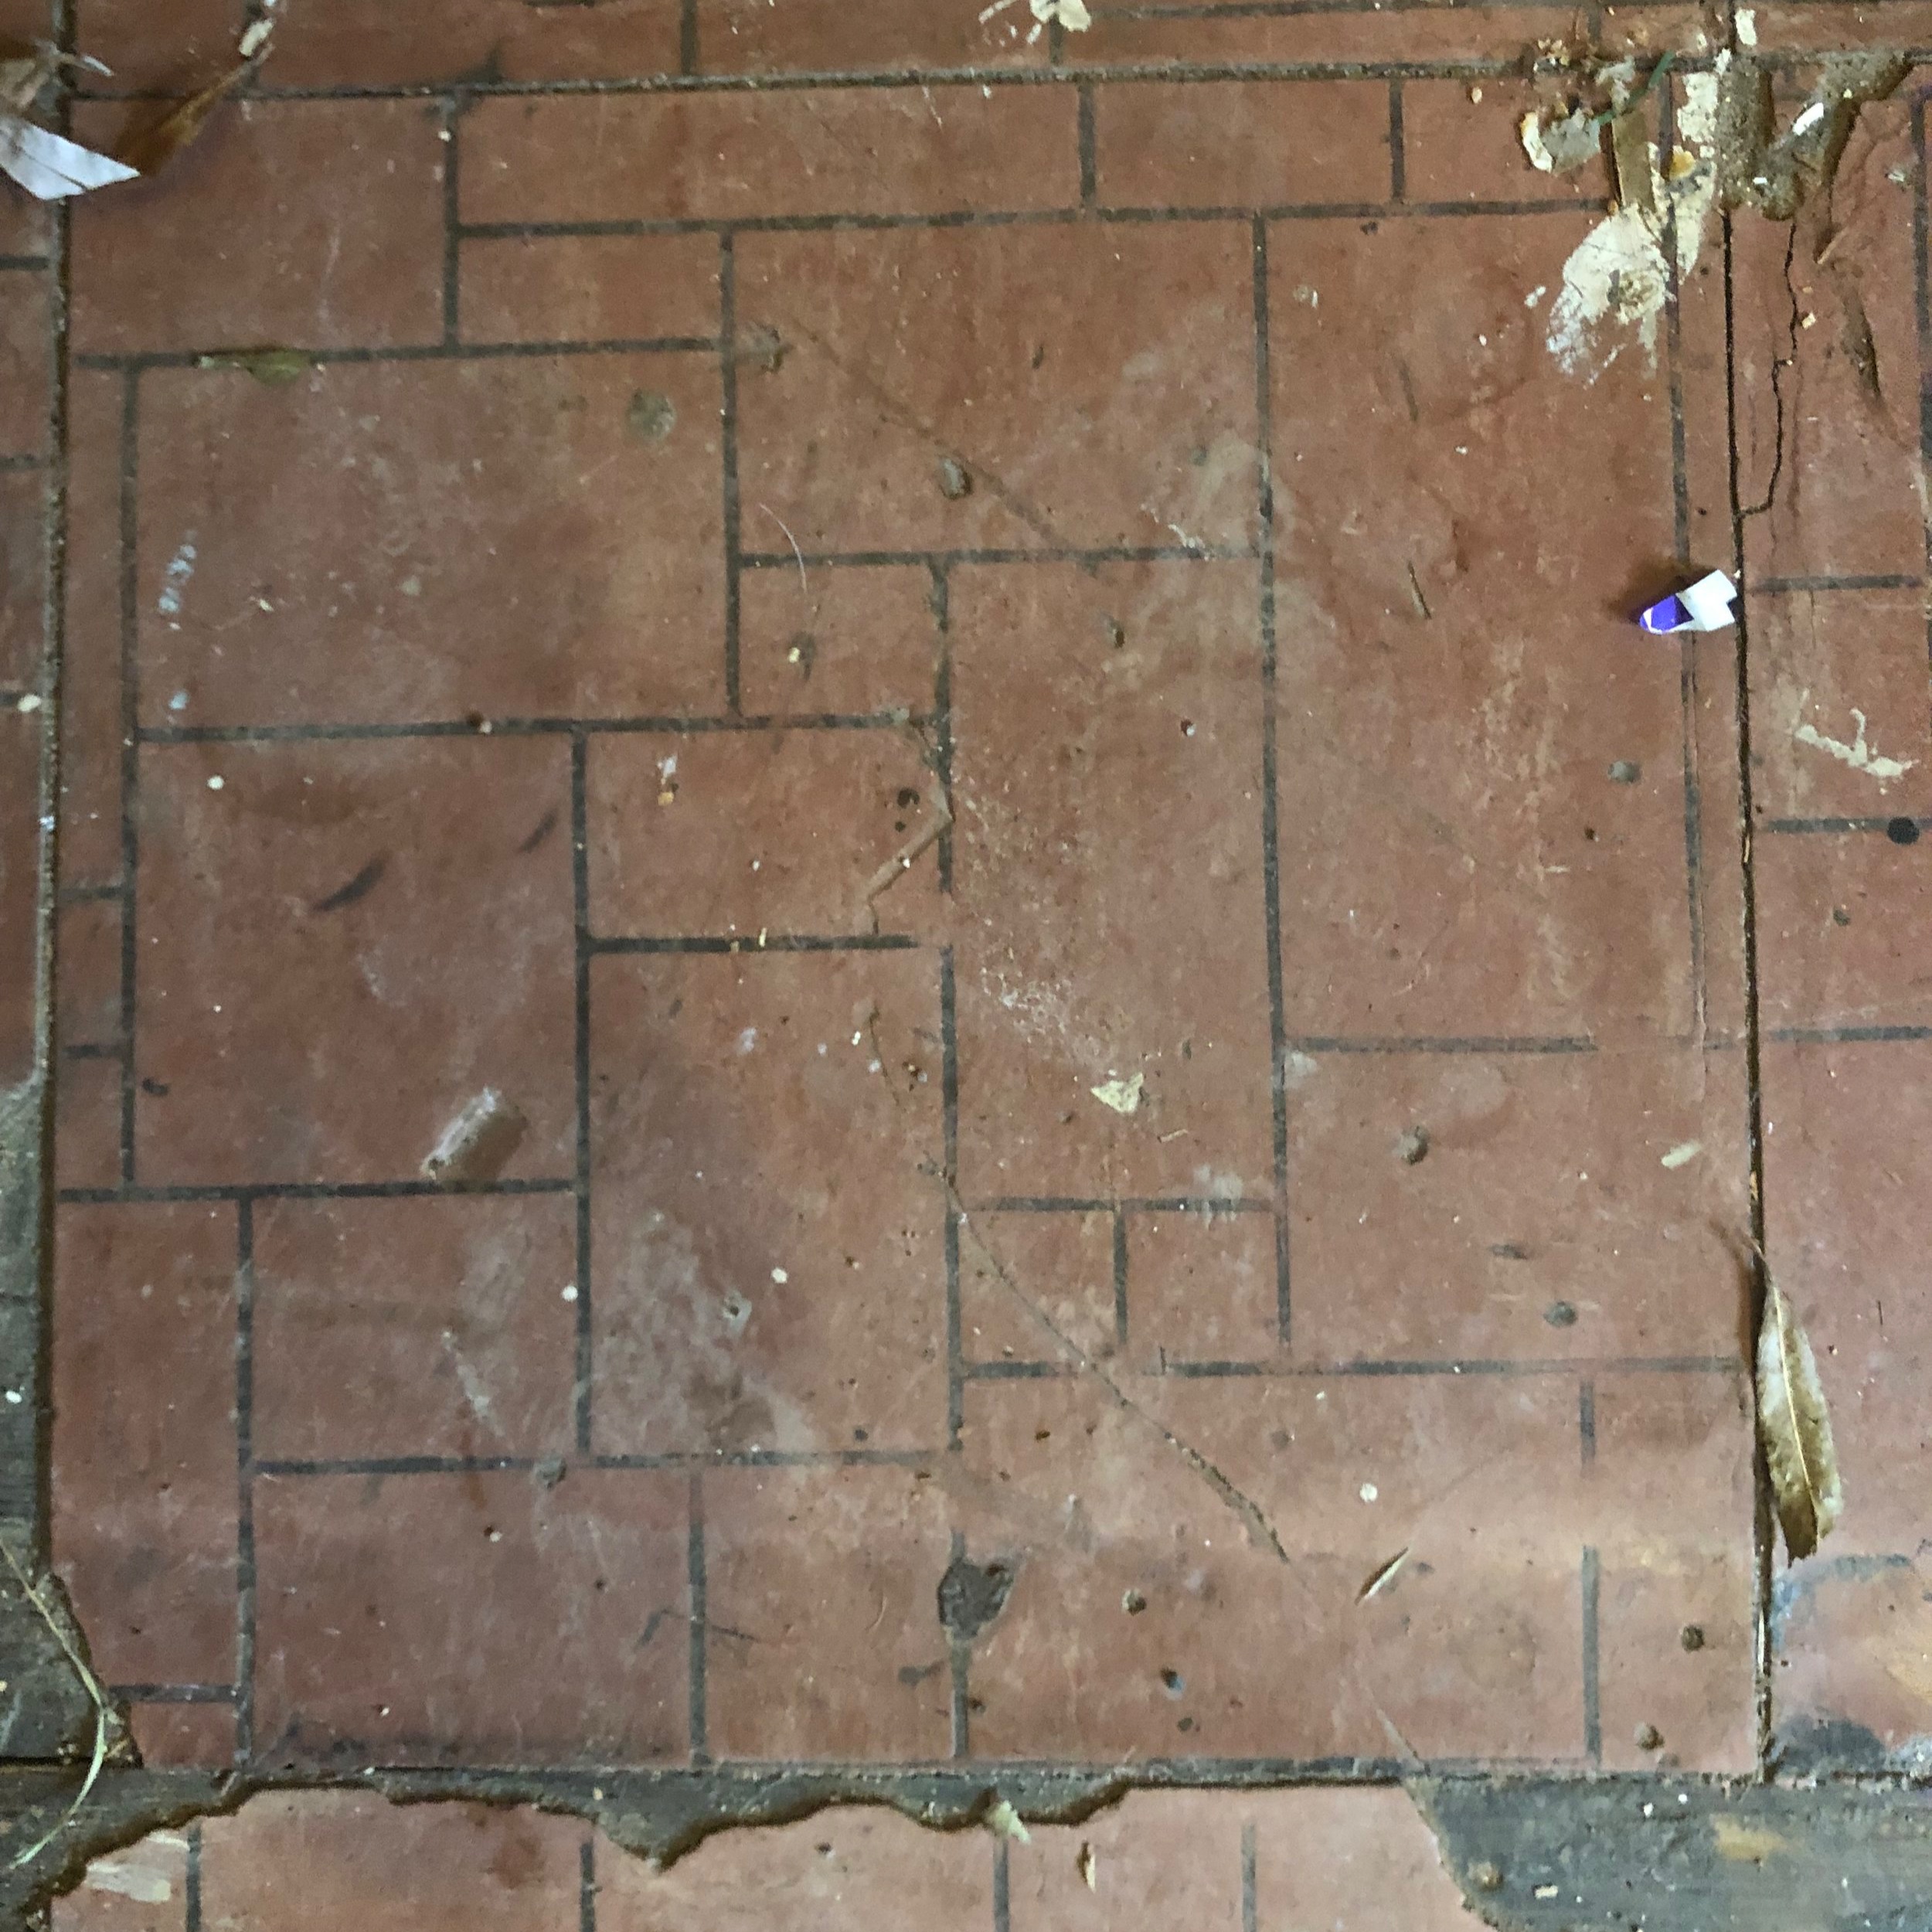
Layer #1: We first pried up a layer of plywood covered with some kind of red linoleum form the 80s.
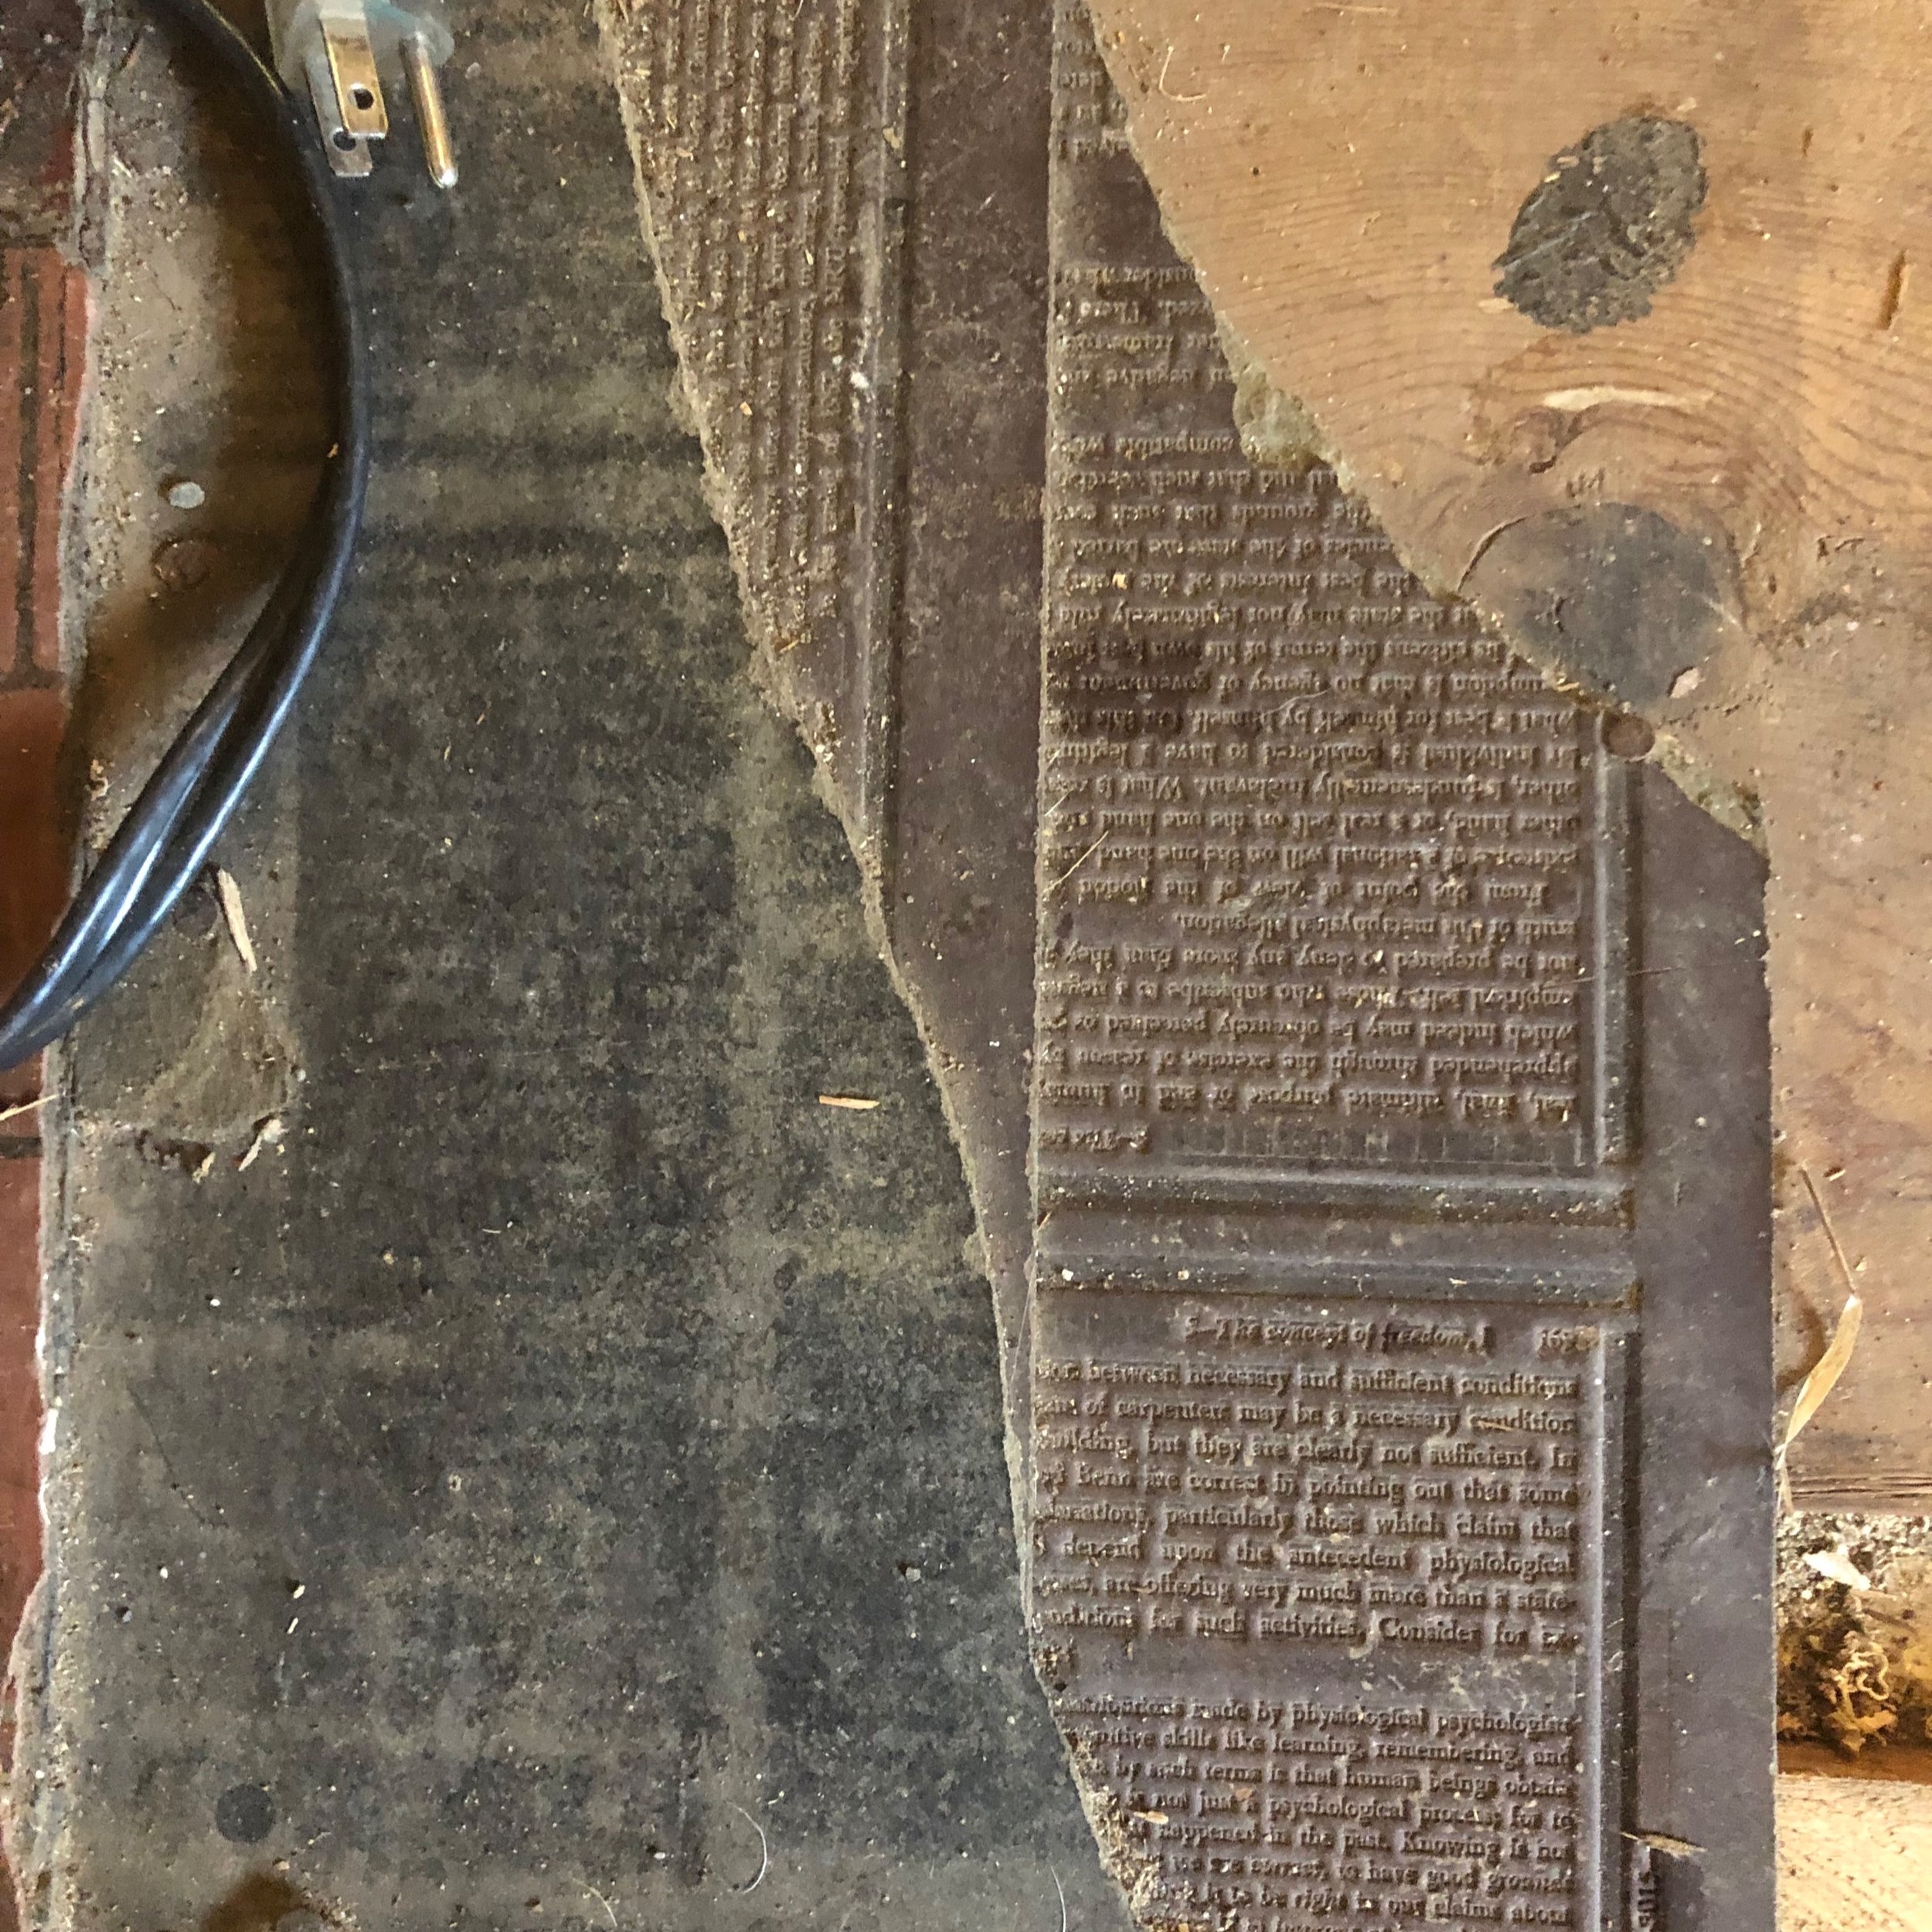
Layer #2: Beneath the plywood was a layer of what looks like printing press plates. Or shingles designed to look like the pages of the book? They’re very curious. Whoever built this floor also used them as siding on the shed out back.
Layer #3: Beneath the black printing press shingles was a layer of of pine boards
Layer #4: Beneath the boards was a layer of white linoleum.
Layer #5. Beneath the white linoleum was a layer of magenta linoleum.
Layer #6: Beneath the magenta linoleum was a layer of green, 50s-patterned linoleum.
Layer #7: Beneath the green linoleum was another layer of pine boards.
Layer #8: Beneath those boards was the original wood floor!!
Layer #9: Beneath the floor lay the original joists and beams.
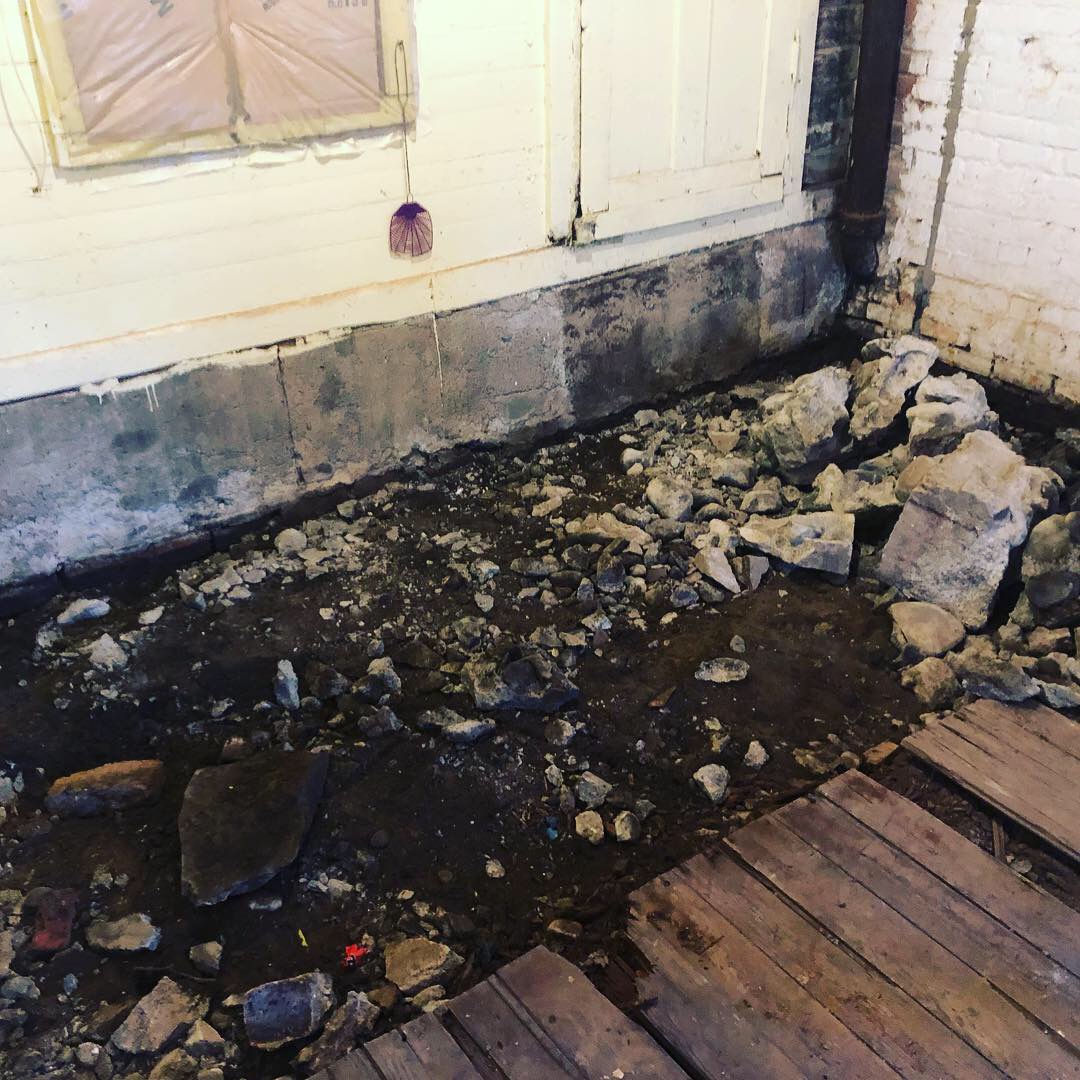
Layer #10: And underneath all of that was a whole bunch of dirt.
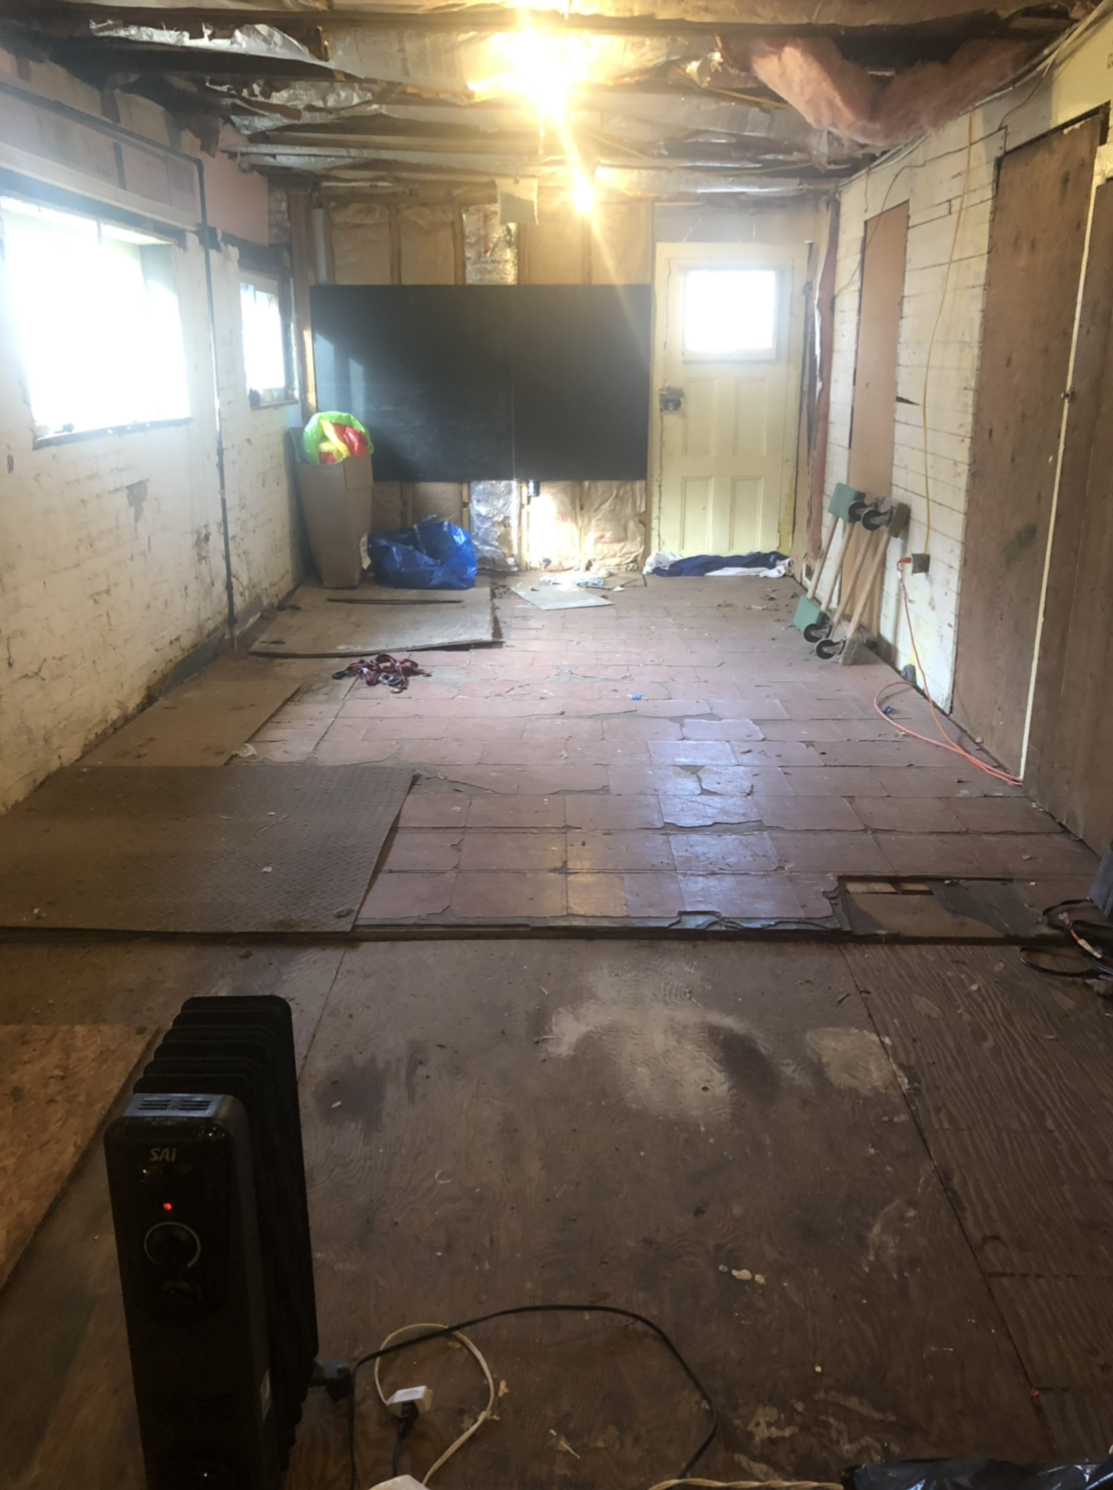
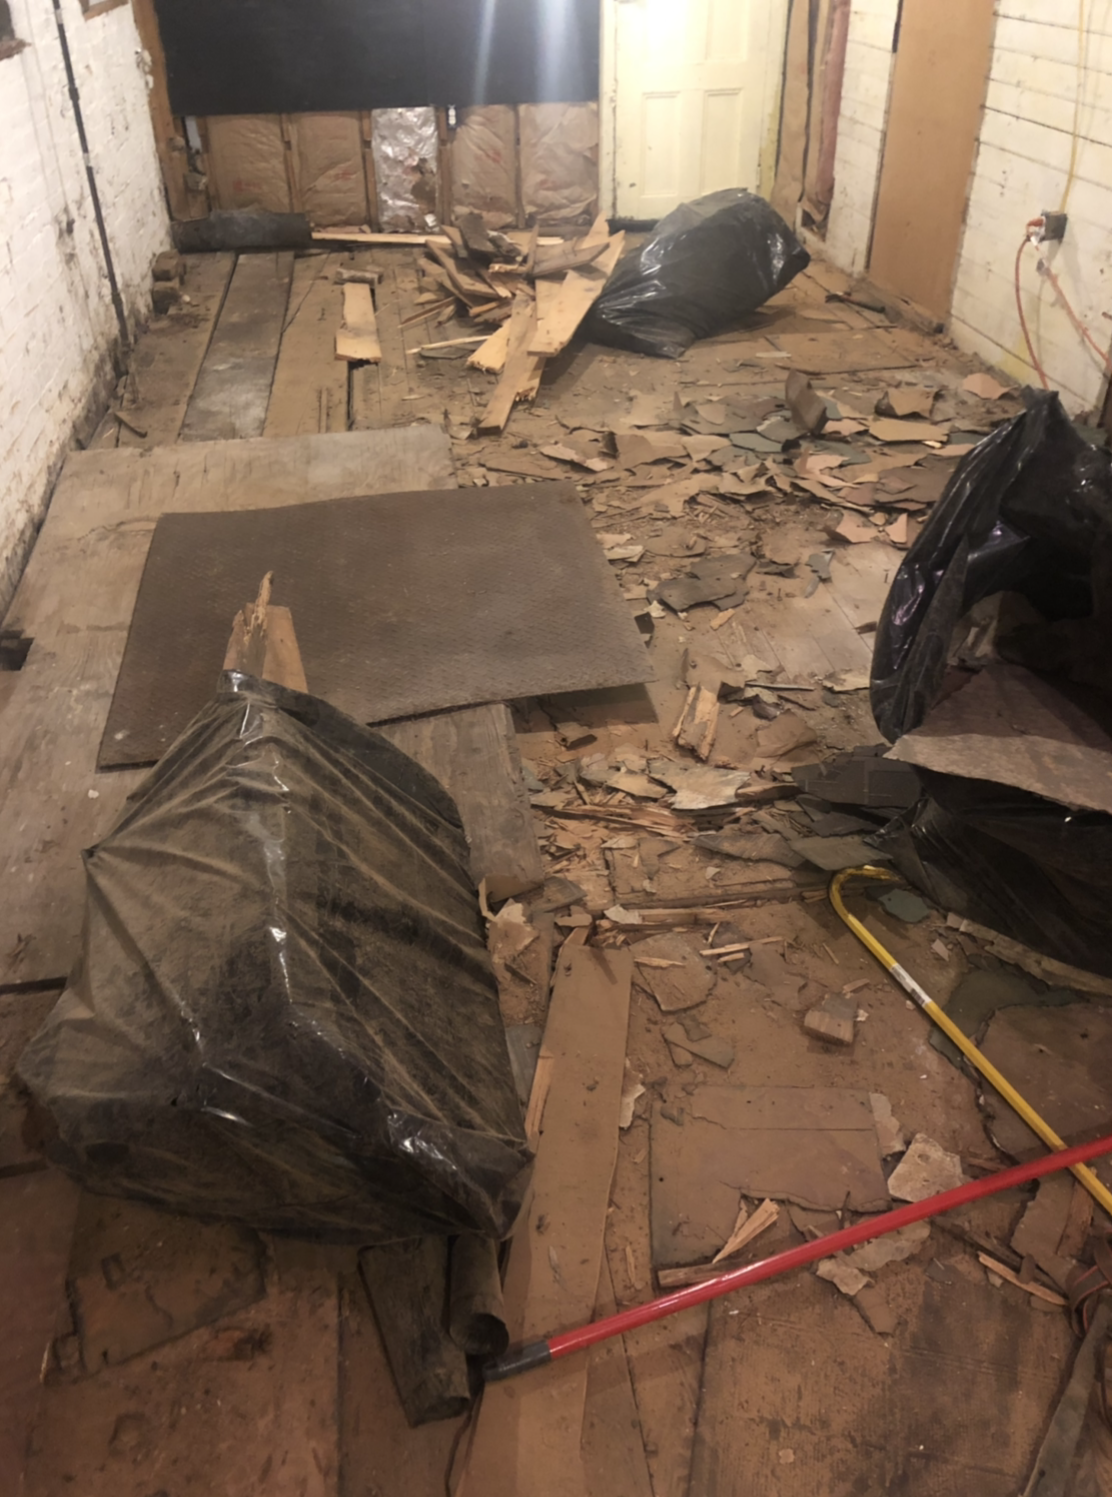
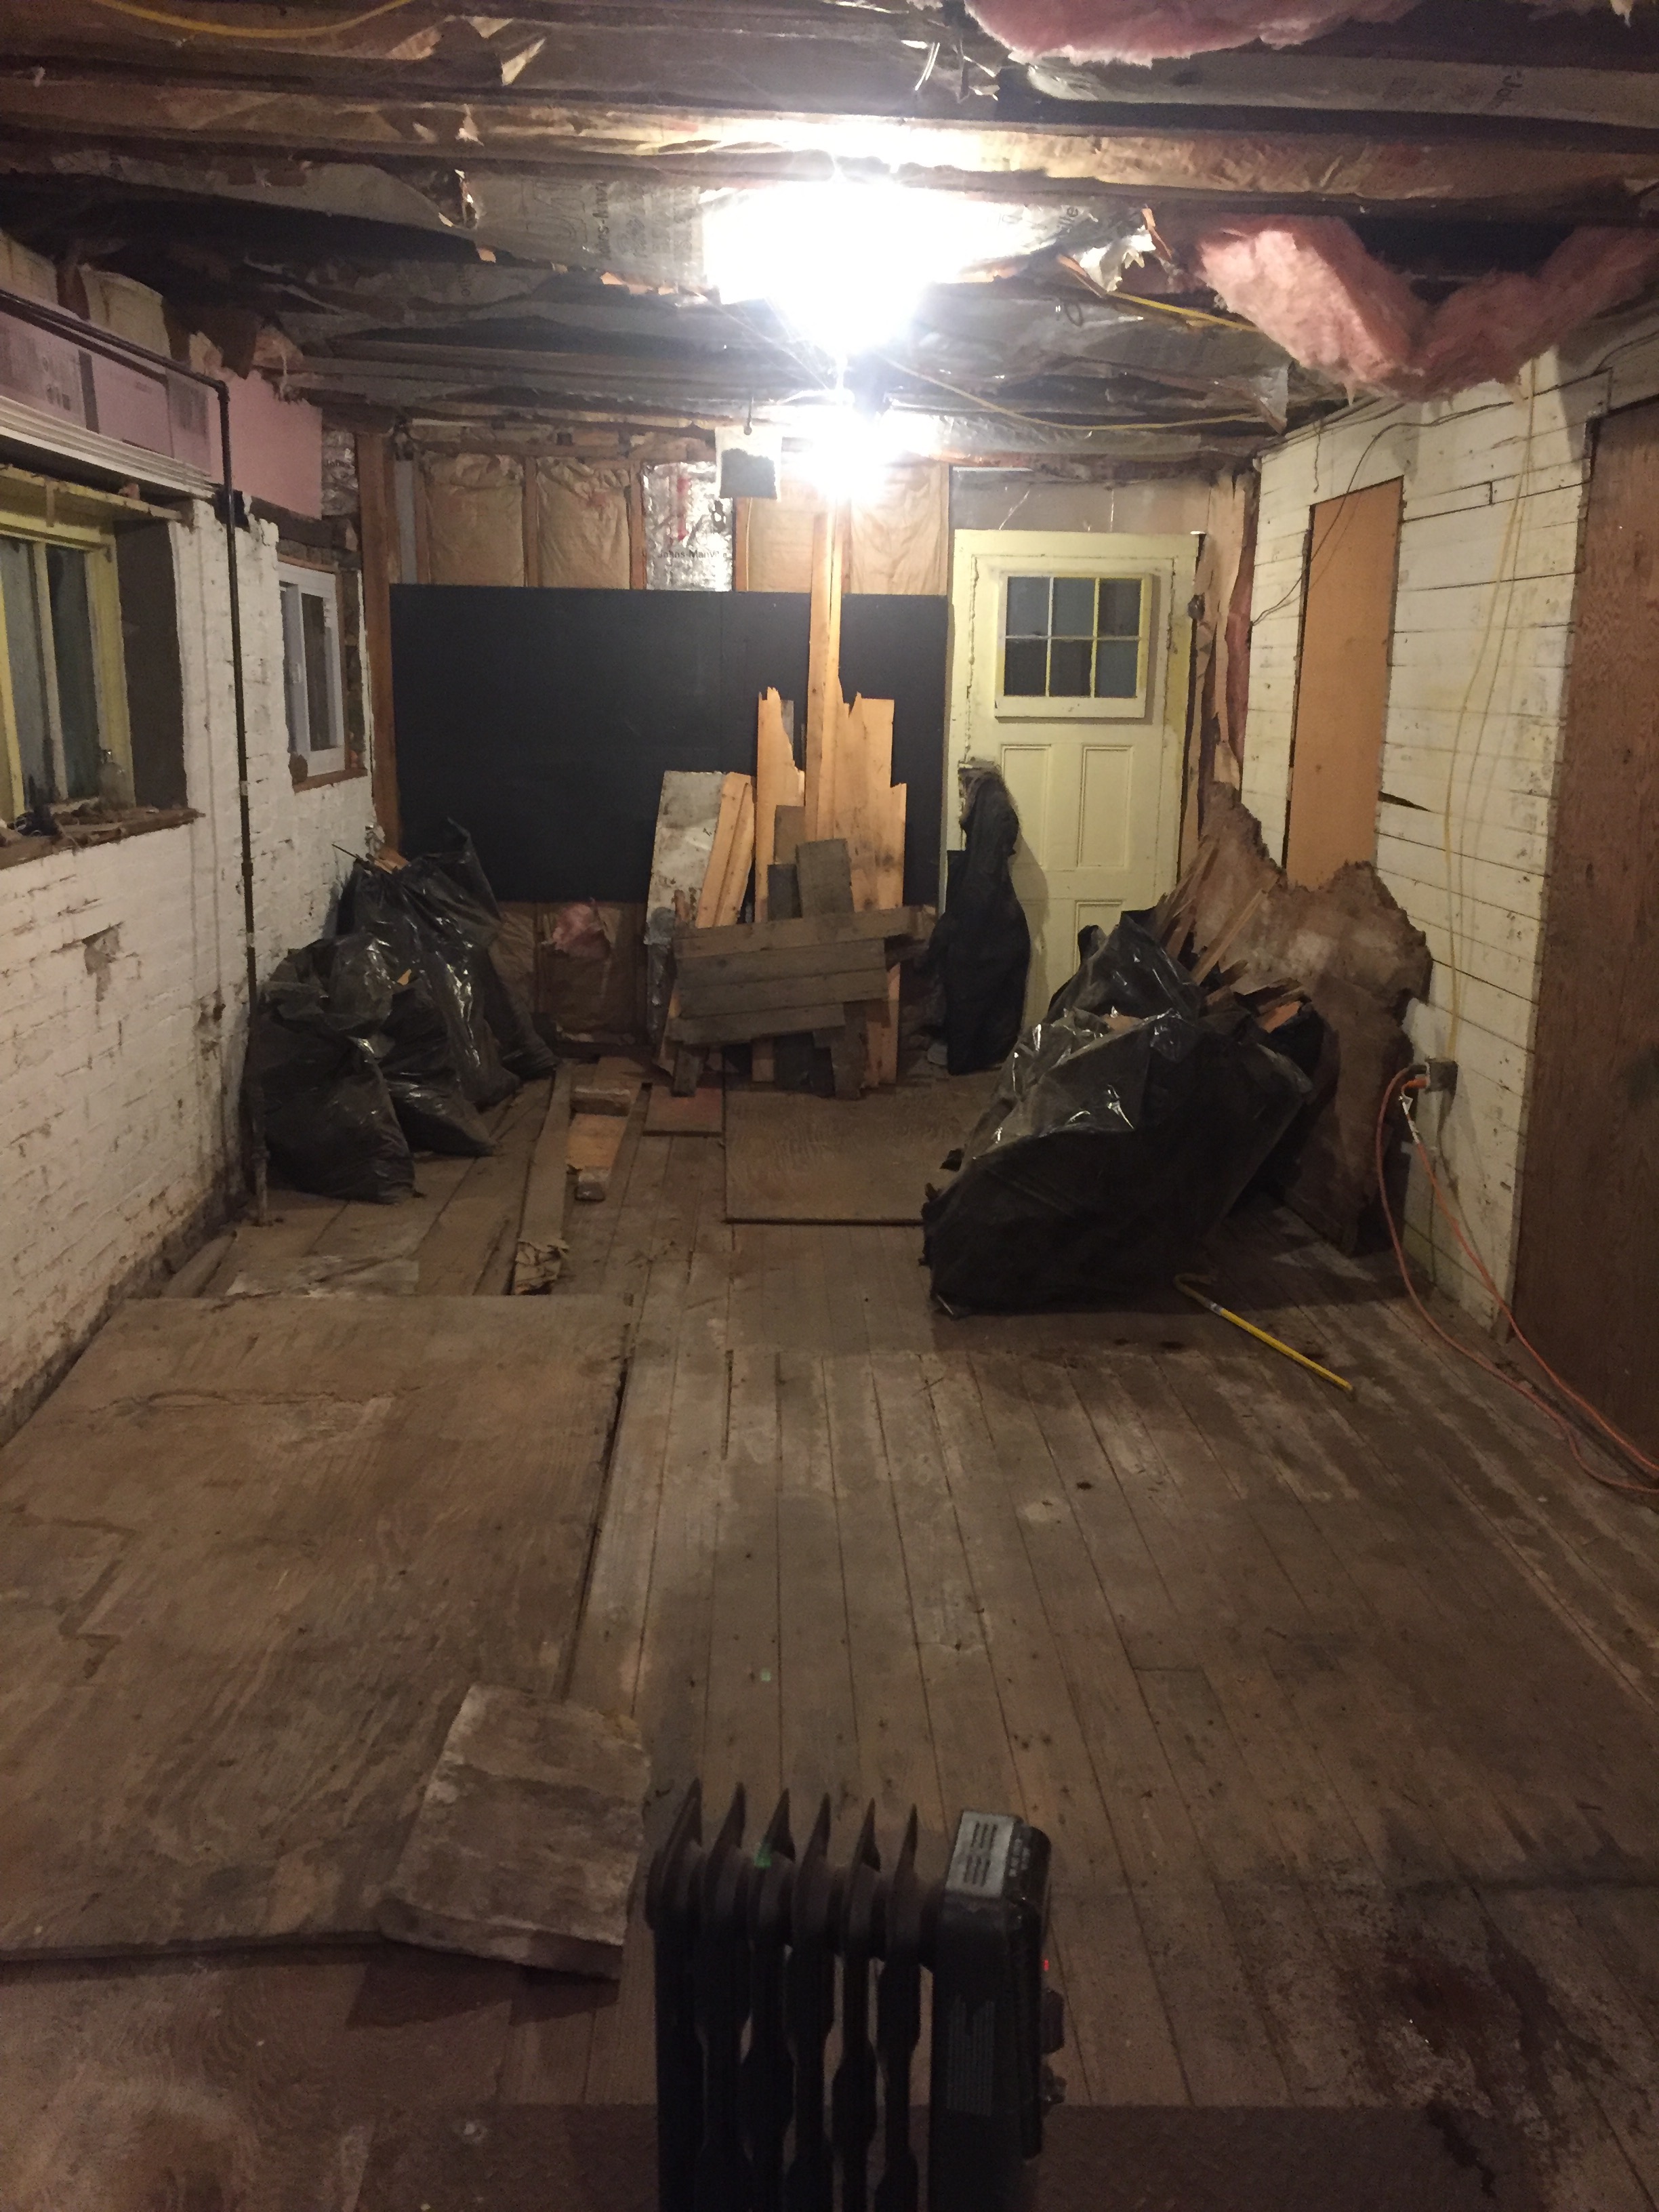
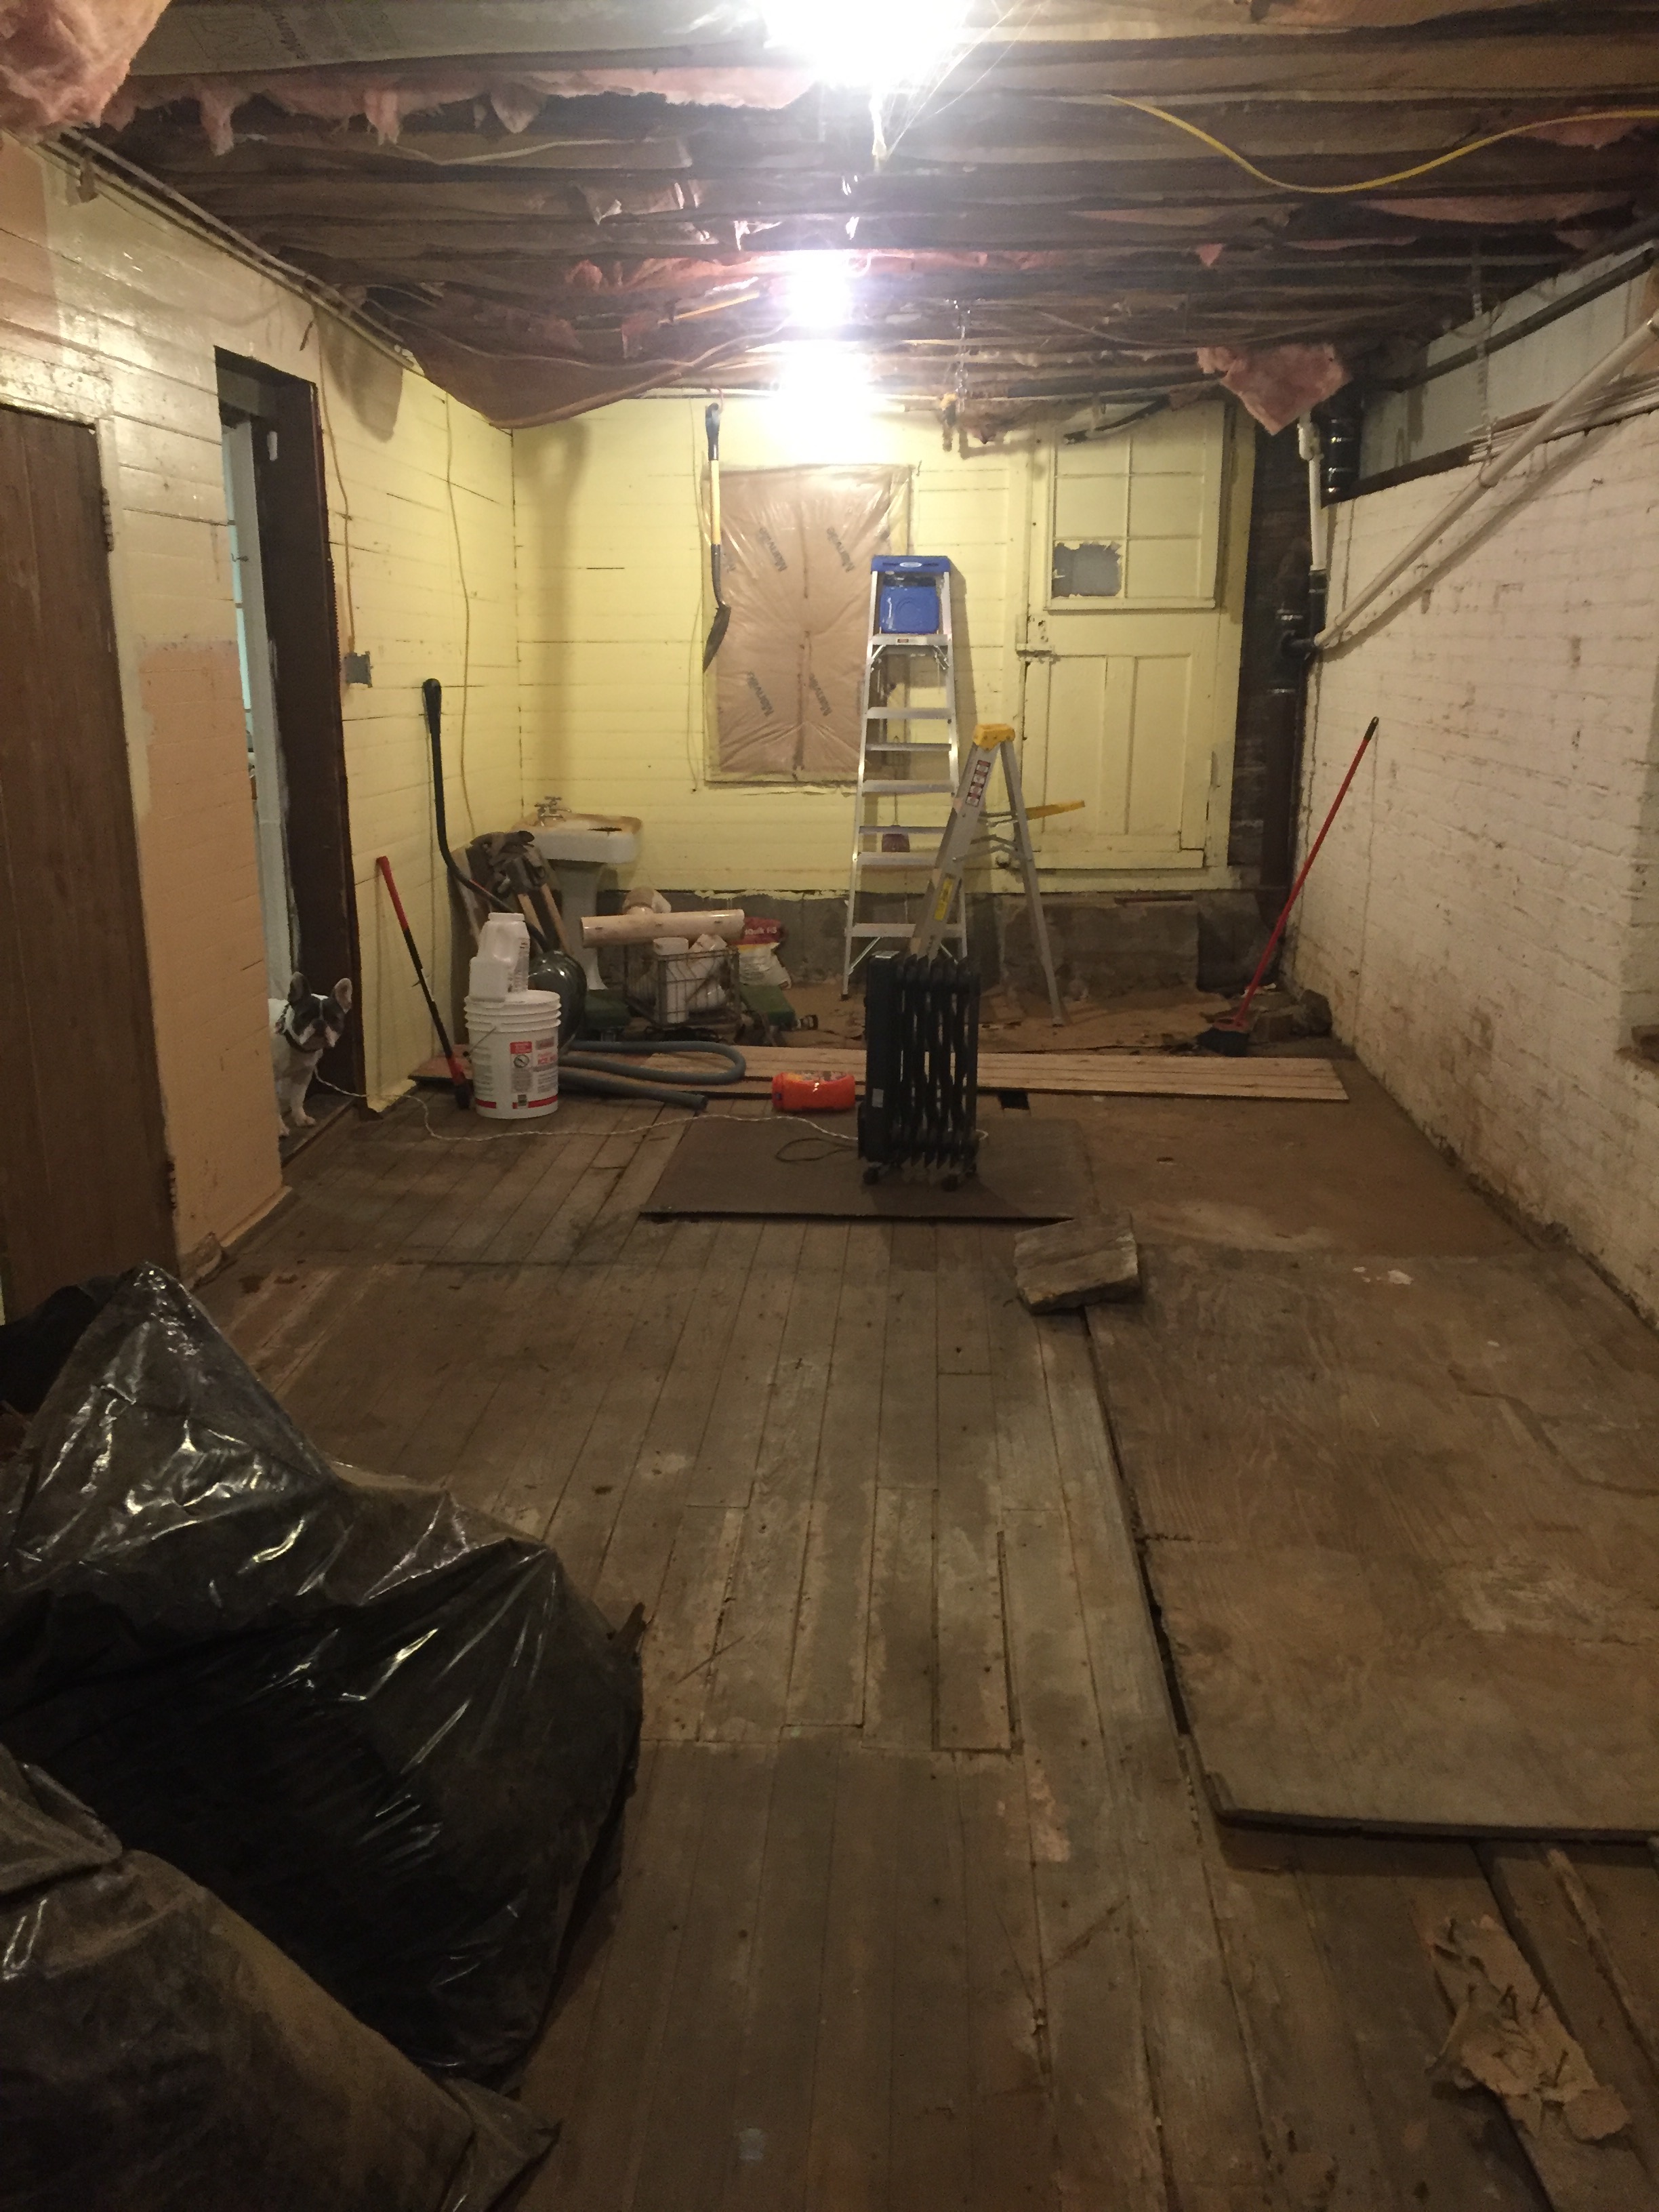
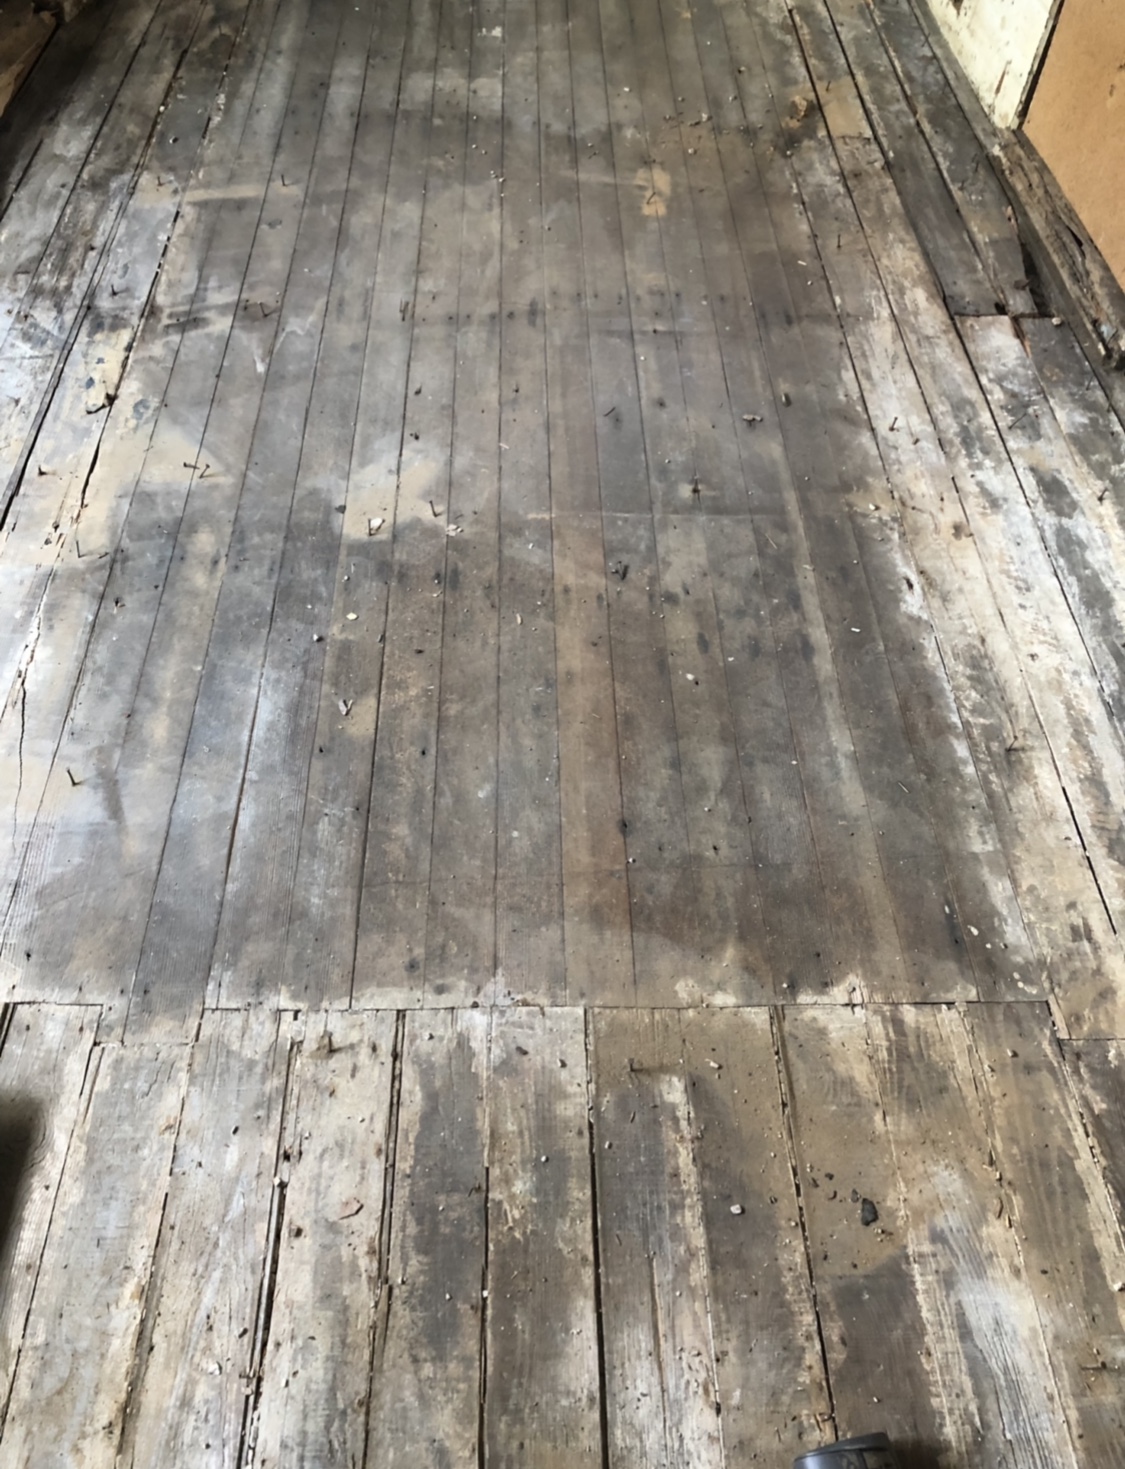
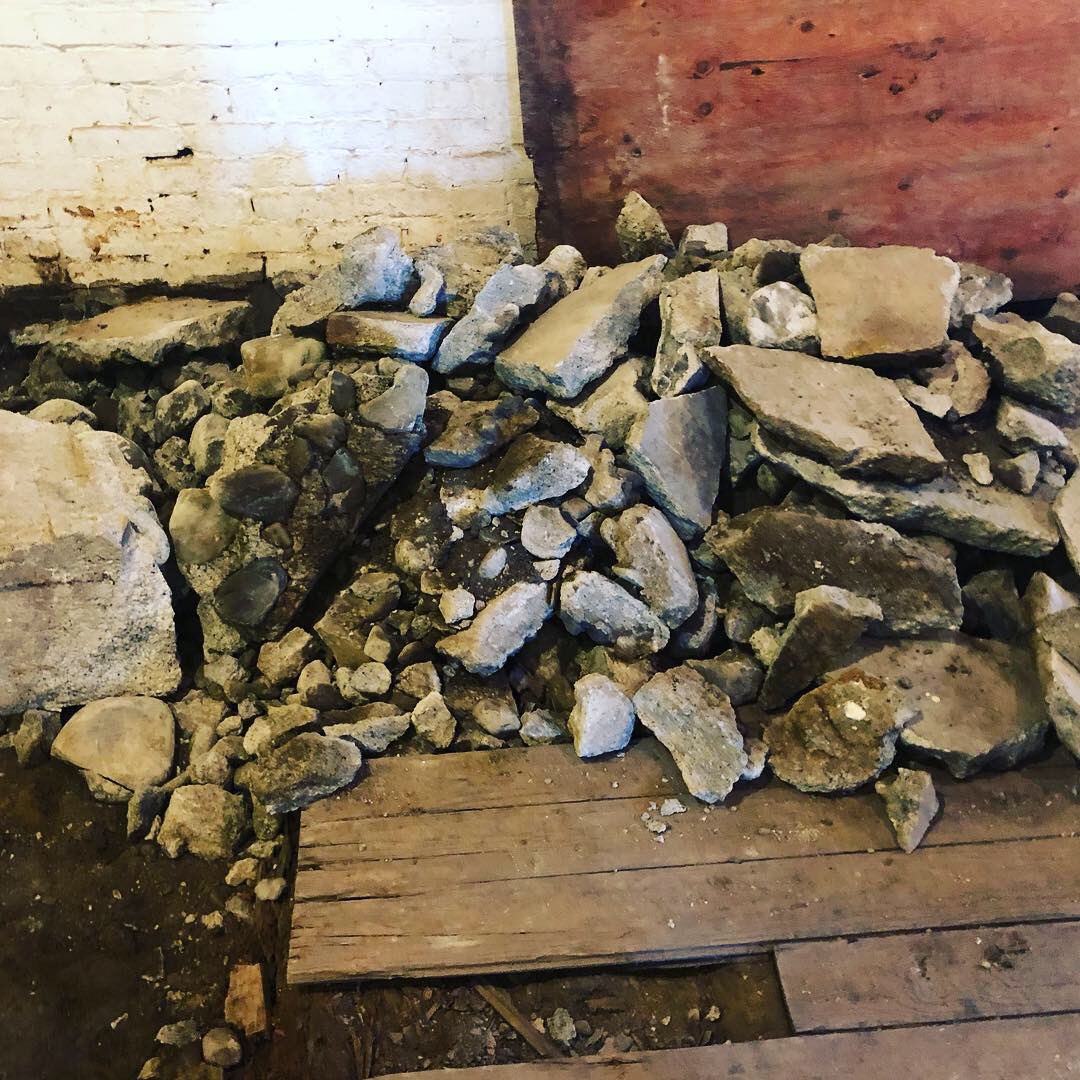
What remains in that dirt is still a mystery for now (more on that later…) In an effort to keep The Back Room warm, we left the original floor down until we got closer to actually pouring the concrete. The hot water heating pipes going up the bathroom have frozen in the past, so its been important to keep that back room above freezing. We bagged up all of the rubble and I started googling how to get rid of all this stuff. Apparently, there’s a dump along the highway somewhere in Newburgh, but Bagster will also pick up your construction waste in one fell swoop which seems a lot easier. Plus driving the ol’ Chevy into a construction dump is just begging for another flat, so I’ll opt for the easy way out this time.
For the final step, we swung by United Rentals to pick up a jack hammer to break up the concrete section on the southern side of the room. As you can imagine, it felt all kinds of cathartic and crazy which is what I was really hoping for all along. Probably the quickest part of the demo too; I think we banged it out in less than an hour!
Salvaging the original floor will likely be the most laborious step of all, so I’m giving us a long weekend to pry them up, board by board, and then we’ll have to pull out the nails individually. Annoying, painstaking work but completely worth it if we can actually re-use the flooring.
At any rate, I’m super happy we opted to do the demo ourselves on this project. Most of this seems daunting only because I’ve never don’t it before, but once you get going, you’d be surprised what you can accomplish!
More renovation updates to come!


