Cornwall-on-Hudson

Demo Days Are Over!

Of all the things on our to-do list, demo seemed like the most fun. You get to smash things? Yes please, let’s do it! I also assumed we could bang it out in a weekend…which was real cute in retrospect. Armed with particle masks, a pry bar, a hammer and a shovel, we got to work in early January. Two months later, we are nearly done.

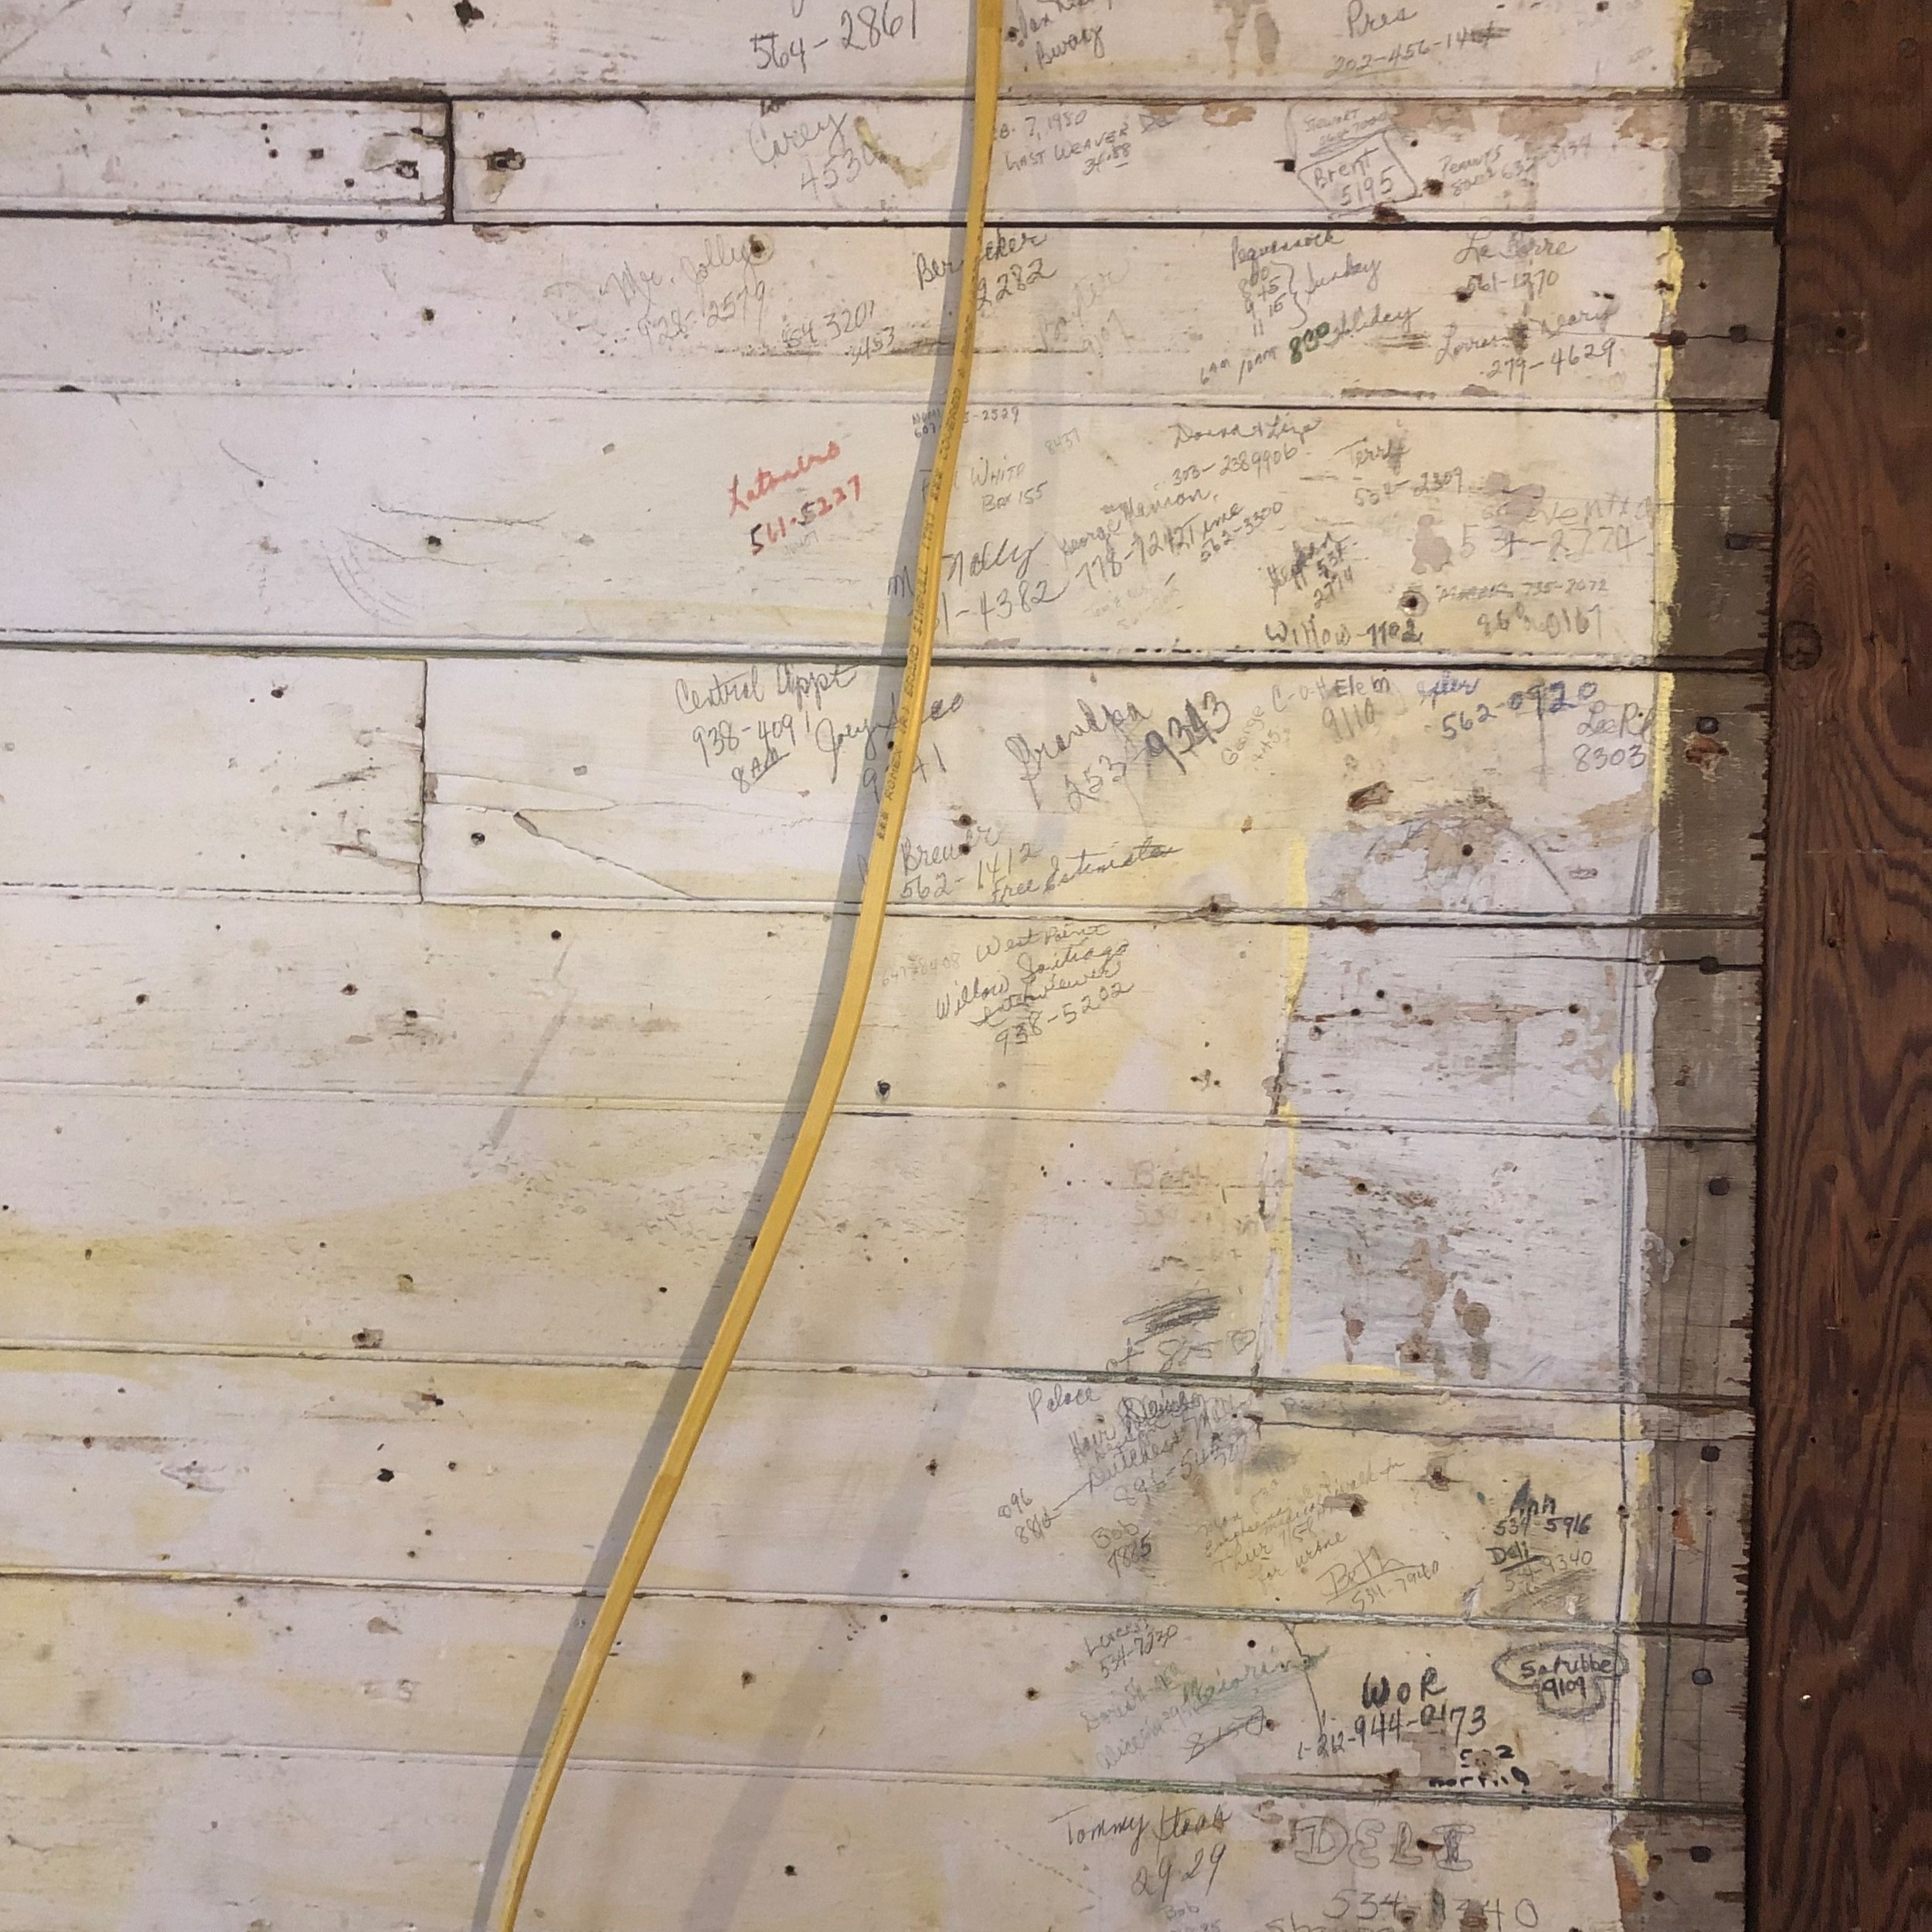
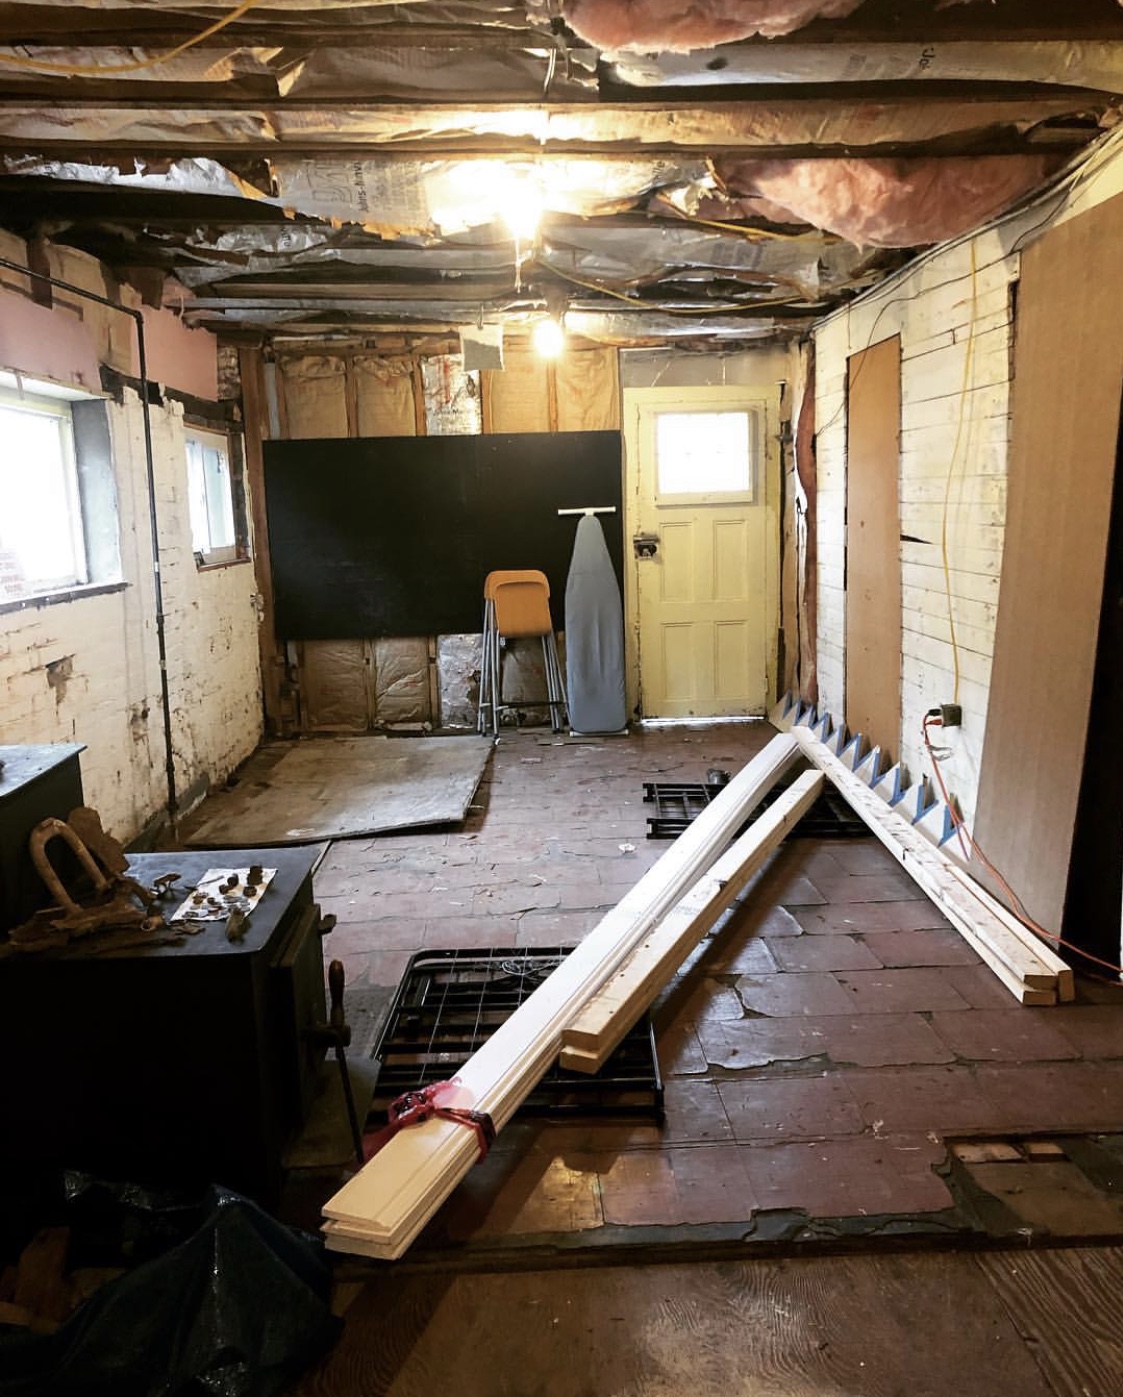
It didn’t take too long to clear The Back Room, and find some creative storing solutions for the stack of 16’ moulding I need to finish off the Library and 3rd floor. I didn’t want to cut the moulding since the rooms are incredibly long on the 3rd floor, and I don’t have a miter box to get the job done right at the moment. Since not a single room was large enough to store them, we ended up stashing them on top of the brick wall in The Back Room. Done!

A little creative problem solving for ya…

A little creative problem solving for ya…

Finding someone strong enough to move the behemoth of a wood stove, however, was a bigger problem, though many in Cornwall tried and failed. (Side note: If you ever need to get rid of anything in a hurry, listing it as some sort of sword-in-the-stone-type challenge in “free” Craigs List works like a charm. I have NEVER received so many emails from men in all my life.)

Once we’d cleared the room, it was time to pull up the floor. In reality, pulling up all the layers of the kitchen floor took about 4 weekends in total, as we discovered its not so much one floor, but a whole bunch of floors sandwiched one on top of the other:

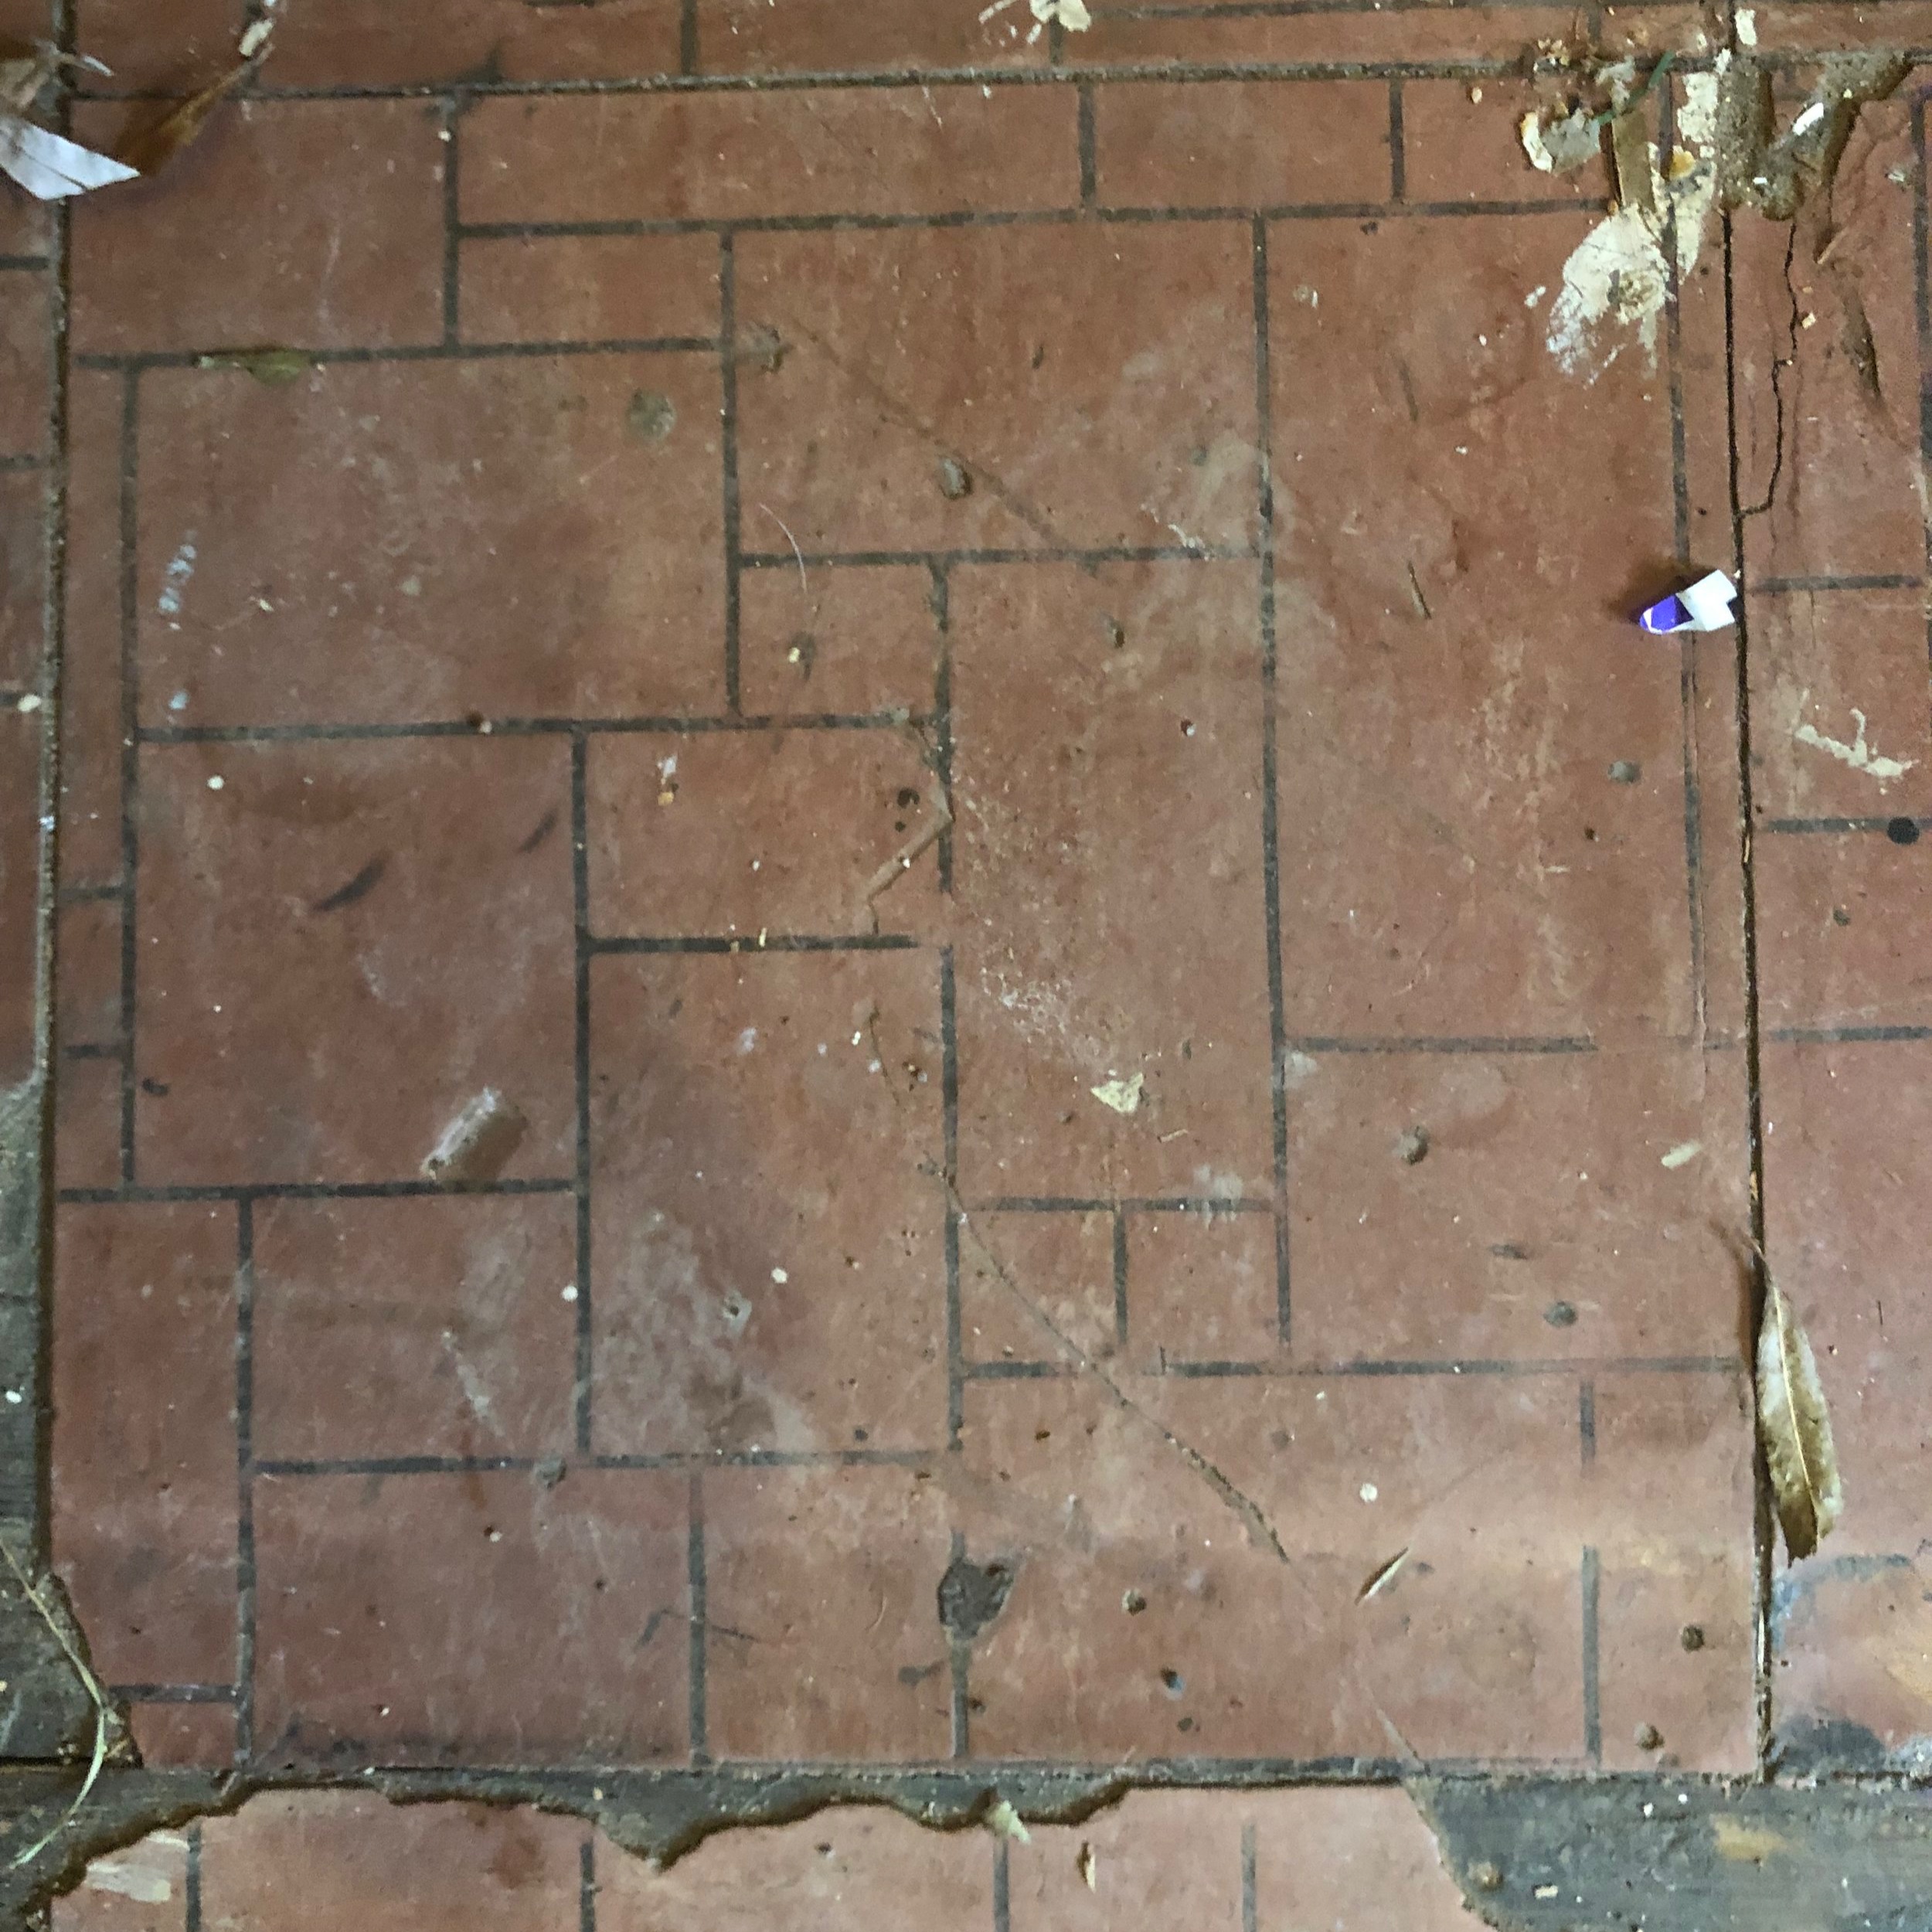
  • Layer #1: We first pried up a layer of plywood covered with some kind of red linoleum form the 80s.

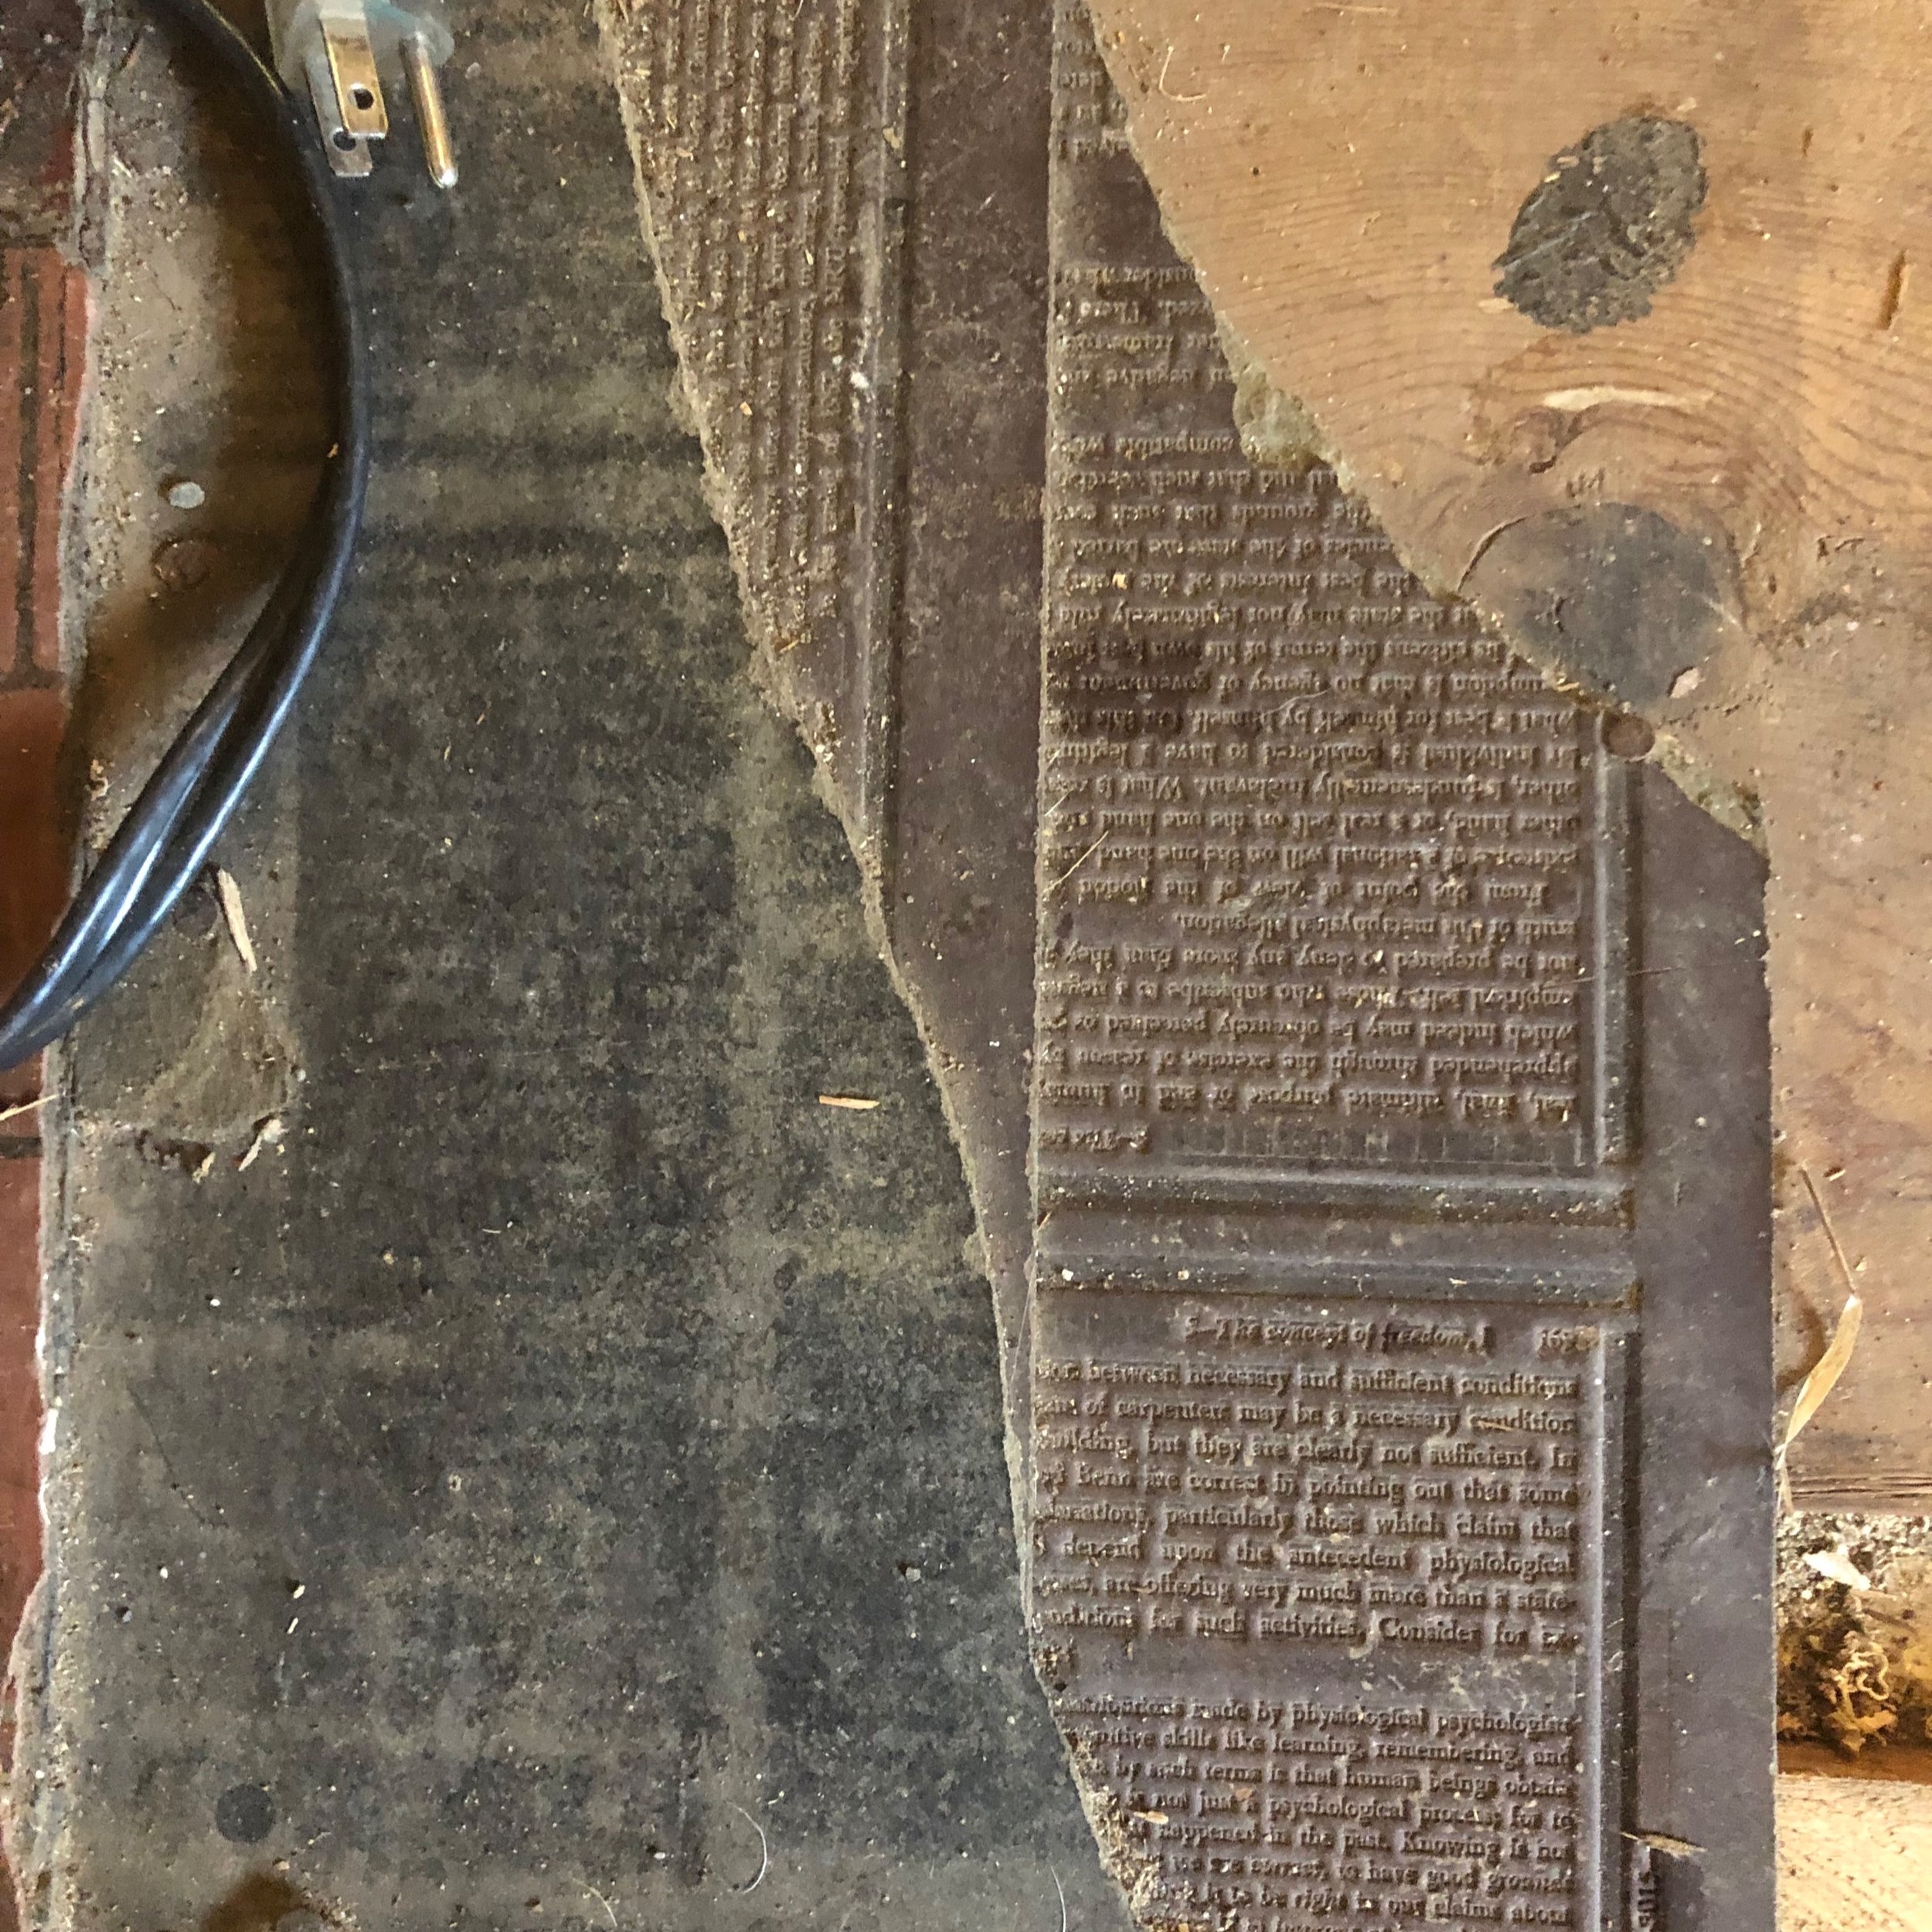
  • Layer #2: Beneath the plywood was a layer of what looks like printing press plates. Or shingles designed to look like the pages of the book? They’re very curious. Whoever built this floor also used them as siding on the shed out back.

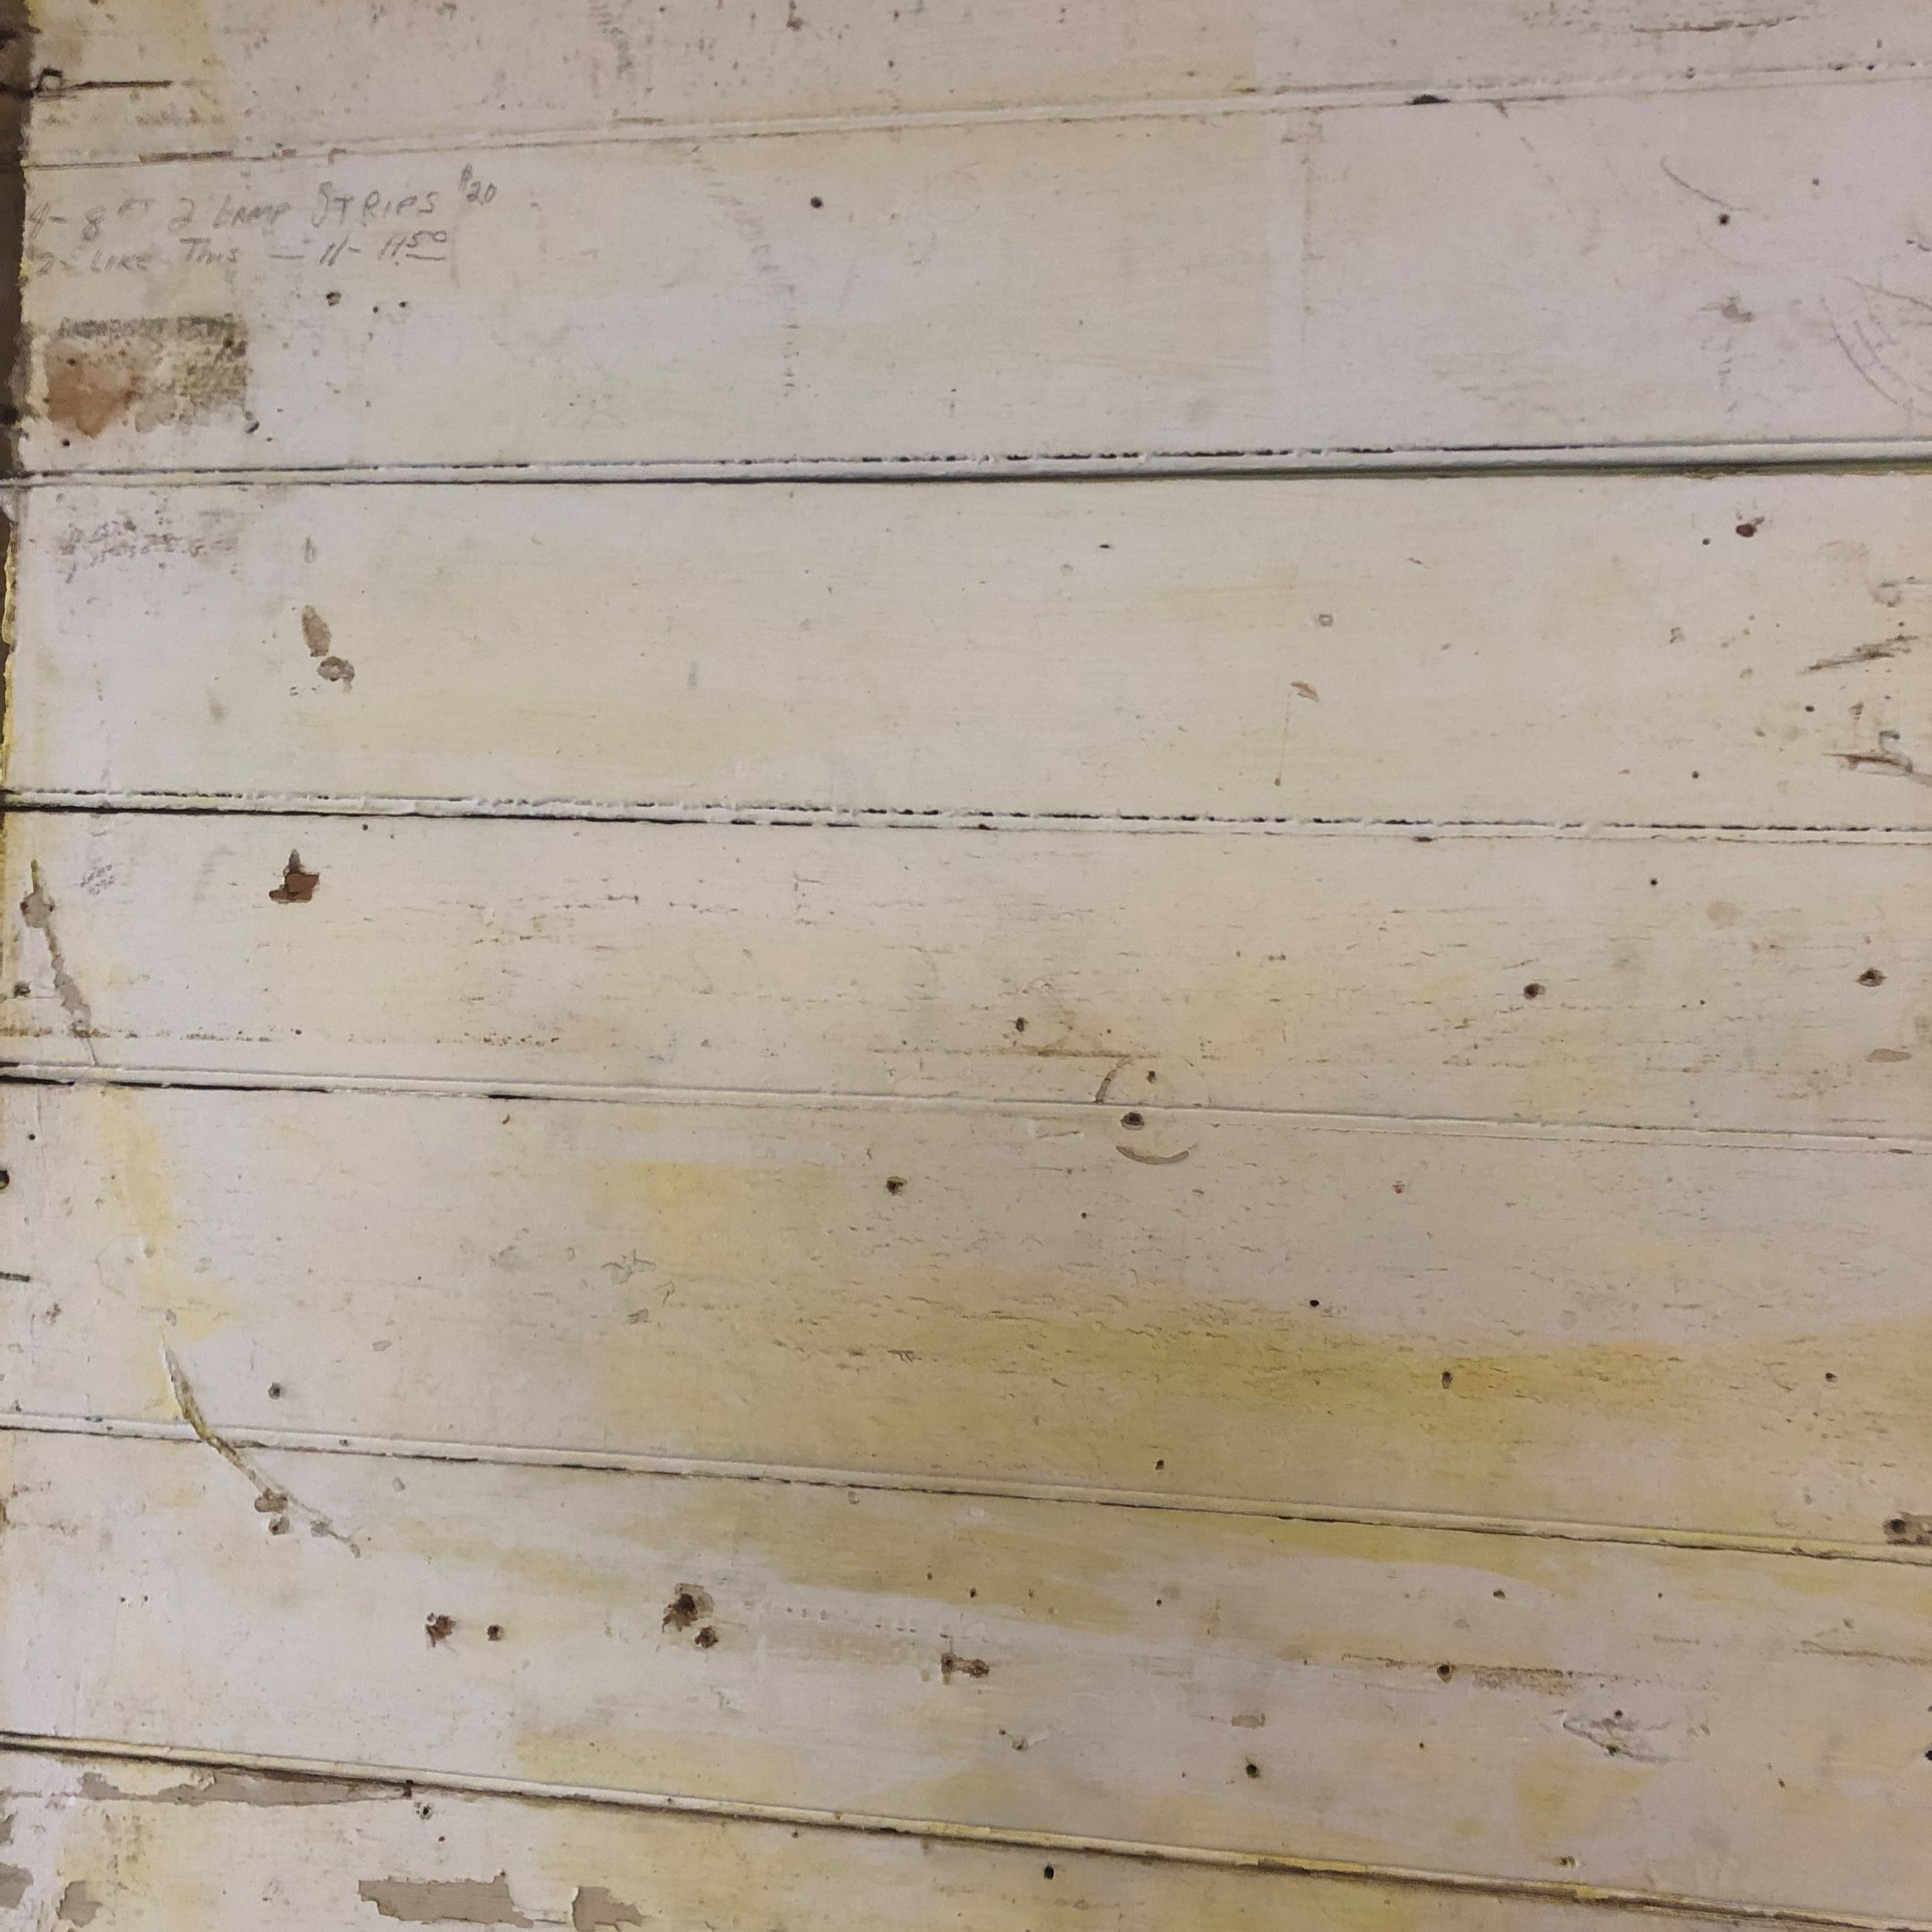
  • Layer #3: Beneath the black printing press shingles was a layer of of pine boards

  • Layer #4: Beneath the boards was a layer of white linoleum.

  • Layer #5. Beneath the white linoleum was a layer of magenta linoleum.

  • Layer #6: Beneath the magenta linoleum was a layer of green, 50s-patterned linoleum.

  • Layer #7: Beneath the green linoleum was another layer of pine boards.

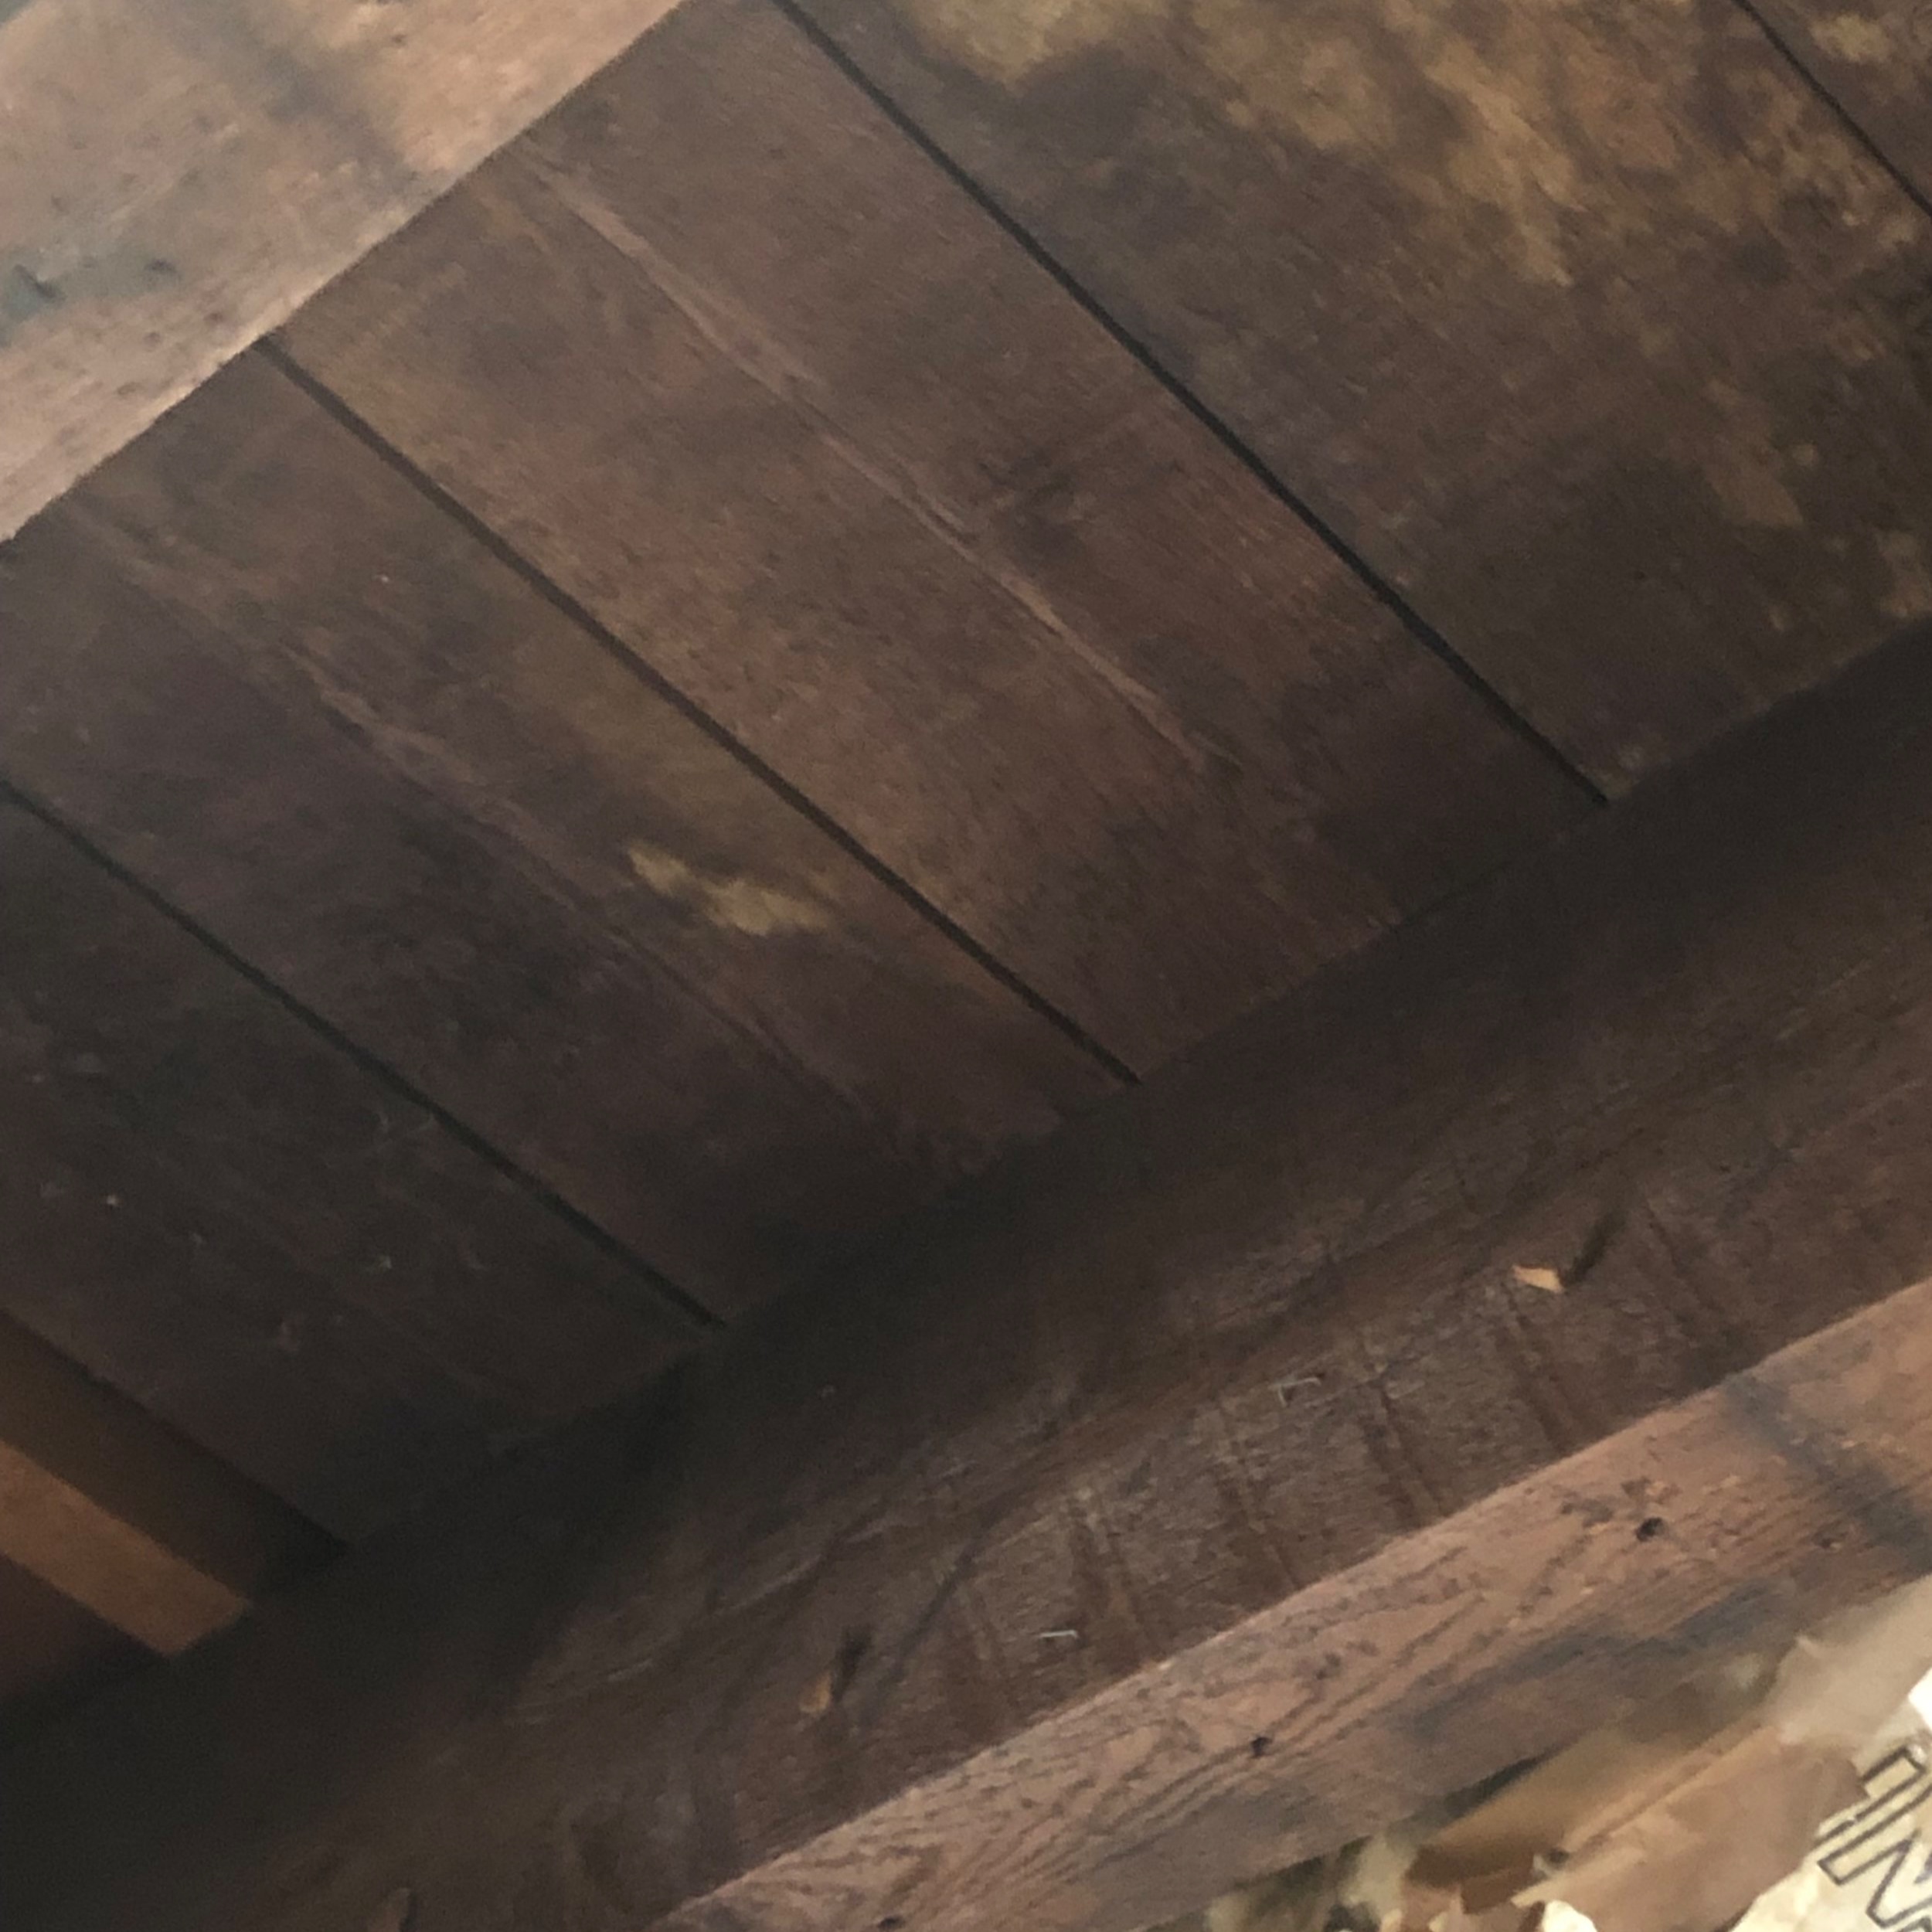
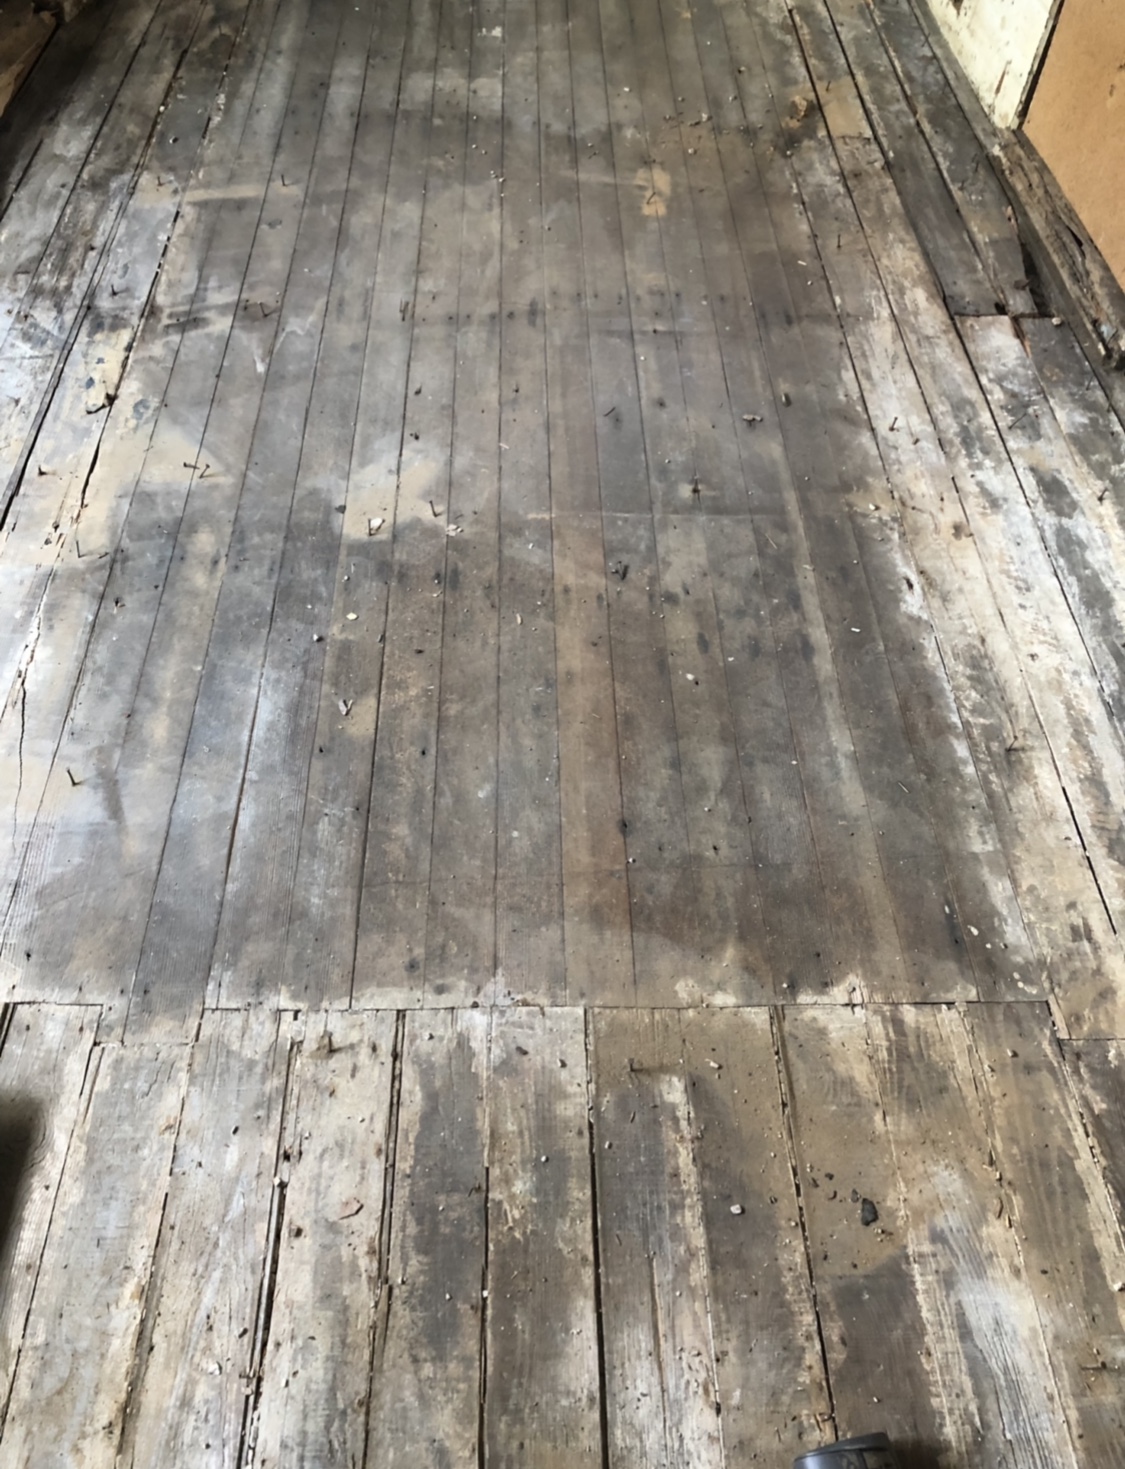
  • Layer #8: Beneath those boards was the original wood floor!!

  • Layer #9: Beneath the floor lay the original joists and beams.

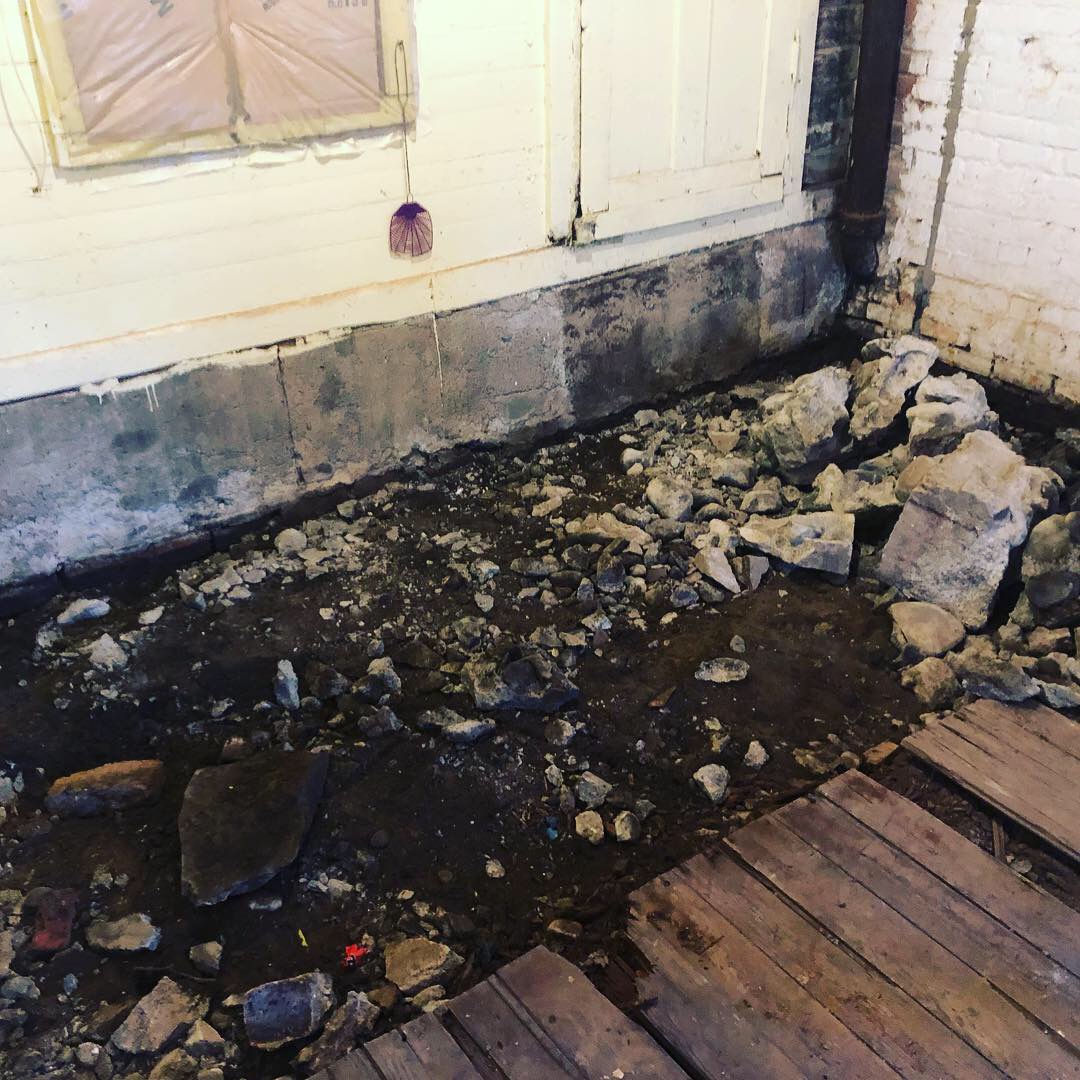
  • Layer #10: And underneath all of that was a whole bunch of dirt.

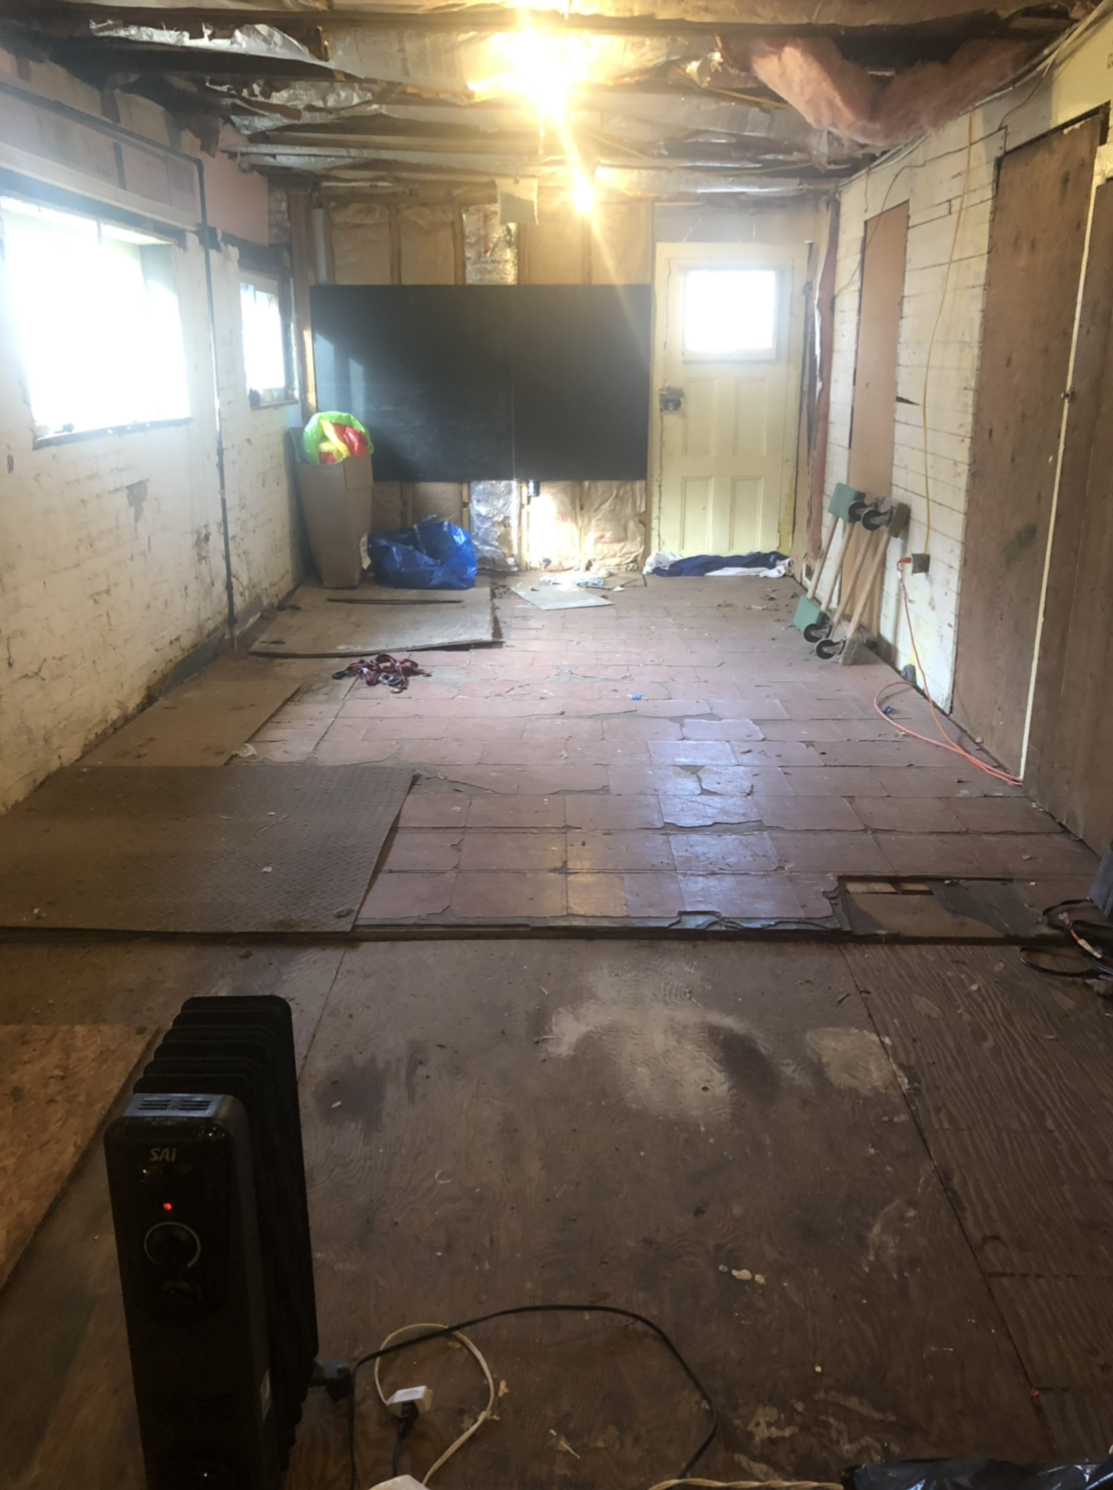
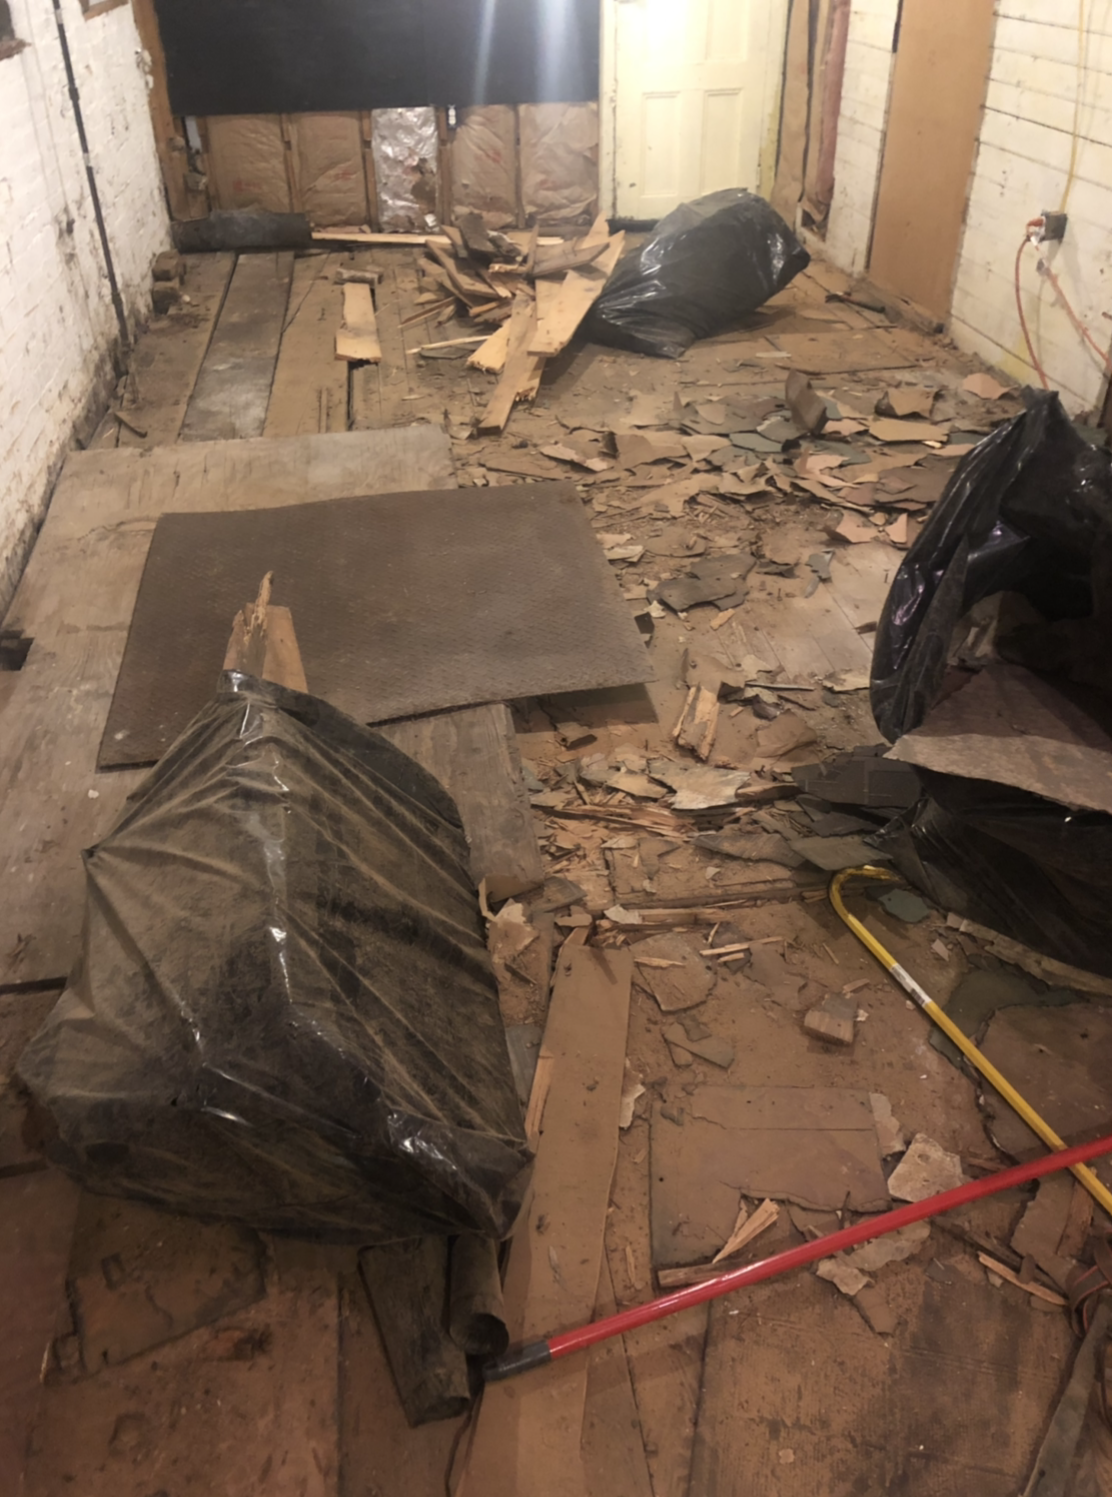
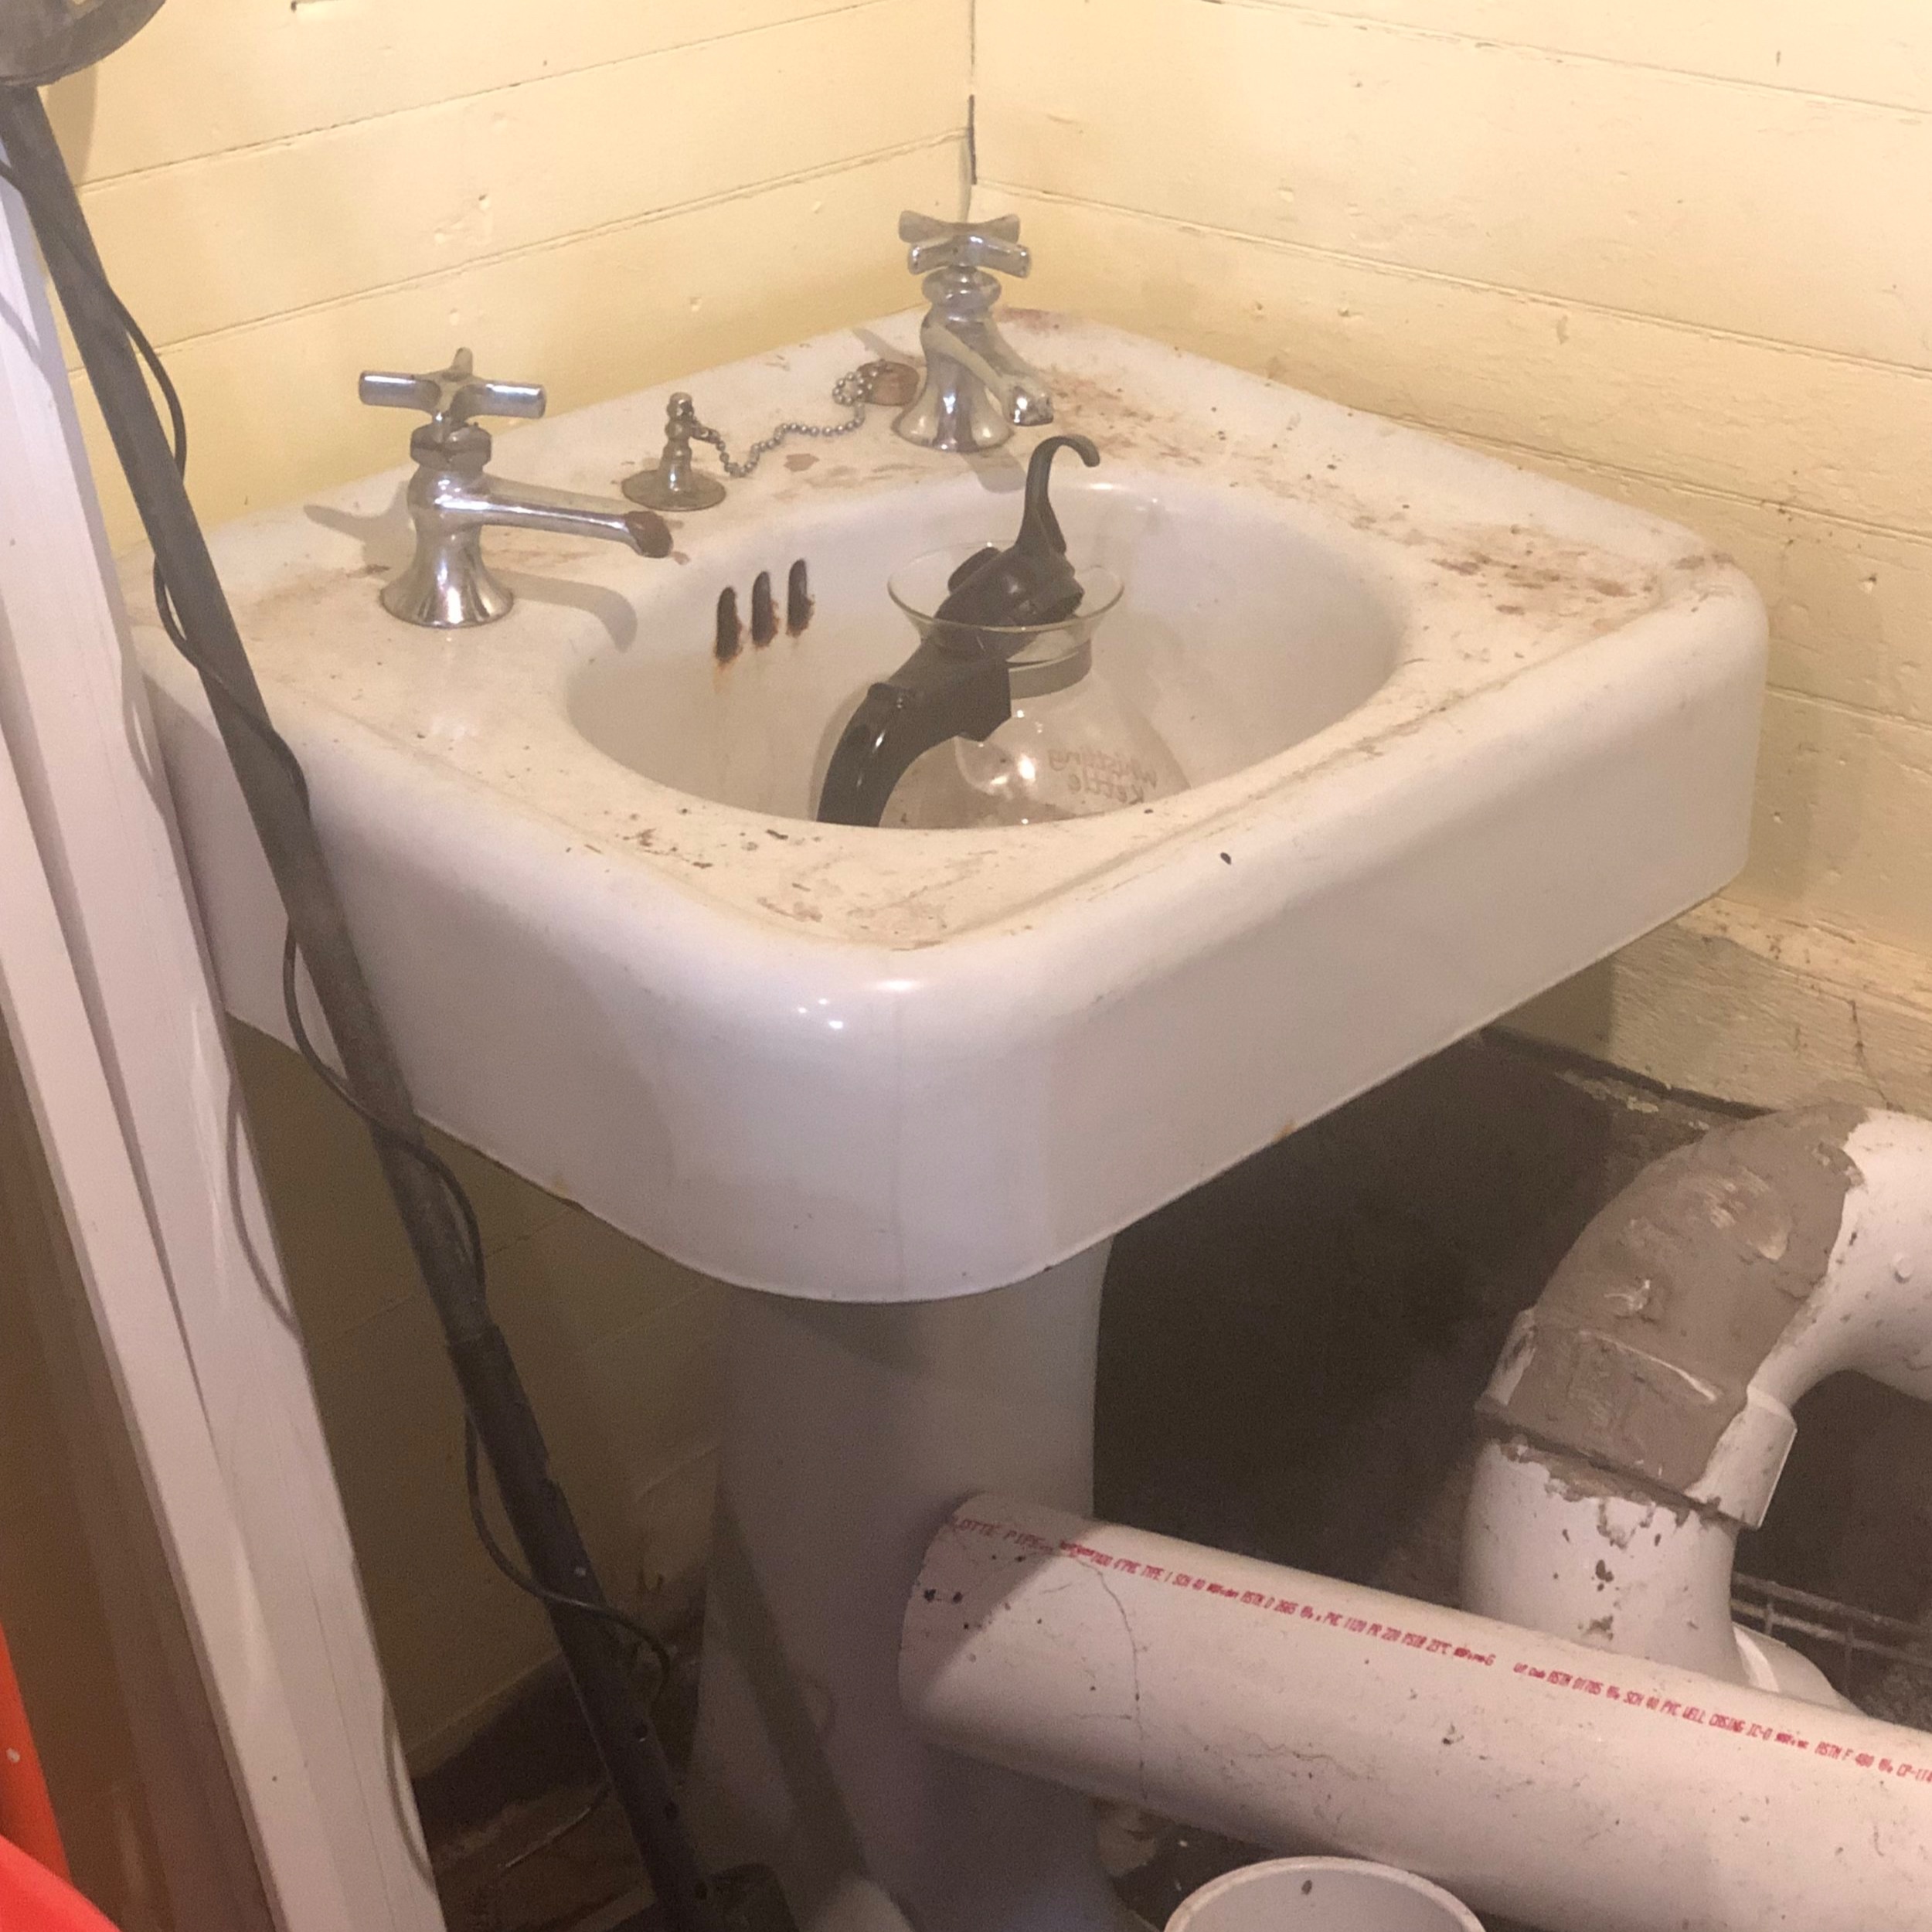
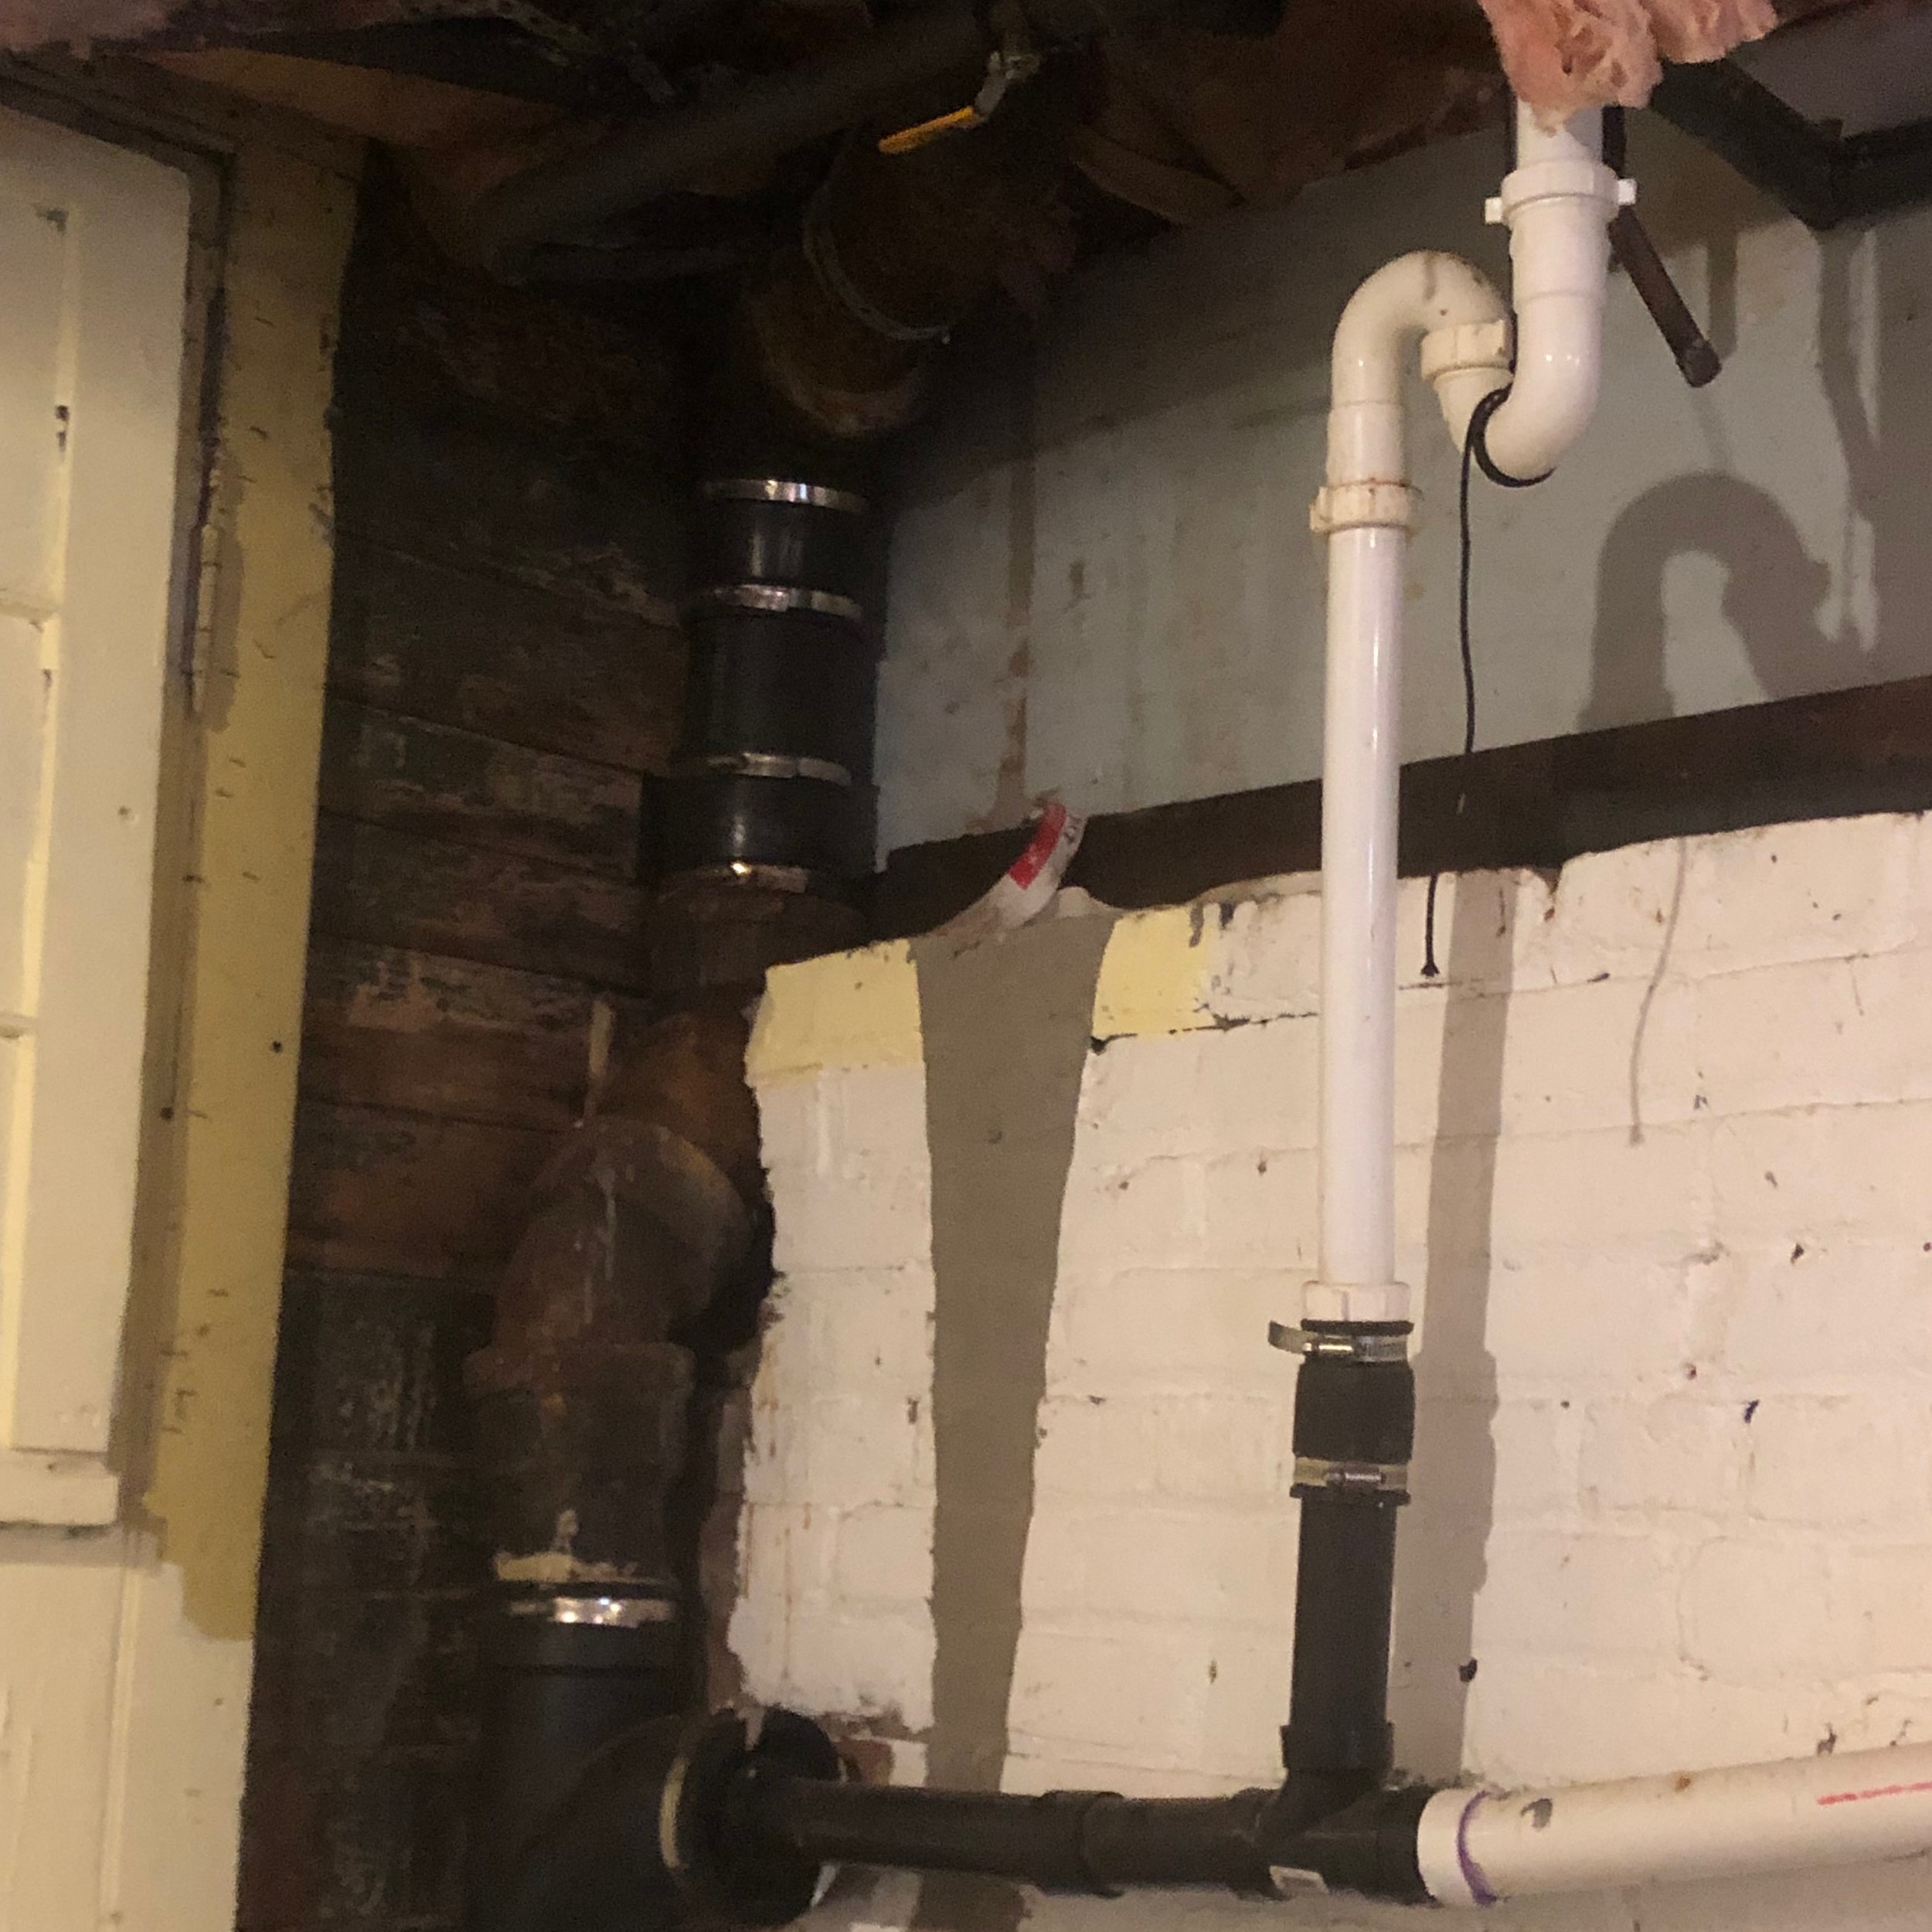
What remains in that dirt is still a mystery for now (more on that later…) In an effort to keep The Back Room warm, we left the original floor down until we got closer to actually pouring the concrete. The hot water heating pipes going up the bathroom have frozen in the past, so its been important to keep that back room above freezing. We bagged up all of the rubble and I started googling how to get rid of all this stuff. Apparently, there’s a dump along the highway somewhere in Newburgh, but Bagster will also pick up your construction waste in one fell swoop which seems a lot easier. Plus driving the ol’ Chevy into a construction dump is just begging for another flat, so I’ll opt for the easy way out this time.

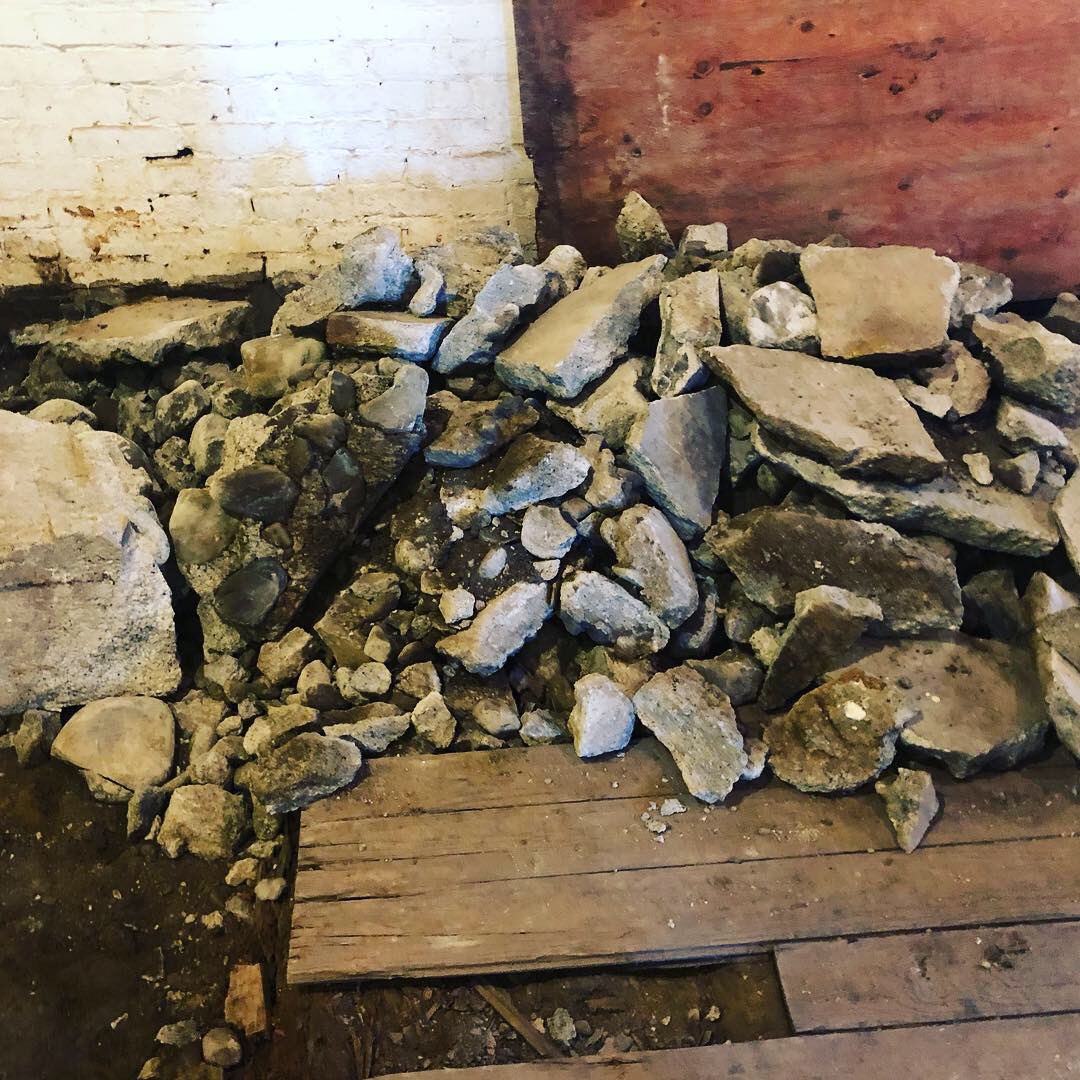
For the final step, we swung by United Rentals to pick up a jack hammer to break up the concrete section on the southern side of the room. As you can imagine, it felt all kinds of cathartic and crazy which is what I was really hoping for all along. Probably the quickest part of the demo too; I think we banged it out in less than an hour!

Salvaging the original floor will likely be the most laborious step of all, so I’m giving us a long weekend to pry them up, board by board, and then we’ll have to pull out the nails individually. Annoying, painstaking work but completely worth it if we can actually re-use the flooring.

At any rate, I’m super happy we opted to do the demo ourselves on this project. Most of this seems daunting only because I’ve never don’t it before, but once you get going, you’d be surprised what you can accomplish!

More renovation updates to come!

RENOVATION 2019: THE GAMEPLAN

An early doodle of The Back Room renovation plan…Plan template courtesy of Brian Yudin.

An early doodle of The Back Room renovation plan…Plan template courtesy of Brian Yudin.

For many, the first month of the New Year is both a time of reflection and renewed intention for the year ahead.

Here’s a reflection for you:

Renovating a 160-year-old house is hard.

Even for an unflinchingly optimistic, glass half-full, everything is possible!!!! kinda gal. Progress is always slower than you imagined, things rarely go to plan, and for every problem you solve, four more pop up.

Renovations may be a forever wack-a-mole here at the Sparrow House compound, but we FIRST need to acknowledge just how far we’ve come in 9 short months! Nevermind that we painted, cleaned, decorated and furnished a 2300 square foot, 8-bedroom house. We also updated the electrical on all three floors, fixed the staircase & 1st floor, removed a couple of wood stoves the weight of two dying suns, built a new fire pit, replaced the washer and dryer, updated the heating system for the 21st century, added a security system and wifi activated locks, transformed a scary-looking room into a gorgeous library, completed steps 1 and 2 in solving the dreaded “basement problem”, PLUS, I even replaced that kitchen faucet that one time. We accomplished a lot and, more importantly, we did it together.

But the time has come now, boys and girls! The Renovation of The Back Room must commence! Our most audacious and challenging project to date, I’ve been fantasizing about this project since Day 1. It has always been my goal to complete The Back Room renovation by May 1st of this year, and I am tackling the project the only way I know how: take the leap and figure it out as we go.

What we at Sparrow House have always called “The Back Room” was actually the original, 1850s kitchen. Back then, kitchens were designed as an indoor/outdoor space separated from the house by a firewall and connected to a coal or wood shed for the stove. According to the previous owners, the room continued to serve as the kitchen for over 120 years, well in the 1970s and 80s. To this day, you can see remnants of the kitchen’s history here and there with quirky lil updates from just about every decade.

Originally, this room was the workspace for the Irish family who cooked and kept the home running for the Clark family at the turn of the century. (According to census records, they lived in the home with the Clarks and their children.) In the 1920s, the Clark Family added electricity to their home (they published an ad about it in the local paper to prove it!) and subsequent owners later added pipes for a gas stove, a kitchen sink and a bathroom above on the 2nd floor. Later on, someone else added pipes for a washer/dryer and electrical wires for some rudimentary lighting back there. Best of all, you can still see where the kitchen phone once hung on the wall; all the local, 7-digit phone numbers scrawled in multi-colored ink across the shiplap walls.

I’ve investigated every nook and cranny of this room, and here is what I know for sure:

  • The east and west walls are both made out of brick; probably to act as a firewall.

  • While the house has a small, stone basement beneath the living room, both The Back Room and present-day kitchen were built over separate crawl spaces.

  • The crawl space beneath The Back Room floor is shallow, probably 6” or so. It seems that the original raised floor has been undisturbed over the years which is pretty miraculous. Above the original floor joists and beams, is a decoupage sandwich from the past 150 years-worth of materials including a small section of poorly poured concrete at one end. All of this definitely has to go.

  • The East, North and South walls all still have the original, 1850s shiplap of varying widths which I want to preserve at all costs.

  • The exposed joist and beam ceiling has electrical wires threaded through them which is unfortunate. Even worse, there is only a single layer of sub-floor separating The Back Room ceiling from the 2nd floor so sound carries like crazy.

As you can probably tell, I am head over heels in love with this space, and it’s important to me that we preserve as much of the room’s history as possible. Adding a second bathroom is pretty much a no-brainer- it’s incredible that this 8-bedroom house has existed with a single bathroom for this long. I’ve also decided to convert the rest of The Back Room into a studio space for future artists-in-residence.

Of course, any renovation is a ton of work, but Sparrow House’s curious 1850s construction and subsequent updates have presented a number of challenges, further complicated by the fact that winter has been our busiest season yet! (Who knew?)  So I’ve broken the project down three phases to complete between all our wonderful guests check in and out.

PHASE ONE (January-February): DEMO - PLUMBING - FLOOR

  • Pull permits & clear room

  • Demo the existing floor & concrete steps

  • Preserve original wood floor if still good

  • Re-route wonky water and gas pipes

  • Rough in the bathroom and kitchenette plumbing

  • Bring in the gravel & pour the concrete slab

  • Source (2) antique, tombstone door & other fun materials

PHASE TWO (March): DOORS - WALLS - INSTALLATION

  • Move the exterior door on the south-facing wall

  • Re-frame north-facing wall and replace exterior door & frame

  • Insulate south, north and western walls

  • Frame bathroom and studio walls

PHASE THREE: (APRIL): COMPLETE BATHROOM

  • Sheetrock walls & ceiling

  • Add shower plate, toilet, sink

  • Tile bathroom & mudroom/hall

  • Reuse the original wood floor for studio

  • Add shiplap in the mudroom/hall

That’s all folks! Tune in the next three months to hear all about our misadventures, discoveries & see how this project shapes up!